
Why test strips fail modern pools
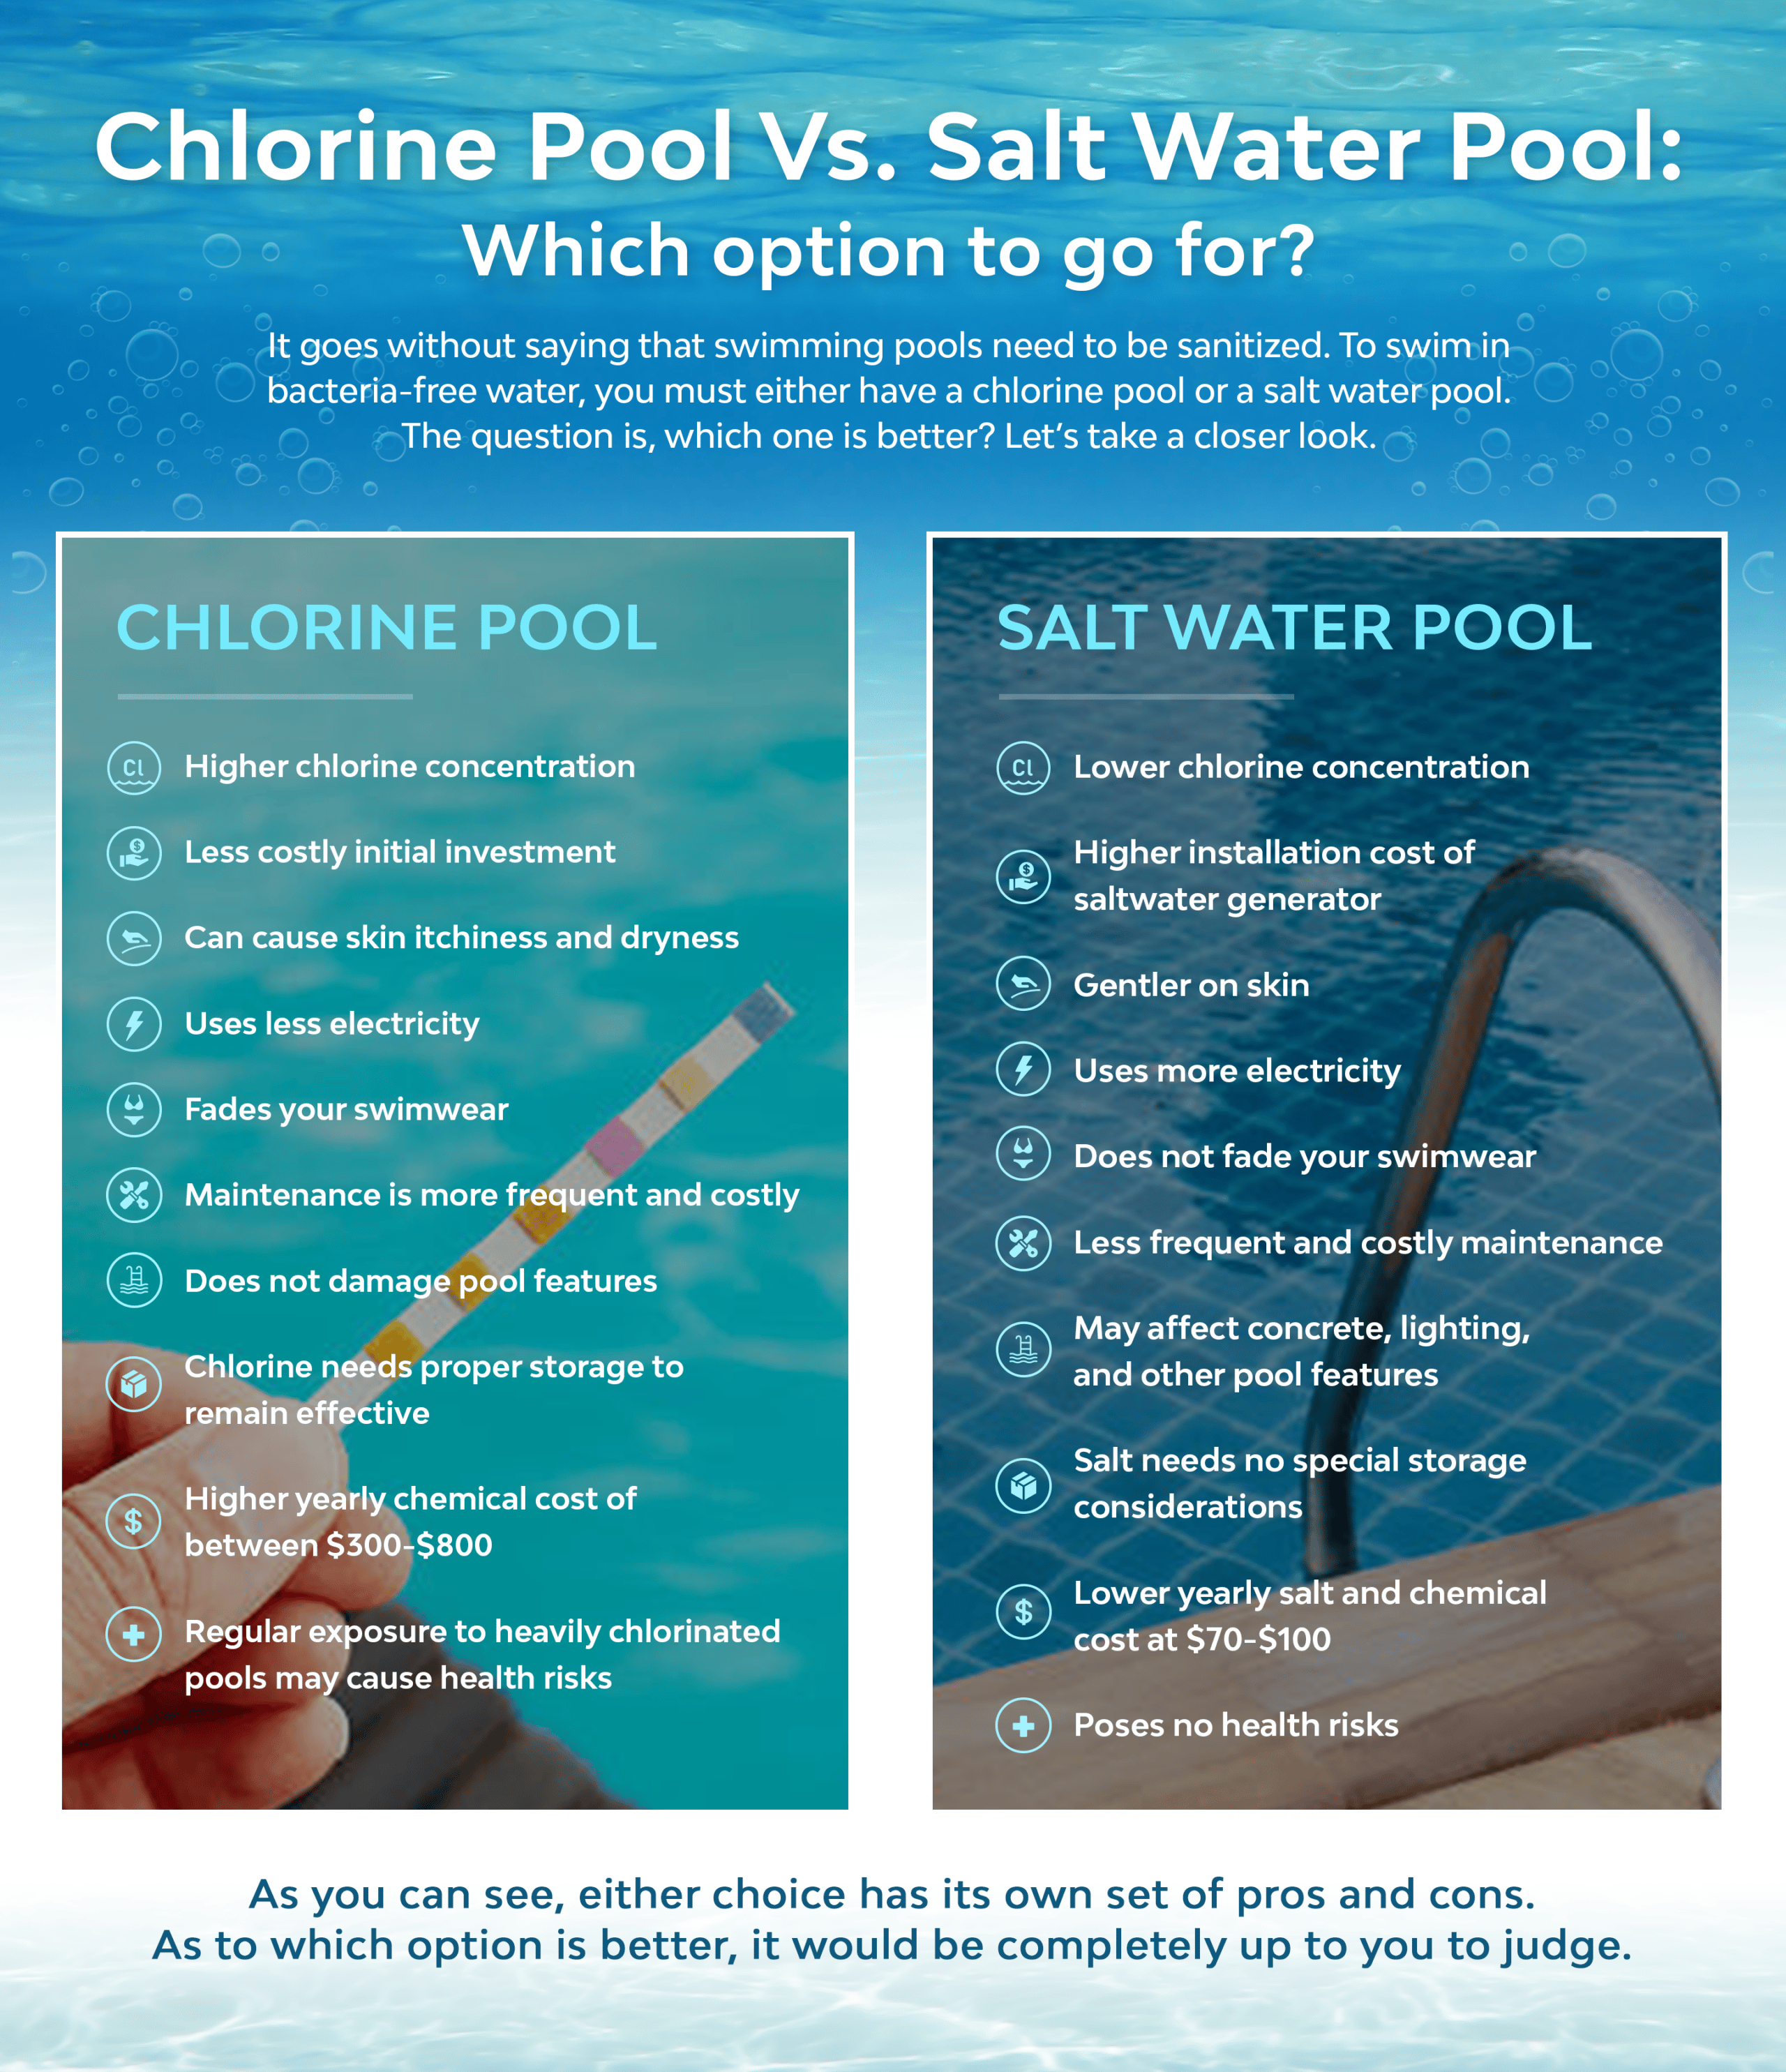
Test strips are fine for a quick check, but they don't cut it for modern setups. If you're running a saltwater system, UV sanitizer, or ozone generator, the chemistry is too complex for a simple color pad. These systems keep chlorine levels low and water quality high, but you need better tools to see what's actually happening in the water.
The CDC provides valuable resources, like their Healthy Swimming guidance, establishing a baseline for safe pool water. However, maintaining truly optimal pool condition requires moving beyond the basic checks for pH and chlorine. We’re seeing a shift towards understanding the nuances of water chemistry, and that means embracing more advanced testing methods. Relying on strips alone can lead to imbalances that aren’t immediately obvious, potentially causing equipment damage or swimmer discomfort.
The real problem with strips is that everyone sees color differently. One person's 'ideal' pink is another person's 'low' pink. Digital testers remove that guesswork. I've seen too many people chase chemical imbalances simply because they misread a chart. Moving to digital tools stops the cycle of fixing problems only after the water turns cloudy.
Digital colorimeters for objective results
Digital colorimeters are the standard for accurate testing now. These devices pass light through a water sample mixed with a reagent to measure exactly how much light gets absorbed. It gives you a hard number instead of a color guess. When you take your sample, grab it from the return jet to get the most recent mix of water.
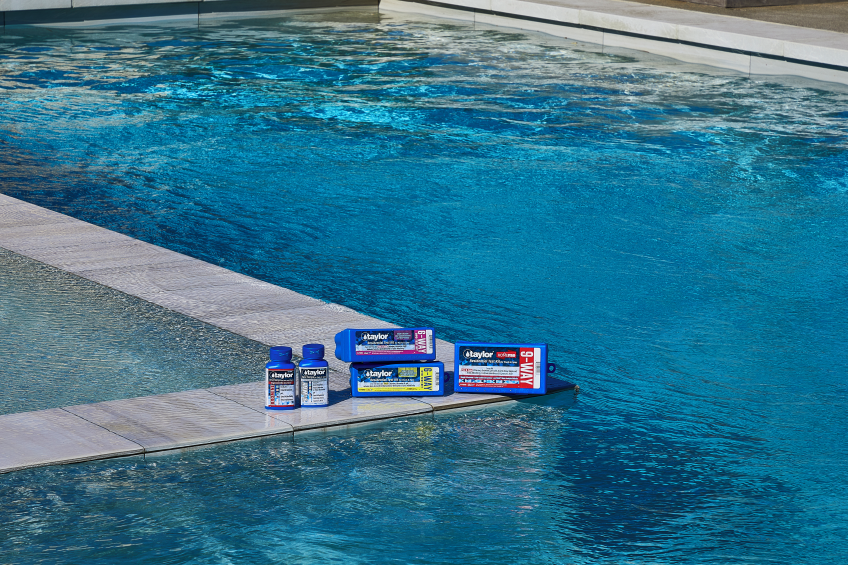
Specific reagents are then added to the sample, each designed to react with a particular chemical parameter. The colorimeter then shines a light through the sample and measures how much light is absorbed. The device then correlates that absorbance to a concentration value, displayed digitally. Parameters commonly measured include pH, chlorine (free and total), alkalinity, calcium hardness, and cyanuric acid levels. A good colorimeter, like those from LaMotte or Taylor Technologies, can deliver results within a few seconds.
Beyond accuracy, digital colorimeters offer efficiency. Many models have the ability to store previous readings, allowing for tracking trends over time. Some can even integrate with pool management software, automating data logging and generating reports. This is invaluable for maintaining a consistent record of water chemistry, identifying potential problems early, and demonstrating compliance with local regulations. Data logging makes spotting gradual shifts in water balance much easier than relying on memory or handwritten notes.
The cost of a quality digital colorimeter ranges from around $200 to $800, depending on the features and the number of parameters it can measure. While more expensive than test strips, the increased accuracy and time savings often justify the investment, particularly for pool service professionals or owners who are serious about maintaining pristine water quality.
Finding metals with photometric titration
While digital colorimeters excel at measuring common pool chemicals, certain parameters require a more sensitive approach. Photometric titration is a technique used to precisely measure the concentration of metals like iron and copper, as well as phosphates. These substances aren’t typically measured with standard colorimeters, but their presence can cause staining, reduce sanitizer effectiveness, and impact overall water quality.
The process involves adding a reagent to the water sample that reacts with the target substance, forming a colored complex. A photometric titrator then measures the intensity of the color, determining the concentration of the substance. It’s a bit more involved than a simple colorimetric test, but the level of precision is significantly higher. This is why professional pool inspectors often rely on this method when investigating staining issues or persistent water clarity problems.
For example, iron in pool water can cause brown staining, while copper can produce green or blue discoloration. Identifying the specific metal and its concentration is crucial for selecting the appropriate treatment. Similarly, phosphates can fuel algae growth, even with adequate chlorine levels. Photometric titration allows for accurate measurement of phosphate levels, enabling targeted treatment to prevent algae blooms. It’s a technique that goes beyond simply balancing the basic chemicals and addresses underlying water quality issues.
Predicting scale and corrosion with LSI
Maintaining proper pool chemical balance isn’t just about hitting the right numbers for pH, alkalinity, and calcium hardness. It’s about understanding how these factors interact and their potential to cause scaling or corrosion. This is where the Langelier Saturation Index (LSI) comes in. The LSI is a calculated value that predicts whether pool water is likely to dissolve calcium carbonate, leading to scaling, or dissolve calcium from pool surfaces, causing corrosion.
The LSI calculation takes into account pH, alkalinity, calcium hardness, and water temperature. A positive LSI suggests the water is saturated and scaling is likely, while a negative LSI indicates the water is corrosive. Ideally, the LSI should be between -0.3 and +0.3. Other saturation indices, like the Ryznar Index, are also used, but the LSI is the most commonly applied in pool maintenance. The Ryznar Index focuses more specifically on corrosion potential.
I use these indices to check if a pool is going to cost the owner thousands in repairs five years down the line. If your LSI is high, you need to drop your pH or alkalinity before scale ruins the tile. If it's low, your water is 'hungry' and will eat the grout or plaster to get the calcium it needs. Keep it between -0.3 and +0.3 to keep the surfaces intact.
Advanced Sanitizer Testing: Beyond Free Chlorine
While free chlorine is the primary measure of a pool’s sanitizing power, it doesn’t tell the whole story. Combined chlorine, also known as chloramines, are formed when chlorine reacts with contaminants like sweat, urine, and body oils. Chloramines are less effective at killing bacteria and are responsible for the chlorine smell and eye irritation often associated with pools.
Testing for combined chlorine is crucial for maintaining water quality and swimmer comfort. The DPD-8 method is a common technique used to measure chloramines. It involves adding a reagent that reacts specifically with combined chlorine, producing a pink color. The intensity of the pink color is then measured using a colorimeter or spectrophotometer. High levels of chloramines indicate a need for shock treatment to break them down.
However, chlorine isn’t the only sanitizer. Many pools utilize bromine, biguanide, or mineral systems. Each of these requires specific testing methods and target levels. Bromine testing uses similar reagents to chlorine testing, but produces a different color reaction. Biguanide systems require specialized test kits, and mineral systems often rely on monitoring pH and alkalinity. Professional pool inspections will account for the specific sanitizer used and ensure it’s functioning effectively.
Microscopic Analysis: Identifying Hidden Issues
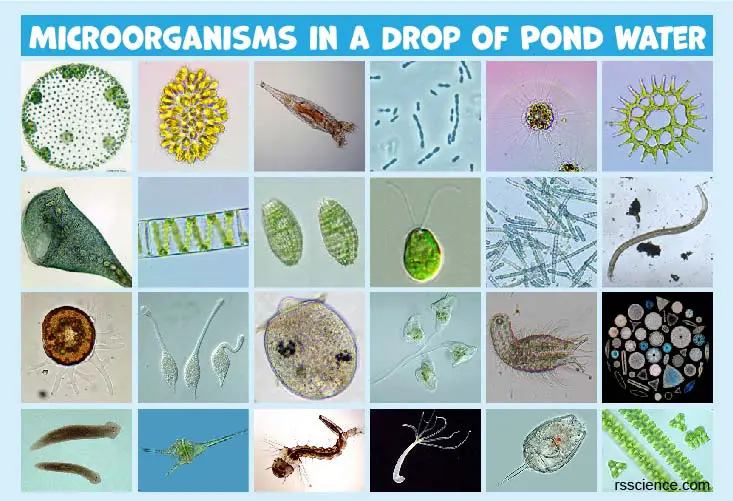
Sometimes, water quality problems aren’t caused by chemical imbalances, but by the presence of microscopic contaminants. Microscopic analysis allows for the identification of algae spores, bacteria, and other organisms that can impact water clarity and swimmer health. This involves collecting a water sample and examining it under a microscope.
The equipment used includes a microscope, slides, and coverslips. The sample is typically placed on a slide and viewed under magnification. Different types of algae and bacteria have distinct appearances, allowing for accurate identification. This technique, highlighted in the CDC’s Pool Inspection Toolkit, can help diagnose persistent water quality problems that aren’t responding to conventional treatments.
For example, identifying a specific type of algae spore can help determine the source of an outbreak and select the most effective algaecide. Similarly, detecting high levels of bacteria can indicate a need for shock treatment or filter backwashing. Microscopic analysis provides valuable insights into the biological health of the pool water, complementing chemical testing and ensuring a safe and enjoyable swimming environment.


No comments yet. Be the first to share your thoughts!