
Start with the water chemistry
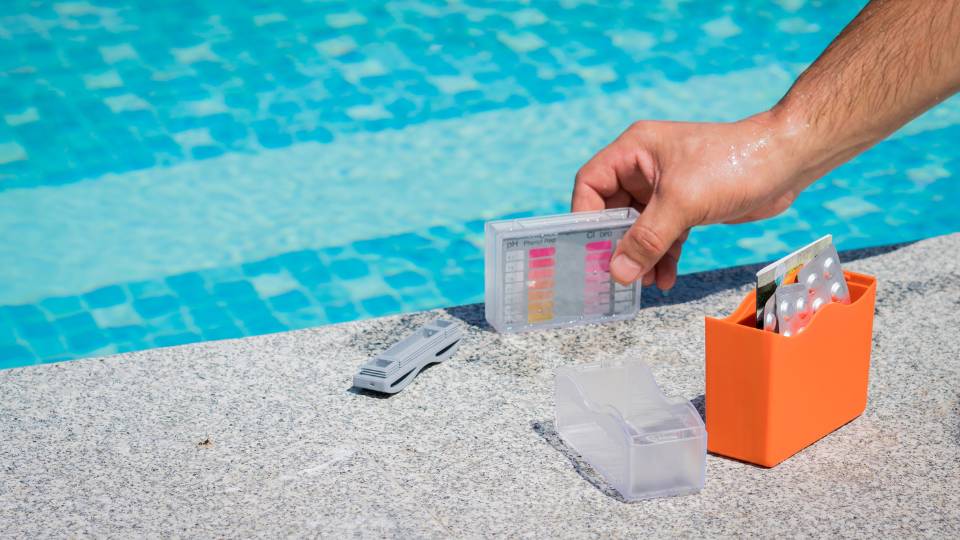
Testing and balancing your pool water is the first step in any thorough swimming pool inspection. Clear, balanced water is the most visible sign of a well-maintained system. It prevents corrosion, protects your equipment, and ensures the water is safe for swimmers. If the chemistry is off, even a clean pool can harbor bacteria or irritate skin and eyes.
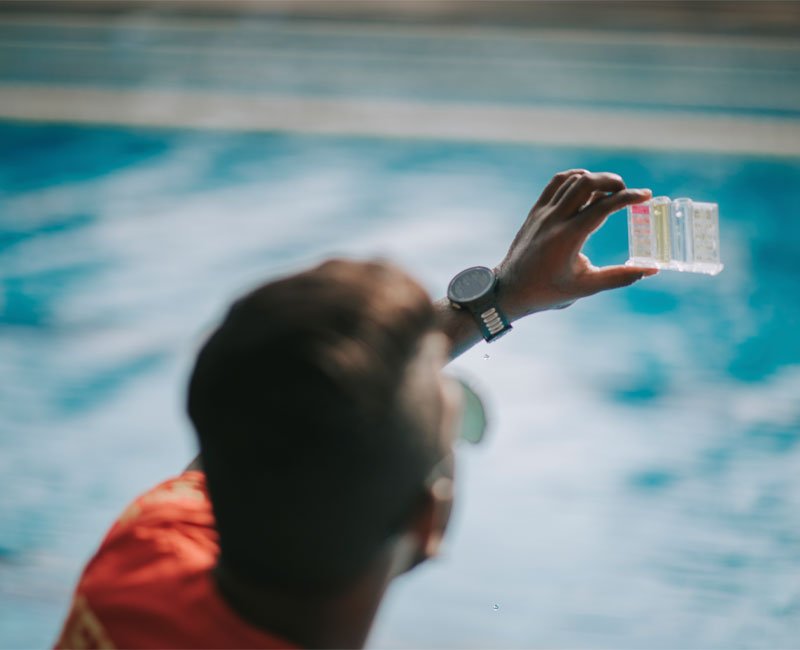
Step 1: Test the free chlorine level
Chlorine is the primary sanitizer that kills bacteria and algae. For a standard residential pool, you want free chlorine levels between 1 and 3 parts per million (ppm). Use a liquid test kit or digital meter for the most accurate reading. If the level is below 1 ppm, the pool is not adequately sanitized. If it exceeds 5 ppm, it may cause skin irritation and damage pool surfaces over time.
Use a reliable test kit to measure free chlorine. Aim for 1–3 ppm to ensure effective sanitization without irritation.
Step 2: Check the pH balance
pH measures how acidic or basic the water is. The ideal range for residential pools is 7.2 to 7.6. When pH is too low, the water becomes acidic, which can corrode metal parts, etch plaster, and irritate swimmers’ eyes. When pH is too high, chlorine becomes less effective, leading to cloudy water and scale buildup on tiles and equipment. Adjusting pH is often the most frequent maintenance task.
Keep pH between 7.2 and 7.6. Low pH corrodes equipment; high pH reduces chlorine’s effectiveness.
Step 3: Measure total alkalinity
Total alkalinity acts as a buffer for pH, preventing rapid fluctuations. The target range is 80 to 120 parts per million (ppm). If alkalinity is too low, pH will bounce up and down unpredictably, making it difficult to maintain balance. If it is too high, pH will tend to drift upward, and you may need to use muriatic acid to lower both alkalinity and pH. Testing alkalinity helps you predict and prevent pH swings.
Maintain alkalinity at 80–120 ppm to stabilize pH and prevent erratic chemical swings.
Step 4: Evaluate calcium hardness
Calcium hardness indicates the amount of dissolved calcium in the water. For concrete or plaster pools, aim for 200 to 400 ppm. Low hardness can lead to corrosive water that leaches calcium from the plaster, causing pitting and roughness. High hardness causes calcium scale to form on surfaces and equipment. Vinyl liner pools generally require lower hardness, around 150 to 250 ppm, to prevent liner shrinkage or stress.
Keep calcium hardness between 200–400 ppm for plaster pools to prevent scaling or corrosion.
Step 5: Test for cyanuric acid
Cyanuric acid (CYA) acts as a stabilizer, protecting chlorine from being broken down by sunlight. The ideal range is 30 to 50 ppm for outdoor pools. If CYA is too low, chlorine dissipates quickly, requiring constant re-dosing. If it is too high, chlorine becomes "locked" and less effective, even if your test shows adequate free chlorine levels. Indoor pools typically do not need CYA since there is no sunlight exposure.
Maintain CYA at 30–50 ppm outdoors to protect chlorine from UV degradation.
Once you have these five parameters, you can determine exactly what chemicals to add. Always add chemicals slowly, circulate the water, and retest after a few hours. Consistent monitoring prevents small imbalances from becoming major inspection failures.
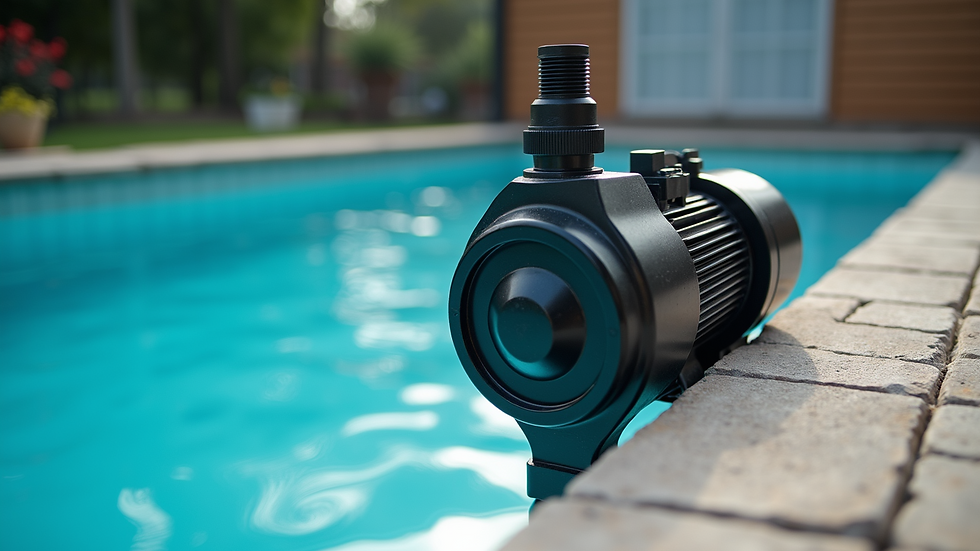
Check mechanical equipment function
The pool’s mechanical room is where the water comes alive. This is where the pump pushes water through the filter, and the heater keeps the temperature comfortable. During a swimming pool inspection, these components are critical to check. A failure here means stagnant water or a cold plunge, not to mention the water damage from leaks.
Start by turning the system on. Listen for the hum of the pump. It should sound steady, like a low engine. If you hear grinding, squealing, or loud rattling, something is worn or obstructed. These noises often point to bearing failure or debris caught in the impeller. Addressing this early prevents the pump from burning out completely.
Next, look at the pressure gauge on the filter. This tells you how hard the pump is working to push water through the media. If the pressure is unusually high, the filter is likely clogged and needs backwashing or cleaning. If the pressure is low, there is a leak in the suction line, or a strainer basket is blocked. A healthy system maintains a consistent reading while running.
Finally, inspect the heater and all visible plumbing. Run your hand along the pipes and connections for dampness. Leaks often start as small drips at seals or unions. Check the heater’s display for error codes. If the unit won’t ignite or shuts off randomly, the sensors or gas valve may be failing. Document any unusual sounds, leaks, or gauge readings for your report.
Turn the pump on and stand close. Listen for grinding, squealing, or rattling. These sounds indicate worn bearings or debris in the impeller. A steady hum is normal; anything else suggests immediate maintenance is needed to prevent motor burnout.
Observe the pressure gauge on the filter tank. High pressure usually means the filter is clogged and needs backwashing. Low pressure suggests a suction leak or a blocked strainer basket. Compare the reading to the system’s normal operating range to identify issues.
Run your hand along pipes and unions to feel for dampness. Check the heater’s display for error codes. Leaks often start as small drips at seals. If the heater won’t ignite or shuts off randomly, the sensors or gas valve may be failing and require professional attention.
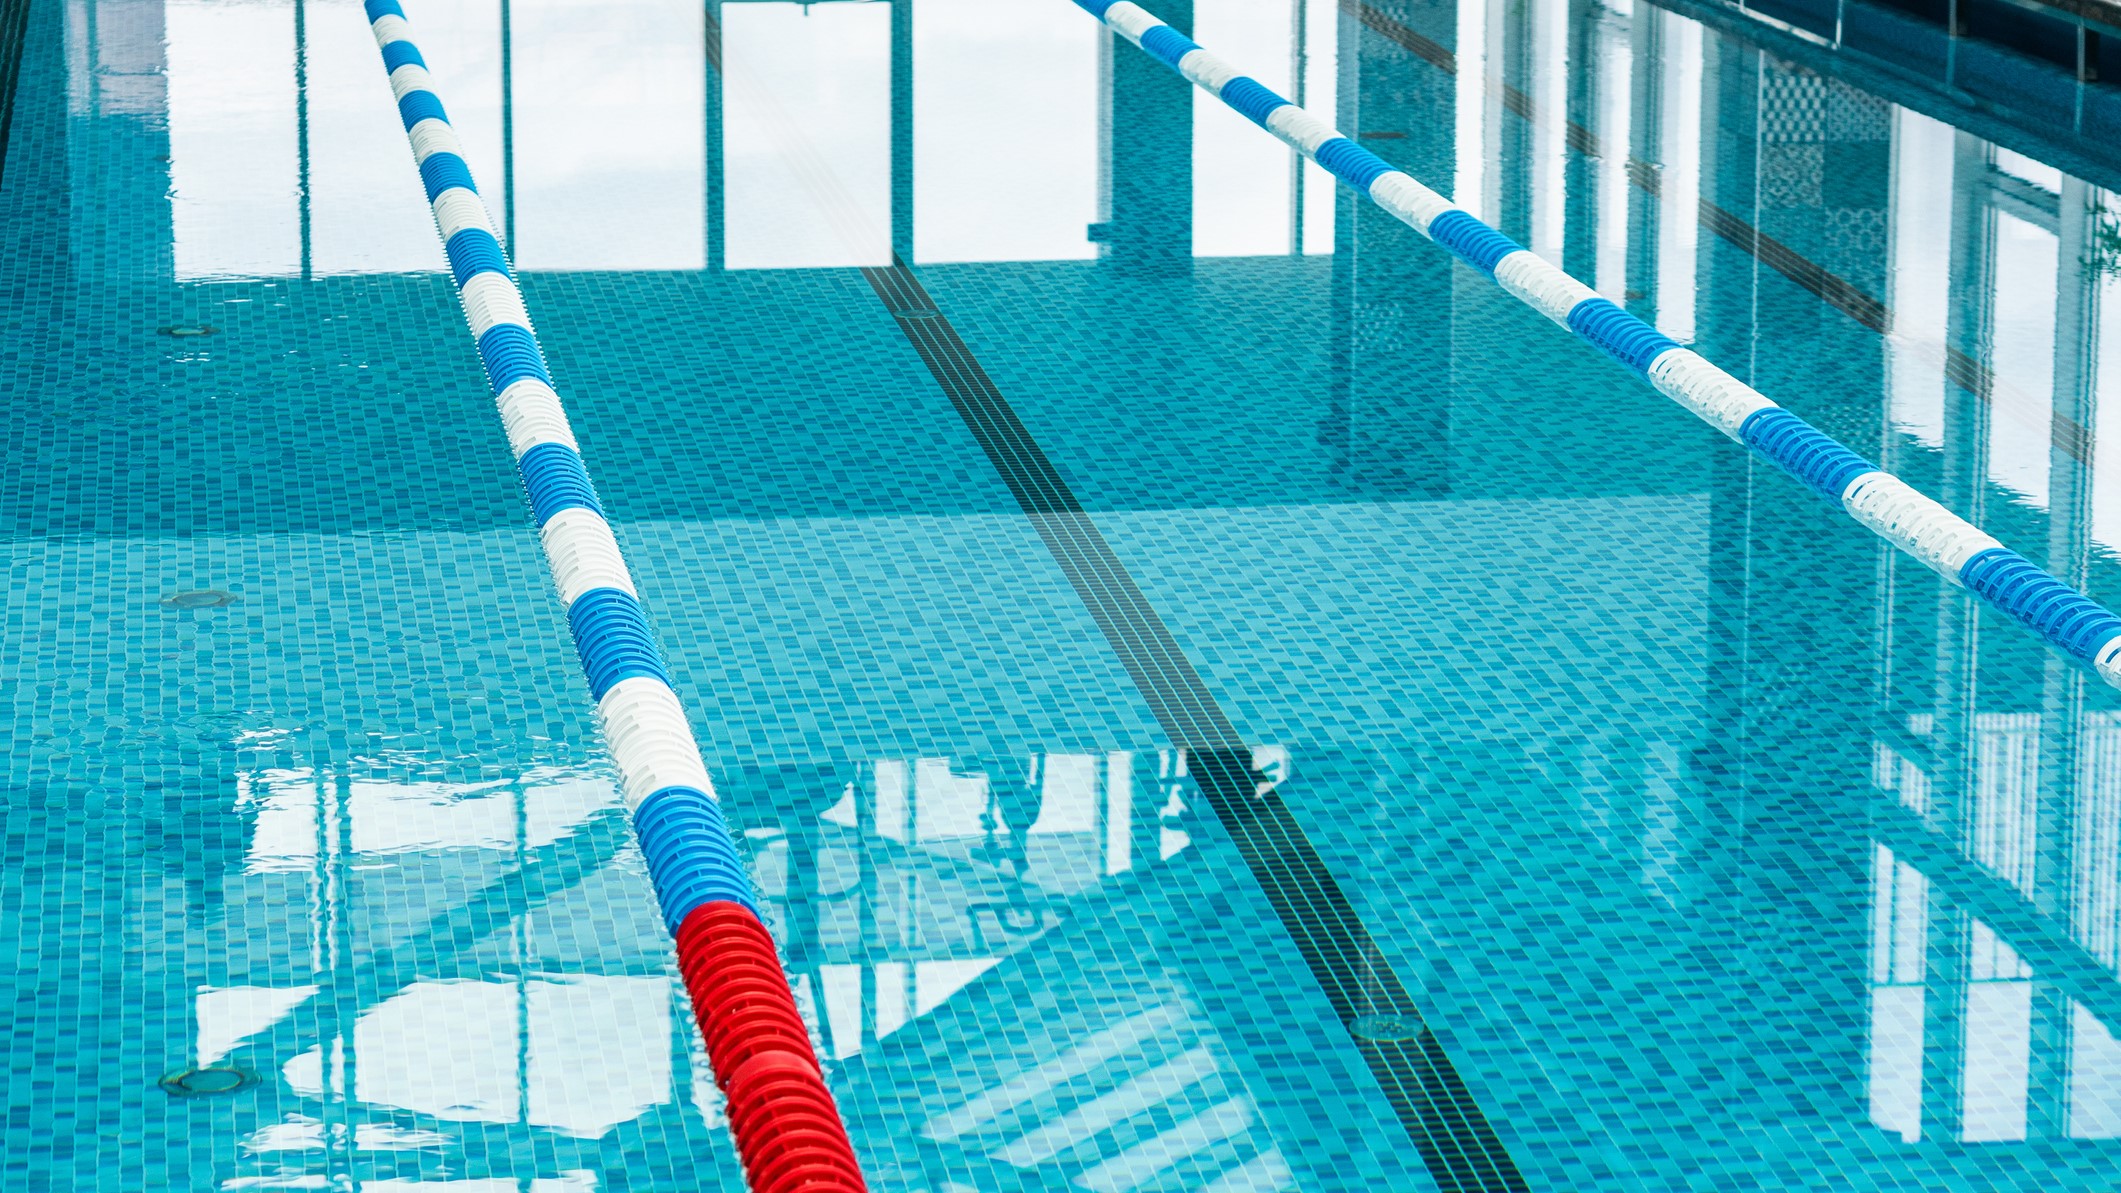
Inspect the deck and coping
The pool deck and coping are the first line of defense against slips and falls. Because this area takes the brunt of foot traffic, weather exposure, and chemical splashes, it is often the first place to show wear. A quick visual scan and a physical check can reveal hazards before they cause injury or expensive damage.
Start by checking the elevation of the deck relative to the pool coping. The deck should slope slightly away from the water to prevent runoff from pooling at the edge. If the deck is level or slopes inward, water will sit there, creating a slip hazard and potentially seeping into the pool structure. Look for uneven settling or sunken sections that could trip a guest. Blue Haven notes that deck elevation is a critical part of a thorough pool inspection.
Next, examine the coping stones or tiles that cap the pool edge. These pieces must be secure. Gently press down on each stone; if any move or feel loose, they need to be reset. Loose coping is a major tripping hazard and can allow water to infiltrate the pool shell, leading to larger structural issues over time. Check for cracks in the coping or the deck surface. Small hairline cracks are common in concrete, but wide or widening cracks should be monitored. If you see vegetation growing out of cracks, it indicates moisture is trapped, which can accelerate deterioration.
Finally, look for sharp edges or splintered wood if you have a wooden deck. Rough spots can cause injuries, especially for barefoot children. Ensure that any non-slip coatings are still effective. If the surface feels slick when wet, it may be time to reapply a traction coating or replace worn tiles.
Verify safety features work
A swimming pool inspection isn’t complete until you confirm that physical barriers and drainage systems are secure. These features are the last line of defense against accidental drowning and entrapment. Treat this step as a functional test, not just a visual check.
Check fences and gates
Walk the entire perimeter of the pool area. The fence must be at least four feet high with no gaps wider than four inches at the bottom or between pickets. Check that the gate is self-closing and self-latching. Open the gate fully to ensure it swings shut on its own every time. The latch should be positioned high enough that small children cannot reach it, typically at least 54 inches from the bottom of the gate.
Inspect drain covers
Drain covers must be compliant with the Virginia Graeme Baker Pool and Spa Safety Act. Look for the "VGB" marking on the cover plate. Ensure the cover is securely fastened with no visible cracks or missing screws. Loose or damaged covers can create dangerous suction that traps swimmers. If the cover is older than ten years, it likely doesn’t meet current safety standards and should be replaced.
Test pool alarms
If your pool has alarms, activate them to verify functionality. Surface wave alarms should trigger when someone enters the water unexpectedly. Gate alarms should sound immediately when the pool access gate is opened. Replace batteries in any wireless units and ensure sensors are clean and unobstructed. A silent alarm is no alarm at all.
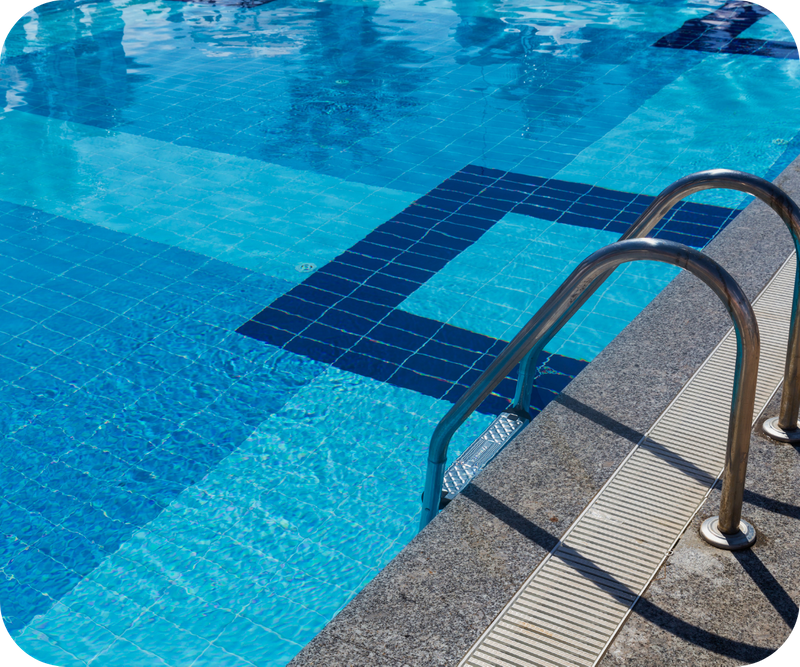
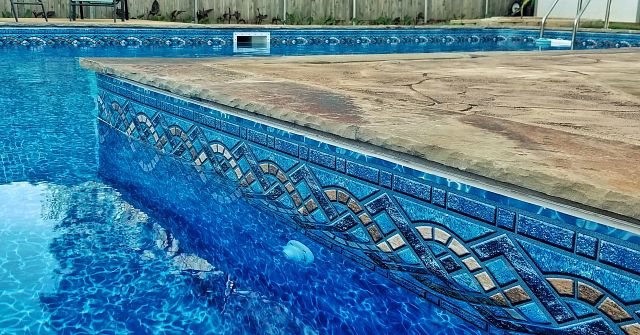
Review interior surface condition
The pool’s interior surface—whether plaster, pebble, or tile—is the first place to look for structural integrity and water quality issues. A healthy surface should be smooth and uniform. When you spot irregularities, you are often seeing early warnings of chemical imbalance or age-related wear.
Check for cracks and gaps
Start by scanning the entire floor and walls for hairline cracks. Small, spiderweb-like fractures, known as crazing, are common in older plaster pools and often indicate shrinkage during the curing process. These are usually cosmetic but can widen over time if the underlying structure shifts. Look for larger, distinct cracks that run across the surface; these suggest structural movement and require professional assessment.
Pay close attention to the coves, where the floor meets the walls. This area is under constant stress and is a frequent failure point. Gaps here can allow water to seep behind the shell, leading to more significant damage. Also, inspect around fittings like return jets and skimmers. If you see cracks radiating from these points, the seal may be failing, allowing water to penetrate the pool structure.
Identify stains and discoloration
Stains are often the result of chemical imbalances or external contaminants. Iron stains appear as reddish-brown spots and are common in areas with high iron content in the water supply. Copper stains can turn the surface blue or green. Organic stains, caused by leaves or dirt, usually appear as black or dark green patches.
Distinguish between surface stains and deep discoloration. If a stain rubs off with a pumice stone, it is likely surface-level and can be removed with cleaning. If the discoloration remains, it has penetrated the plaster, which is more difficult to repair. Persistent staining often indicates chronic chemical issues, such as low alkalinity or high copper levels, which need to be corrected to prevent further damage.
Compile your inspection report
A thorough swimming pool inspection is only as good as the documentation that follows. Without a structured record, minor wear becomes major damage before you even notice. Organizing your findings now helps you prioritize repairs and communicate clearly with contractors or inspectors.
Start by creating a master list of every issue you observed. Group these items by category—structural, mechanical, or safety—to see the full scope of the problem. For each entry, note the location, severity, and any immediate risks. This separation prevents urgent safety hazards from getting buried under cosmetic concerns.
Use the checklist below to ensure no critical component is overlooked during your documentation phase. This printable guide aligns with the American Society of Home Inspectors' standards for residential pool assessments, helping you maintain a consistent and professional record.
-
Record water level and note any significant drops
-
Document all visible cracks, gaps, or loose tiles
-
Note chemical balance readings and filter pressure
-
List all safety features and their operational status
-
Photograph each defect with a timestamp and scale reference
Once your list is complete, assign a priority level to each item. Use a simple red, yellow, green system: red for immediate safety or water loss risks, yellow for functional issues that need repair soon, and green for cosmetic items that can wait. This visual hierarchy makes it easier to budget and plan your next steps without feeling overwhelmed.
Common pool inspection: what to check next
Home buyers and owners often ask the same questions before scheduling a pool inspection. Understanding the scope, cost, and frequency helps you decide whether to hire a professional or handle it yourself.
No comments yet. Be the first to share your thoughts!