
A 2026 pool inspection is the most effective way to protect your investment by revealing structural cracks, equipment failures, and safety code violations before they escalate into costly emergencies. While a swimming pool is a significant asset, it is also a major liability if neglected; hidden issues can quickly turn a backyard retreat into a financial burden. This guide details the step-by-step inspection workflow for homeowners and buyers, focusing on concrete examples of cracks, pumps, and fences, along with real-world cost ranges and specific inspection points.
Inspect the pool structure and shell
The pool shell is the foundation of your backyard water feature. Cracks, leaks, and surface wear can escalate from cosmetic annoyances into expensive structural failures if left unchecked. A thorough visual inspection helps you spot these issues early, saving thousands in potential repairs.
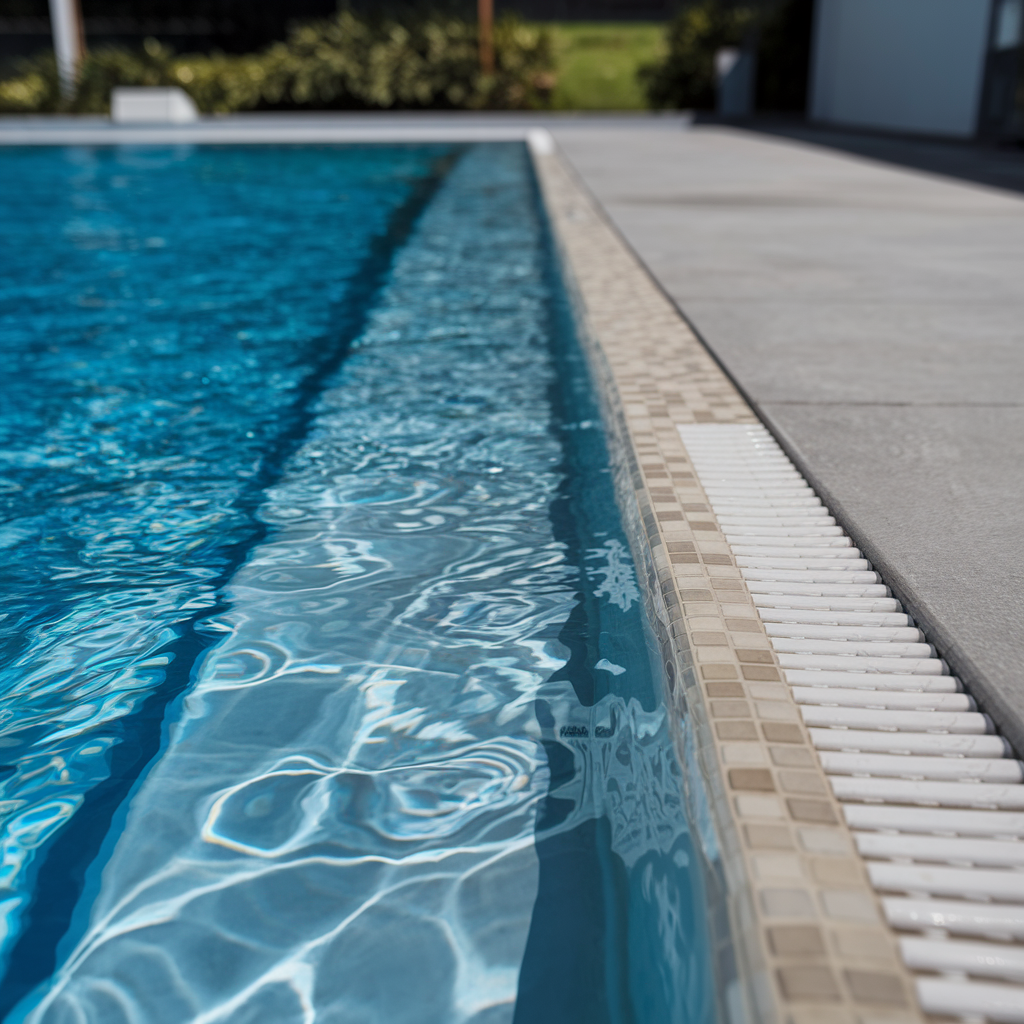
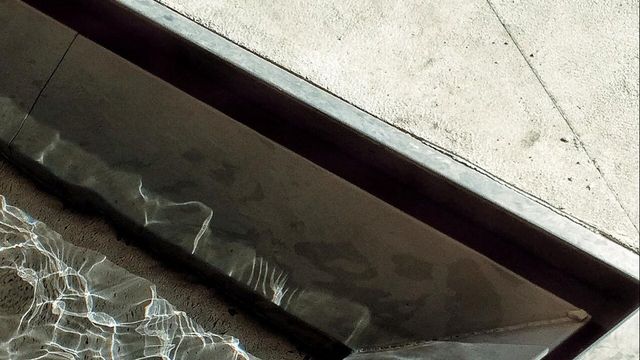
Walk the entire perimeter of the pool. Look closely at the coping stones, the bond beam, and the floor junction. Hairline cracks in concrete or fiberglass are common as pools settle, but wide fissures or gaps between coping stones indicate shifting that requires professional attention. Note any vertical cracks in the walls, which can signal structural stress.
Perform a simple bucket test to rule out normal evaporation. Place a bucket filled with pool water on the first step so it’s submerged about an inch. Mark the water level inside and outside the bucket. After 24 hours, compare the levels. If the pool water level dropped more than the bucket water, you likely have a leak in the shell or plumbing that needs a pressure test.
Inspect the interior finish for peeling, blistering, or rough patches. In plaster pools, look for exposed aggregate or tile lines that are becoming visible. Fiberglass pools should be checked for gel coat crazing (a network of fine cracks). Rough surfaces can irritate skin and trap debris, while significant finish failure often signals underlying substrate issues.
A professional pool inspection typically costs between $150 and $325, depending on your location and the pool type. This upfront cost is minor compared to the repair bills for neglected structural damage. If you spot major cracks or significant water loss, consult a licensed pool contractor before proceeding with any purchase or ignoring the issue.
Test pumps, filters, and heaters
When testing pool equipment, focus on the mechanical health of the system. Inspect the pump motor for unusual vibrations or noise, which often indicate bearing wear. Check the filter pressure gauge; a pressure reading 8–10 psi above the clean starting point suggests the filter is clogged and needs backwashing or cleaning. For heaters, verify that the ignition sequence completes without error codes and that the exhaust vent is clear of debris. If equipment is older than 10 years, factor in the tradeoff between repair costs and the efficiency gains of a new unit, as older pumps can significantly increase electricity bills.
Verify water quality and chemistry
Balanced water is the heart of a healthy pool. When chemistry drifts, even the cleanest equipment can’t stop algae from blooming or bacteria from thriving. Testing the water early in your inspection tells you if the pool is safe to swim in or if it needs immediate treatment.
Start with a reliable test kit or digital meter. Check three core numbers: pH, chlorine (or bromine), and alkalinity. Ideal pH levels for swimming pools range between 7.2 and 7.6. If the pH is too low, the water becomes acidic and can corrode metal parts. If it’s too high, chlorine loses its effectiveness, and cloudy water follows.
Look for visual signs of imbalance. Cloudy water often means low chlorine or high pH. Green tints signal algae growth, which usually happens when sanitizer levels drop below 1–3 ppm. If the water looks clear but smells strong, that’s actually chloramine buildup from inadequate circulation, not just excess chlorine.
Don’t ignore the filter and pump while testing. Poor circulation can create stagnant pockets where bacteria hide, even if the main water looks fine. Run the pump for at least 8–10 hours daily to keep chemicals distributed evenly. If you spot algae spots on the walls or floor, brush them immediately before shocking the pool to kill the spores.
If your test results are off, adjust chemicals gradually. Add pH increaser or decreaser first, wait two hours, then retest. Only then add chlorine or algaecide. Rushing these steps often leads to overcorrection, which wastes money and irritates skin. For a professional evaluation, expect to pay between $85 and $325 depending on your location, as noted by Angi’s cost data.
Check safety barriers and electrical
Safety barriers and electrical systems are the last line of defense against pool accidents. A failure here isn't just a maintenance annoyance; it's a liability risk. Start by examining the perimeter fencing. Most local codes require a barrier at least four feet high, separating the pool from the house and yard. Inspect the fence for structural integrity, ensuring there are no gaps large enough for a child to squeeze through and no climbable features like horizontal rails or nearby trees that could serve as a ladder.
Next, test the self-closing and self-latching mechanisms on all pool gates. The gate must close and latch automatically every time it is opened. The latch should be positioned high enough—typically at least 54 inches from the bottom of the gate—to be out of a small child's reach. If the gate drags on the ground or the spring mechanism is weak, it needs adjustment or replacement to meet safety standards.
Finally, verify the electrical grounding of all pool equipment. Loose wires, corroded connections, or damaged outlets near the water are severe shock hazards. Ensure that all electrical components are properly grounded and that GFCI (Ground Fault Circuit Interrupter) outlets are installed and functioning correctly. These outlets cut power instantly if they detect a current leak, providing critical protection against electrocution. If you are unsure about the electrical setup, hire a licensed electrician to perform a safety audit.
Watch a professional pool walkthrough
Visualizing the inspection process helps you understand the systematic approach experts use to evaluate a pool and spa. Instead of guessing what to look for, you can follow a trained inspector as they move through the property, checking critical components in a logical order.
The video below features InterNACHI’s Ben Gromicko performing a complete pool inspection using the association’s official checklist. This walkthrough demonstrates how professionals identify structural cracks, test pump and filter performance, and verify water quality balance. Watching this sequence provides a concrete reference for the physical checks involved in a thorough pool inspection.
Pool Inspection Costs and FAQs
A pool inspection is a focused assessment of your pool’s structural integrity and mechanical systems. While a standard home inspection covers the house, a pool specialist looks at the water features, pumps, and fencing. This targeted approach ensures you know exactly what you are buying or maintaining.
The cost varies significantly by region and pool size. In California, expect to pay between $150 and $325. Florida inspections typically range from $85 to $250, while Minnesota and New York can run from $110 to over $1,000 depending on complexity. These fees cover a detailed walkthrough of the equipment and structure.
Understanding these costs helps you budget for your home purchase or maintenance plan. It is a small price to pay for peace of mind regarding your pool’s condition.
Your pool inspection checklist
Use this printable summary to guide your walkthrough. A thorough inspection covers the physical structure, mechanical equipment, water quality, and safety barriers. This approach ensures you catch everything from minor aesthetic wear to serious structural or electrical issues.
-
Structure & CopingLook for cracks in the shell, loose tiles, or gaps in the coping. Check for uneven settling around the deck.
-
Equipment & MachineryInspect the pump, filter, and heater for leaks, corrosion, or unusual noises. Ensure the motor is securely mounted.
-
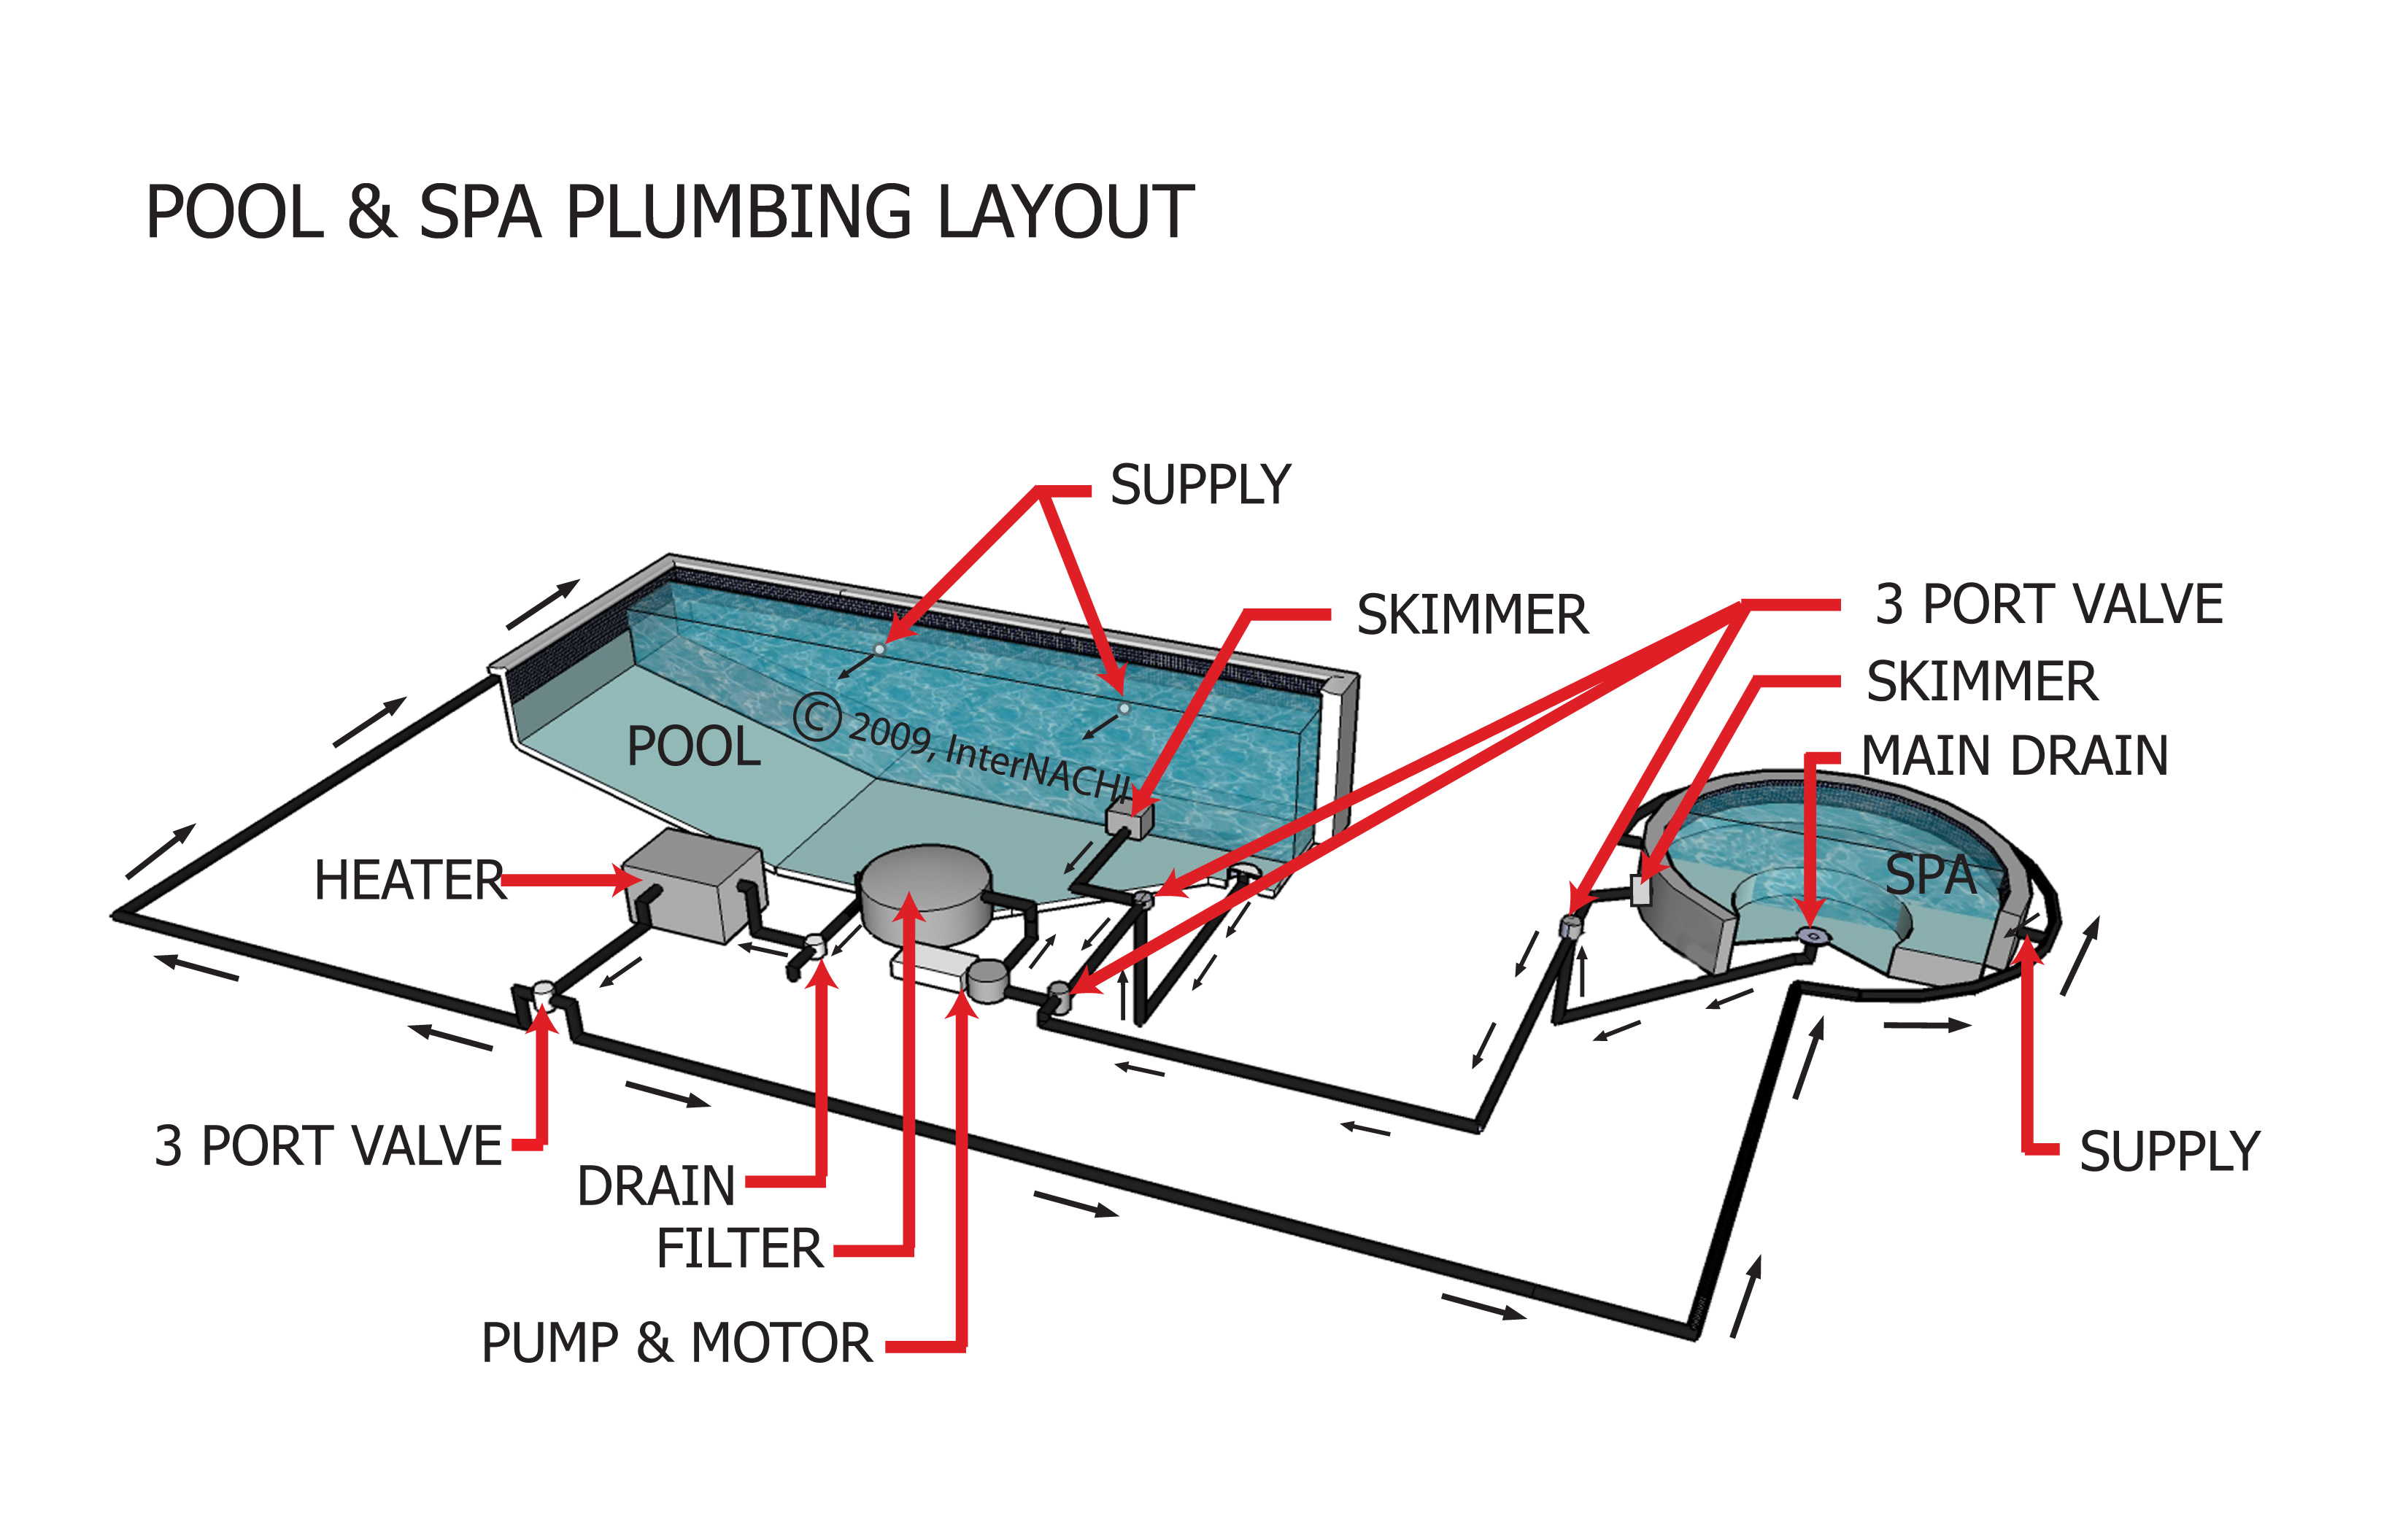
Water Quality & PlumbingTest pH, chlorine, and alkalinity levels. Check for clear water without algae. Inspect skimmer baskets and drain covers.
-
Safety & ElectricalVerify that fences, gates, and alarms meet local codes. Check GFCI outlets and ensure no exposed wiring is near the water.
No comments yet. Be the first to share your thoughts!