
Dip Your Toes into Above Ground Pool Liner Installation 🏊
Ever wondered what keeps the water in your above ground pool from seeping into the earth? The answer is a pool liner, a crucial component that acts as a barrier between the pool structure and the water. Yet, like all things, they wear out and need replacing. This is where our comprehensive pool liner installation guide comes to your rescue.
Executing a DIY above ground pool liner installation might seem like a Herculean task, but with our step-by-step pool liner installation instructions, you'll be surprised at how uncomplicated the process can be. We'll guide you through the entire journey, from selecting a high-quality pool liner to installing it properly, ensuring your pool is ready for a splash in no time.
Remember, the longevity of your pool liner depends heavily on the installation process. So, it's essential to understand the best practices for pool liner installation. Because when it comes to your pool, doing it right the first time saves you time, money, and a whole lot of hassle down the line.

Picking the Perfect Pool Liner: Why It Matters 🎯
Dive into the deep end of pool liner selection with a splash of knowledge. You're not just picking a pretty pattern; you're selecting the skin that will protect your pool from the harsh elements. Your choice in pool liner can make or break your above ground pool maintenance routine.
Consider the material. Vinyl, for instance, is popular for its durability and affordability. But what about the size? An ill-fitting liner is a recipe for disaster. It's like trying to fit into your high school jeans - it just won't work. And let's not forget about thickness. A thicker liner can withstand more wear and tear, but it may also be harder to install.
Lastly, the pattern. This is where you can let your personality shine. Whether you prefer a simple blue or a tropical mosaic, the pattern you choose sets the mood for every swim. Remember, it's not just about aesthetics, but also about quality and longevity. For more insights, check out our guide on pool liner replacement.
Different Types of Pool Liners and Their Pros and Cons
- Overlap Liners: These liners are relatively easy to install and are a cost-effective option. However, they may not provide the neatest finish as the excess liner hangs over the pool's side.
- Beaded Liners: Beaded liners offer a cleaner look as they attach to a track along the pool's edge, eliminating any overhang. However, they can be more challenging to install and are generally more expensive.
- Unibead Liners: Unibead liners are versatile, as they can function as either an overlap or beaded liner. They offer a clean finish like beaded liners but are easier to install. However, they can be pricier than overlap liners.
- Expandable Liners: These liners are designed for pools with a deep end. They can stretch to accommodate the pool's shape, offering a custom fit. However, they can be difficult to install and are typically the most expensive option.
- J-Hook Liners: J-Hook liners are easy to install and provide a clean finish as they hook onto the top of the pool wall. However, they may not be as secure as other types and are generally more expensive than overlap liners.
To help you visualize the impact of different pool liner designs on the overall aesthetic of your pool, here's a video from GLI Learning Center showcasing various pool liner designs.
After watching the video, you should have a better understanding of how different pool liner designs can transform the look of your above ground pool. Now, let's test your knowledge on pool liner materials and selection with a quick quiz.
Above Ground Pool Liner Materials and Selection Quiz
Test your knowledge on pool liner materials and how to select the right one for your above ground pool.
Learn more about 🏊 Above Ground Pool Liner Materials and Selection Quiz or discover other Aquatic Inspections quizzes.
Your DIY Toolkit: Essentials for Pool Liner Installation 🔧
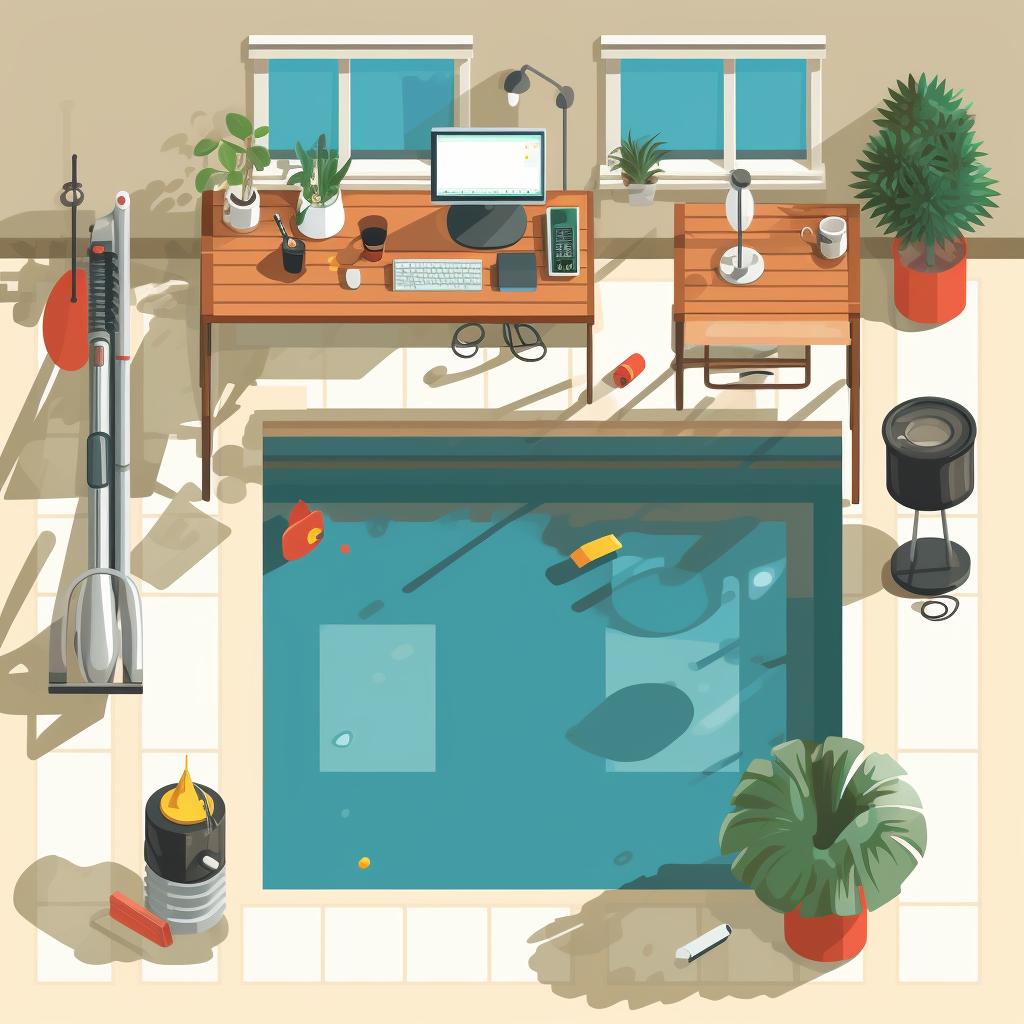
Before you dive into the DIY above ground pool liner installation, it's essential to have all your tools and materials at the ready. Think of it as preparing for an exciting adventure, where each tool plays a critical role in your journey. First, you'll need a pool liner, preferably a high-quality one that fits your pool's dimensions. Remember, this is the hero of our story!
Next, gather your sidekicks: a liner pad, pool cove, and coping strips. These items will ensure your liner sits perfectly and remains durable. You'll also need a shop vacuum to remove air between the liner and pool wall, creating a smooth finish. Don't forget your utility knife for trimming excess liner and duct tape for securing the liner during installation.
Finally, arm yourself with patience and the knowledge of the pool liner installation process. Ready to embark on this DIY journey? Let the step-by-step pool liner installation begin!
Essential Tools for Above Ground Pool Liner Installation
- Pool Liner: This is the main material needed for the installation. It serves as the barrier between the pool structure and the water, preventing leaks and enhancing the aesthetic appeal of the pool.
- Utility Knife: This is used for trimming the excess liner to ensure a perfect fit. Always ensure the blade is sharp to avoid damaging the liner.
- Duct Tape: This is used for securing the liner in place during the installation process. It helps to prevent the liner from shifting or slipping.
- Pool Liner Pad: This is placed under the liner to provide a smooth surface and protect the liner from punctures and abrasions.
- Shop Vacuum: This is used to remove air between the liner and the pool wall, ensuring a snug fit of the liner.
- Pool Liner Installation Kit: This kit typically includes items like coping strips, wall foam, and adhesive. These are used to secure the liner and provide a cushion between the liner and the pool wall.
- Measuring Tape: This is used to measure the dimensions of your pool to ensure you have the right size liner. Accurate measurements are crucial for a successful installation.
- Pool Skimmer and Return Fitting: These are installed after the liner is in place. They help to maintain water circulation and cleanliness in the pool.
Before we dive into the installation process, it's imperative to have all your tools and materials ready and within reach. Here's a step-by-step guide on how to assemble everything you need.
Assembling Your Tools & Materials for Pool Liner Installation


Learn more about 🏊♂️ Assembling Your Tools & Materials for Pool Liner Installation or discover other Aquatic Inspections guides.
Now that you've assembled all your tools and materials, you're ready to start the installation process. Let's move on to the detailed step-by-step guide for installing your above ground pool liner.
From Start to Splash: Your Guide to Pool Liner Installation 📚
Now that you've gathered all the necessary tools and materials, it's time to dive into the nitty-gritty of the pool liner installation process. Picture this: a sunny day, your favorite playlist humming in the background, and you, ready to conquer this DIY project - it's the perfect setting for a successful installation. But before we jump right in, it's essential to understand the importance of each step and follow the instructions diligently. Missteps can lead to unnecessary complications, but don't worry, we've got your back.
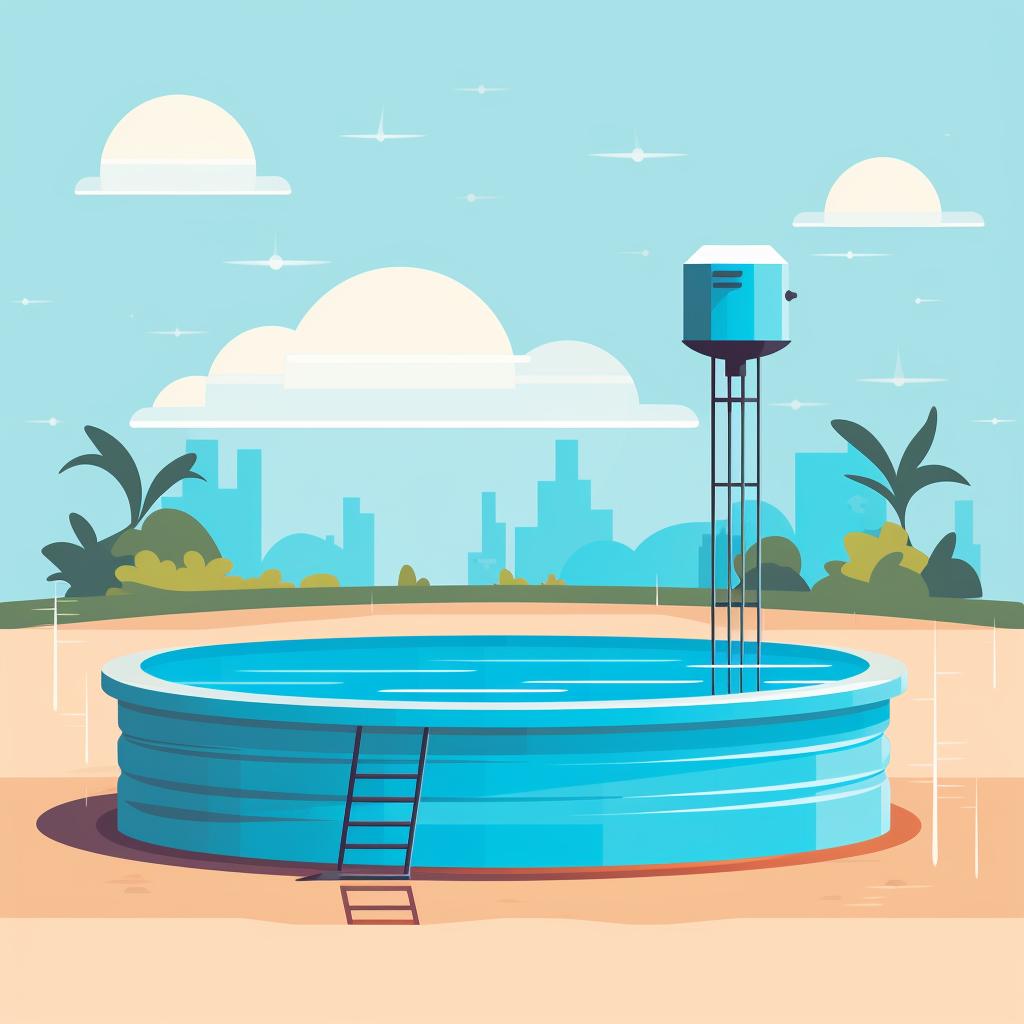
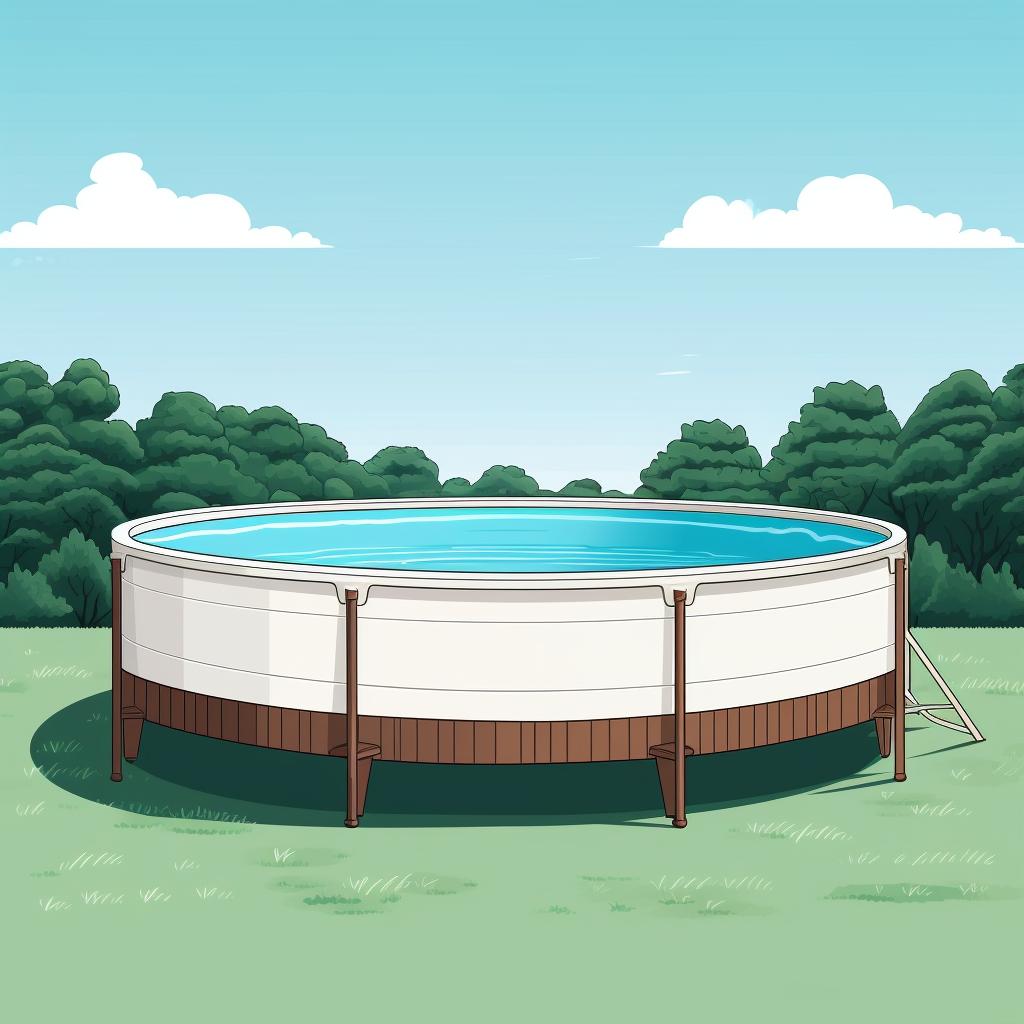
First things first, prepare your pool. This involves draining the pool and removing any debris that might have settled at the bottom. Remember, a clean pool is the first step towards a successful liner installation. If you're unsure about this process, our guide on cleaning your above-ground pool after winter can be a handy resource.
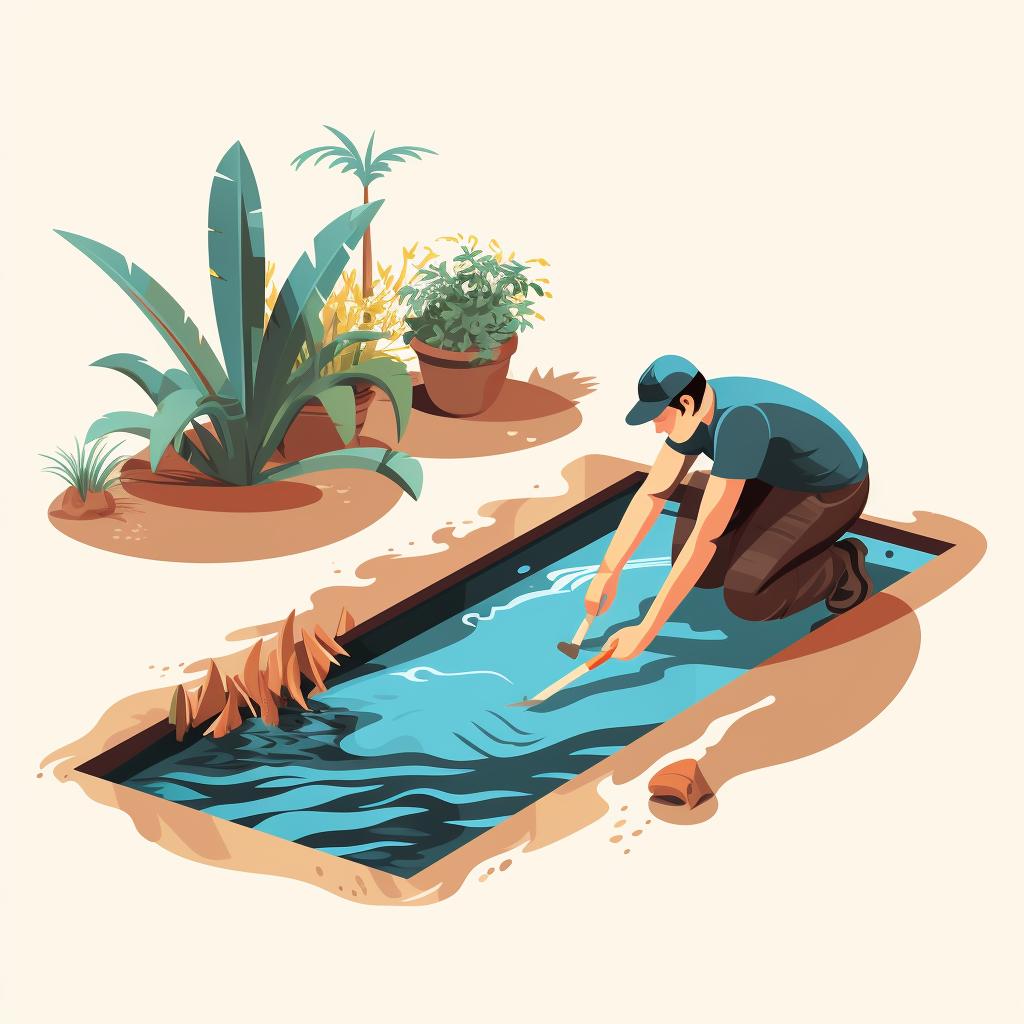
Next, out with the old and in with the new. Carefully remove your old liner, being mindful not to damage the pool structure. This is a crucial step in the pool liner installation process and requires patience and precision. For additional guidance, check out our FAQ on waterproofing your pool liner.
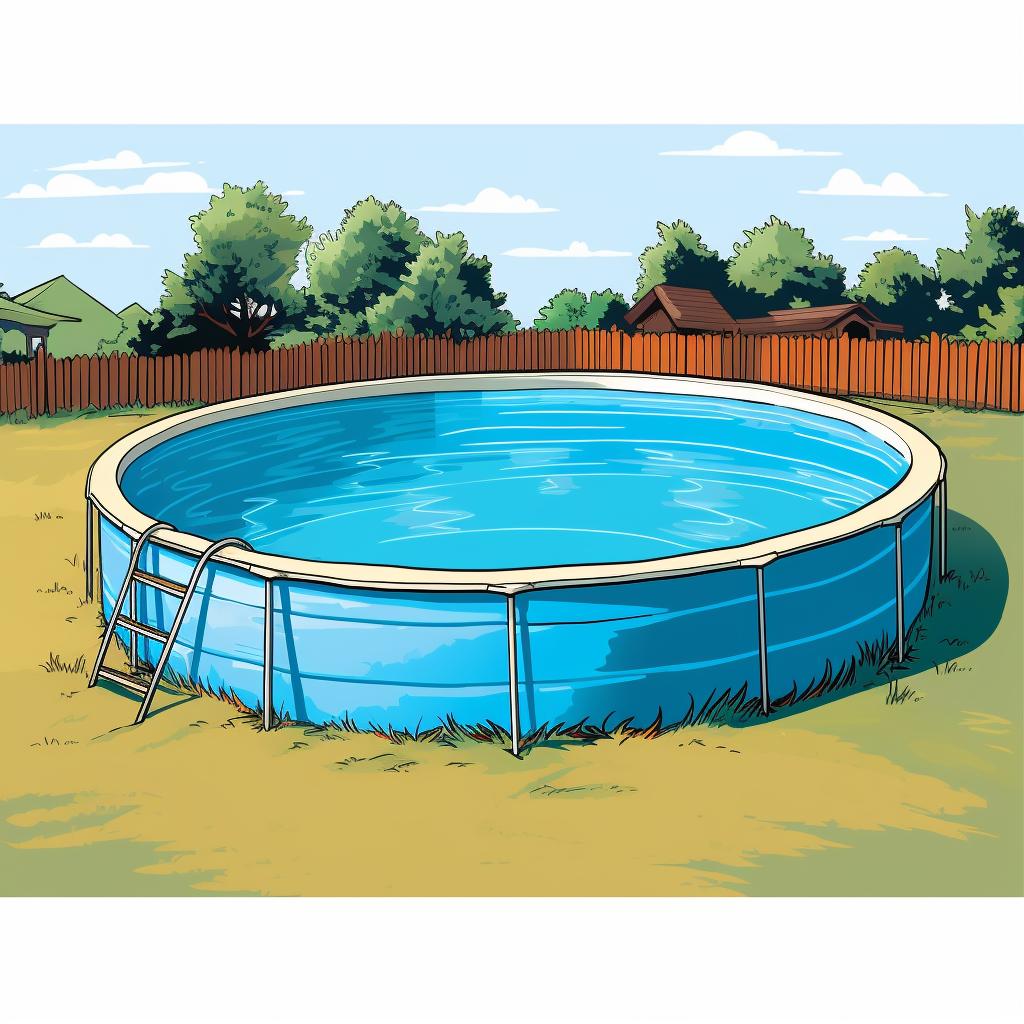
Now for the fun part - installing the new liner. Whether you've chosen a beaded liner, an expandable liner, or a J-hook liner, the process remains largely the same. Our step-by-step pool liner installation guide will walk you through the process, ensuring your pool is ready for those hot summer days in no time. And remember, if you're ever in doubt, our FAQ on swimming pool installation is always here to help.
Now that we've covered the basics, let's dive into the actual installation process. Remember, patience and precision are key to a successful installation.
Your Comprehensive Guide to Installing an Above Ground Pool Liner

Learn more about 🏊 Your Comprehensive Guide to Installing an Above Ground Pool Liner 🏊 or discover other Aquatic Inspections guides.
And there you have it! You've successfully installed your above ground pool liner. To see this process in action, check out our video tutorial below.
Now that we've gone through the step-by-step guide, let's watch a practical demonstration of how to install an above ground pool liner. This video, 'How To Replace an Above Ground Pool Liner' by Inyo Pools, will walk you through the entire process.
After watching the video, you should have a good understanding of the process of installing an above ground pool liner. However, mistakes can happen, so in the next section, we will go over some common mistakes and how to avoid them during installation.
Oops! How to Dodge Common Pool Liner Installation Blunders 🙅♂️
Ever wondered why some DIY pool liner installations end up looking like a crumpled paper bag instead of a smooth, inviting oasis? The culprit is often impatience. Rushing through the pool liner installation process can lead to wrinkles and air pockets - a definite no-no in our high quality pool liner installation guide.
Another common pitfall? Neglecting to properly prepare the pool base. It's not just about slapping on a new liner; meticulous cleaning and leveling are key to ensuring your liner lays perfectly flat. And remember, using the wrong type of sand can lead to issues down the line, so always opt for masonry sand.
Finally, be careful not to overstretch the liner during installation. It may seem like a good idea to get rid of wrinkles, but overstretching can cause your liner to become thin and vulnerable to leaks. Follow our step by step pool liner installation guide to avoid these common mistakes.
Before we move on to the maintenance tips, let's address some common questions about the mistakes and problems that can occur during pool liner installation.
Now that we've addressed these common questions, let's move on to some tips for maintaining your pool liner and extending its lifespan.
Keep it Fresh: Pro Tips for Pool Liner Longevity 🕰️
Smooth as a dolphin's back or bumpy like a toad's skin? The feel of your pool's liner is a testament to your maintenance savvy. Think about it, a well-maintained above ground pool liner can last up to a decade, saving you both time and money on frequent replacements. So, how do you squeeze every drop of longevity from your liner?
First, maintain clean and balanced water chemistry. Unbalanced water can lead to liner degradation. Remember, it's not just about sparkling clean water, it's about maintaining the liner's health too. Second, avoid dragging heavy objects across the liner as it can cause unnecessary wear and tear. Lastly, during winter, ensure your pool is properly winterized.
Every swim season, run your hands over the liner. Feel a bump? That's your cue for some DIY above ground pool liner installation. Time for a change and a chance to dive into a smoother swimming experience.
Now that we've covered the basics of pool liner maintenance, let's dive into a more detailed checklist. This will ensure you don't miss any crucial steps in taking care of your above ground pool liner.
Well done on completing the checklist! Now, let's test your understanding of the liner installation and maintenance process with an interactive quiz.
Above Ground Pool Liner Installation and Maintenance Quiz
Test your understanding of the liner installation and maintenance process for above ground pools with this interactive quiz.
Learn more about 🏊 Above Ground Pool Liner Installation and Maintenance Quiz 🌊 or discover other Aquatic Inspections quizzes.


No comments yet. Be the first to share your thoughts!