
Understanding the Importance of Inground Pool Liner Replacement
When it comes to the health and longevity of your inground pool, one aspect that often gets overlooked is the pool liner. Yet, it plays a pivotal role in maintaining the pool's structural integrity and aesthetic appeal. Understanding the importance of inground pool liner replacement is crucial for every pool owner.

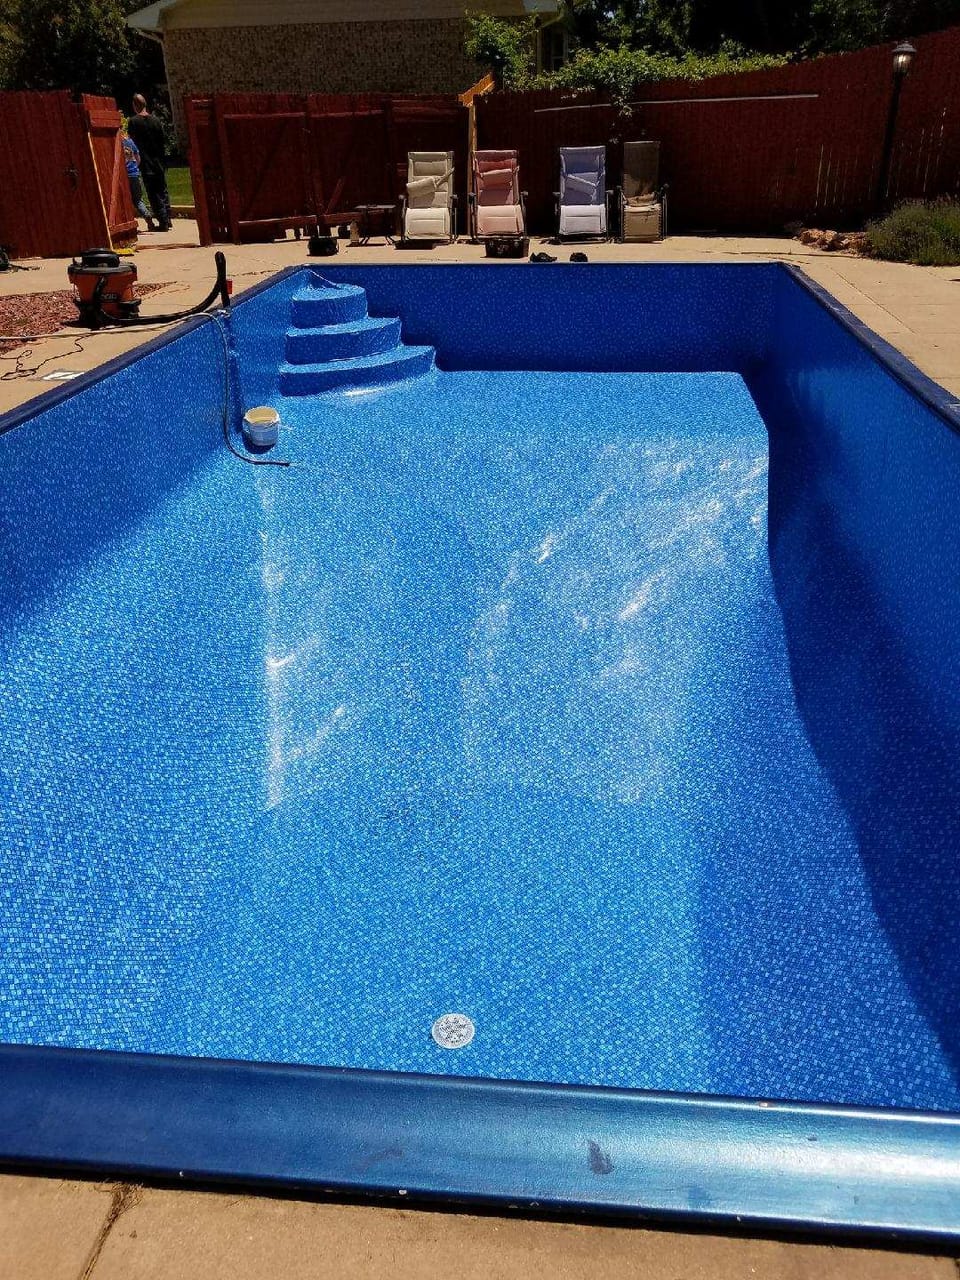
Pool liners protect the pool's structure from water damage and provide a smooth surface for swimmers. Over time, however, they can become worn or damaged due to constant exposure to pool chemicals, UV rays, and general wear and tear. A damaged liner can lead to leaks, which can then cause significant damage to the pool's structure and surrounding area.
Replacing your pool liner is not just about preventing damage. A fresh, new liner can also dramatically improve the look of your pool, making it more inviting for swimmers. It's like giving your pool a mini-makeover!

Moreover, a well-maintained liner can improve the efficiency of your pool's filtration and circulation system. This is because a smooth, clean liner allows water to flow more freely, reducing strain on your pool's equipment.
While DIY inground pool liner replacement can be a tempting cost-saving measure, it's important to remember that incorrect installation can lead to more problems down the line. From ensuring a perfect fit to handling the delicate liner material, pool liner replacement is a task best left to the professionals.
In conclusion, regular pool liner replacement is a key part of pool maintenance that ensures your pool remains safe, efficient, and visually appealing. So, whether you're conducting an inground pool inspection or just looking for ways to spruce up your pool, don't overlook the importance of the pool liner.
DIY vs Professional: Pros and Cons of Inground Pool Liner Replacement
Deciding between a DIY inground pool liner replacement and hiring a professional service can be tricky. Both options come with their own set of pros and cons. Let's dive into the details to help you make an informed decision.
DIY Inground Pool Liner Replacement
Going the DIY route can be an attractive option for those who enjoy hands-on projects and are looking to save on the inground pool liner replacement cost. With a detailed pool liner installation guide, such as our guides on how to install a beaded pool liner or how to install an expandable pool liner, you can tackle the task yourself. 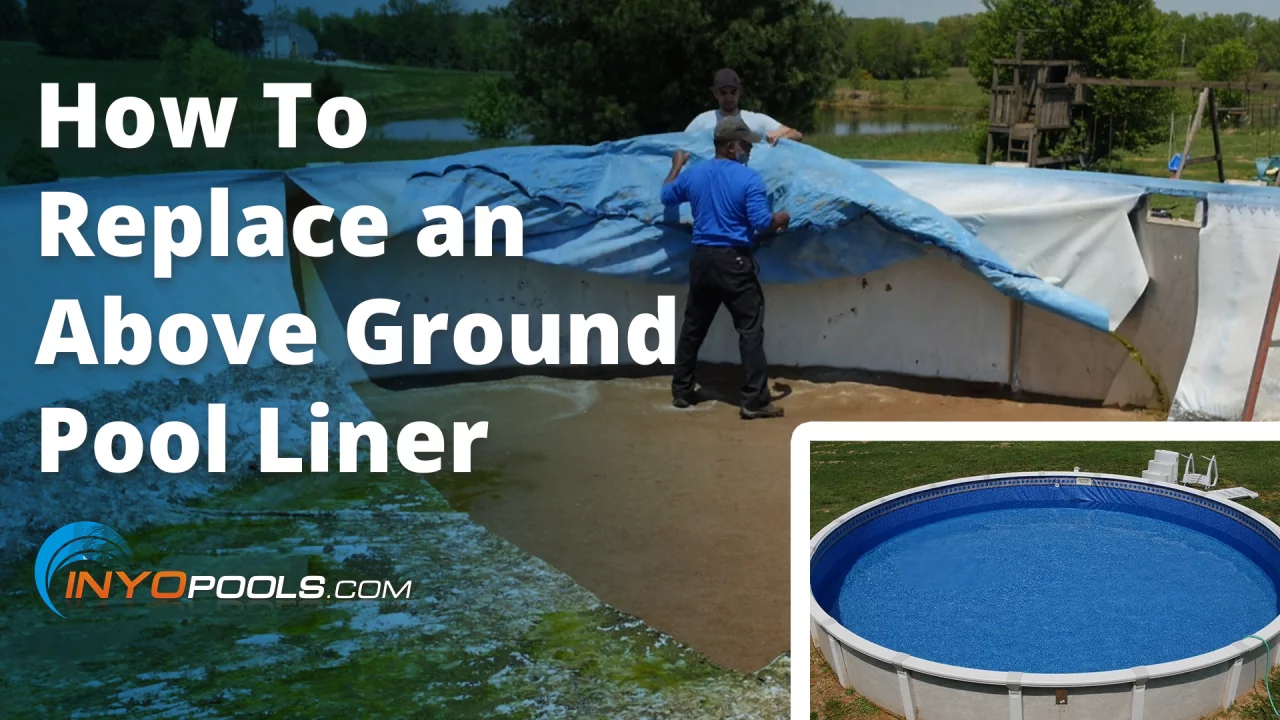
However, DIY projects come with challenges. You'll need a good understanding of swimming pool liner repair and the right tools. Mistakes can lead to leaks, wrinkles, or damage to the liner, which could end up costing more in the long run.
Professional Inground Pool Liner Replacement
On the other hand, hiring one of the best pool liner replacement services can ensure a smooth and efficient process. Professionals have the expertise to handle any unexpected issues that may arise during the inground pool inspection or installation. 
The downside? The cost. Professional services can be more expensive than DIY. However, the peace of mind knowing your pool liner has been properly installed and inspected can be worth the extra expense.
In conclusion, whether you choose DIY or professional services depends on your budget, skills, and how much time you're willing to invest. Remember, maintaining your pool's health is crucial for safe and enjoyable swimming experiences.
Step-by-Step Guide to Installing a Beaded Pool Liner
If you've decided to embark on the DIY journey of inground pool liner replacement, this step-by-step guide will walk you through the process of installing a beaded pool liner. Beaded pool liners are popular due to their ease of installation and the neat finish they provide. Here's how to get started:
Step 1: Gather Your Tools
Before you begin, ensure you have all the necessary tools. You'll need a pool liner, bead receiver, utility knife, and a shop vacuum. 
Step 2: Prepare the Pool
Drain your pool completely and remove any debris. Inspect the pool surface for any sharp objects that could damage the liner. 
Step 3: Install the Bead Receiver
Attach the bead receiver along the top edge of your pool wall. This is where the beaded pool liner will sit. 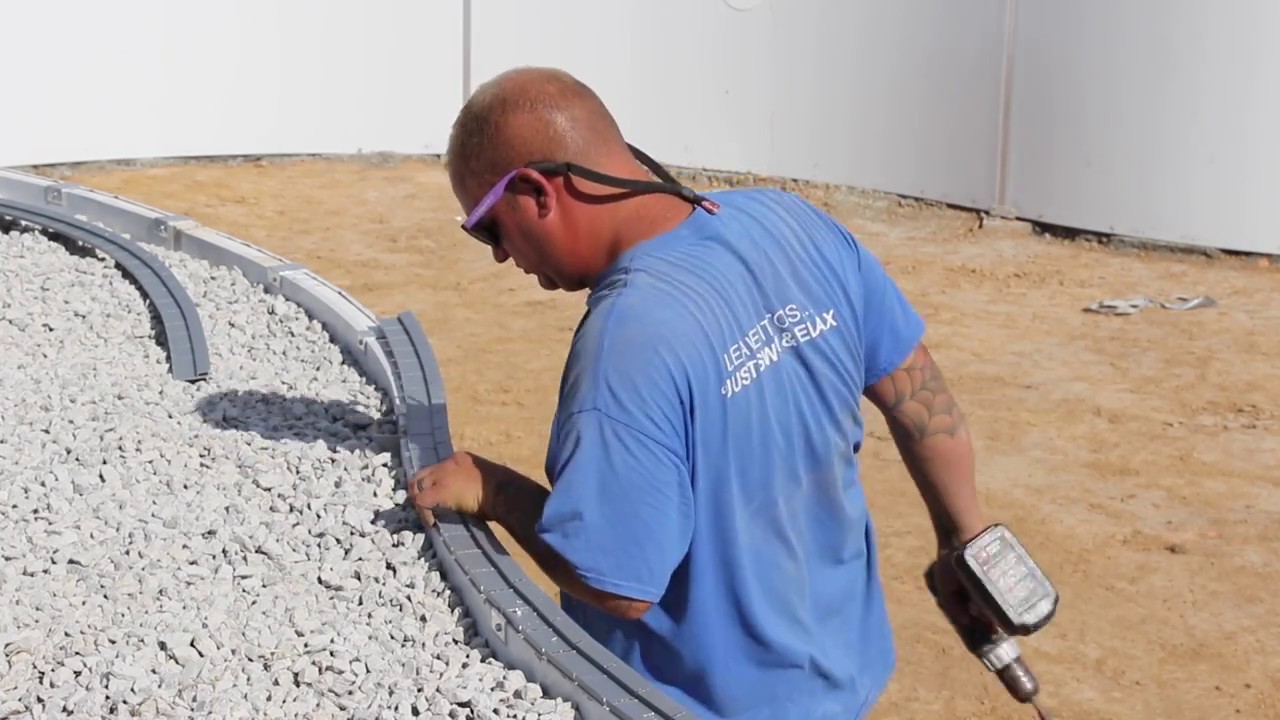
Step 4: Insert the Liner
Spread out the liner in the pool and carefully insert the bead into the receiver. Work your way around the pool, ensuring the liner is smooth and wrinkle-free. 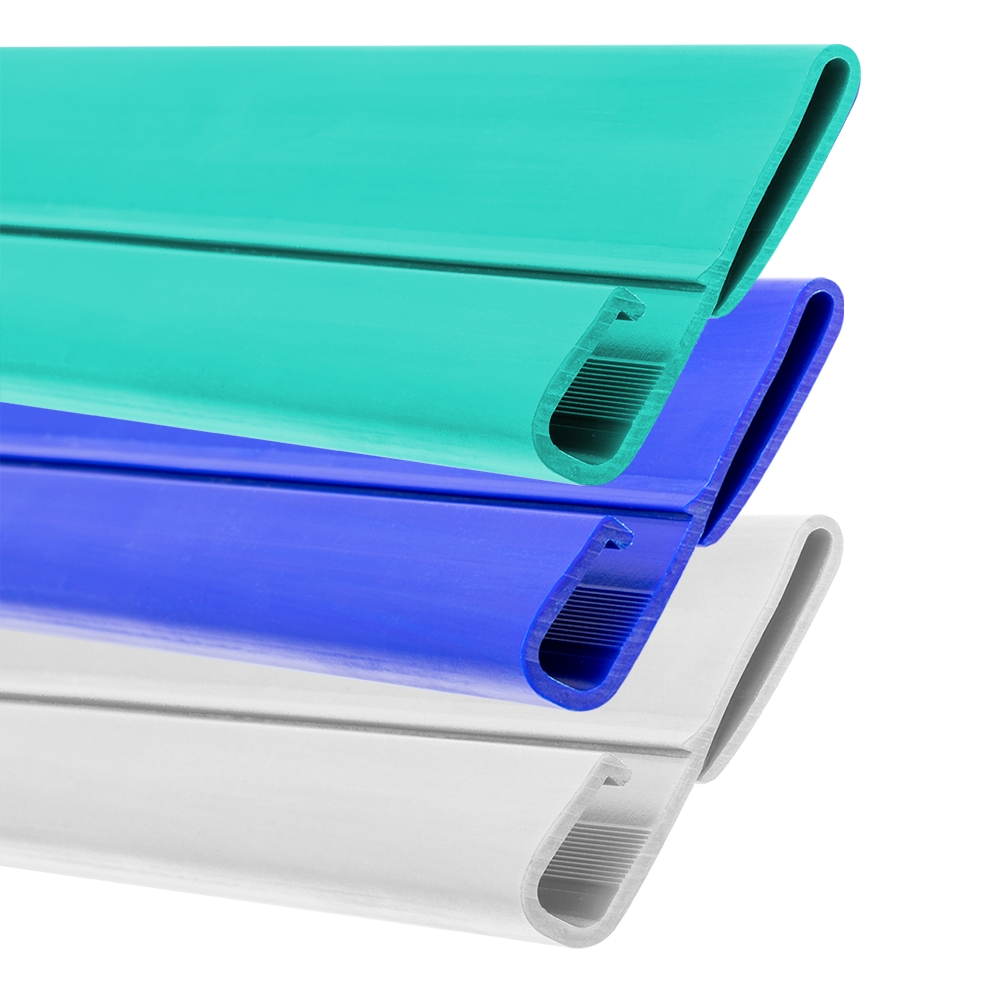
Step 5: Remove Air
Use a shop vacuum to remove any air between the liner and the pool wall. This helps the liner fit snugly against the pool surface. 
Step 6: Fill the Pool
Start filling your pool with water. As the pool fills, adjust the liner as needed to ensure it remains smooth. 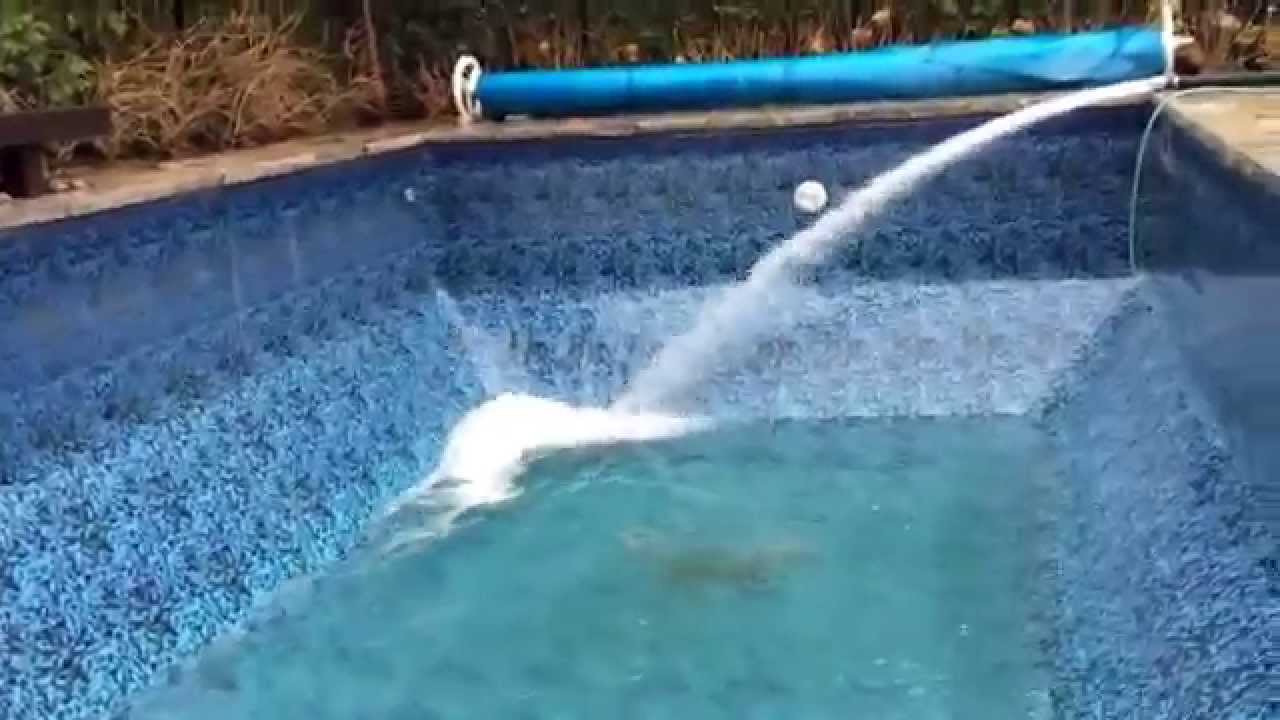
And there you have it! With these steps, you can successfully install a beaded pool liner. Remember, patience is key during this process. If you encounter any issues, don't hesitate to seek advice from pool maintenance experts or consider hiring a professional service. After all, the goal is to ensure your pool is in top condition for those refreshing dips!
Tips for Installing an Expandable Pool Liner
Now, let's dive into the world of expandable pool liners. If you're looking to give your pool a deeper end or a unique shape, an expandable liner is your best bet. Here are some practical tips to guide you through the process of installing an expandable pool liner.
Step 1: Gather Your Supplies
Just like with the beaded liner, you'll need a few essential tools. These include the expandable pool liner, a utility knife, a shop vacuum, and liner lock. 
Step 2: Prepare Your Pool
Drain your pool completely, remove any debris, and inspect for sharp objects. This step is crucial to prevent any damage to your new liner.
Step 3: Install the Liner
Spread out the liner in the pool, ensuring it reaches all corners. Unlike beaded liners, expandable liners are designed to stretch, so don't worry if it seems too big at first. 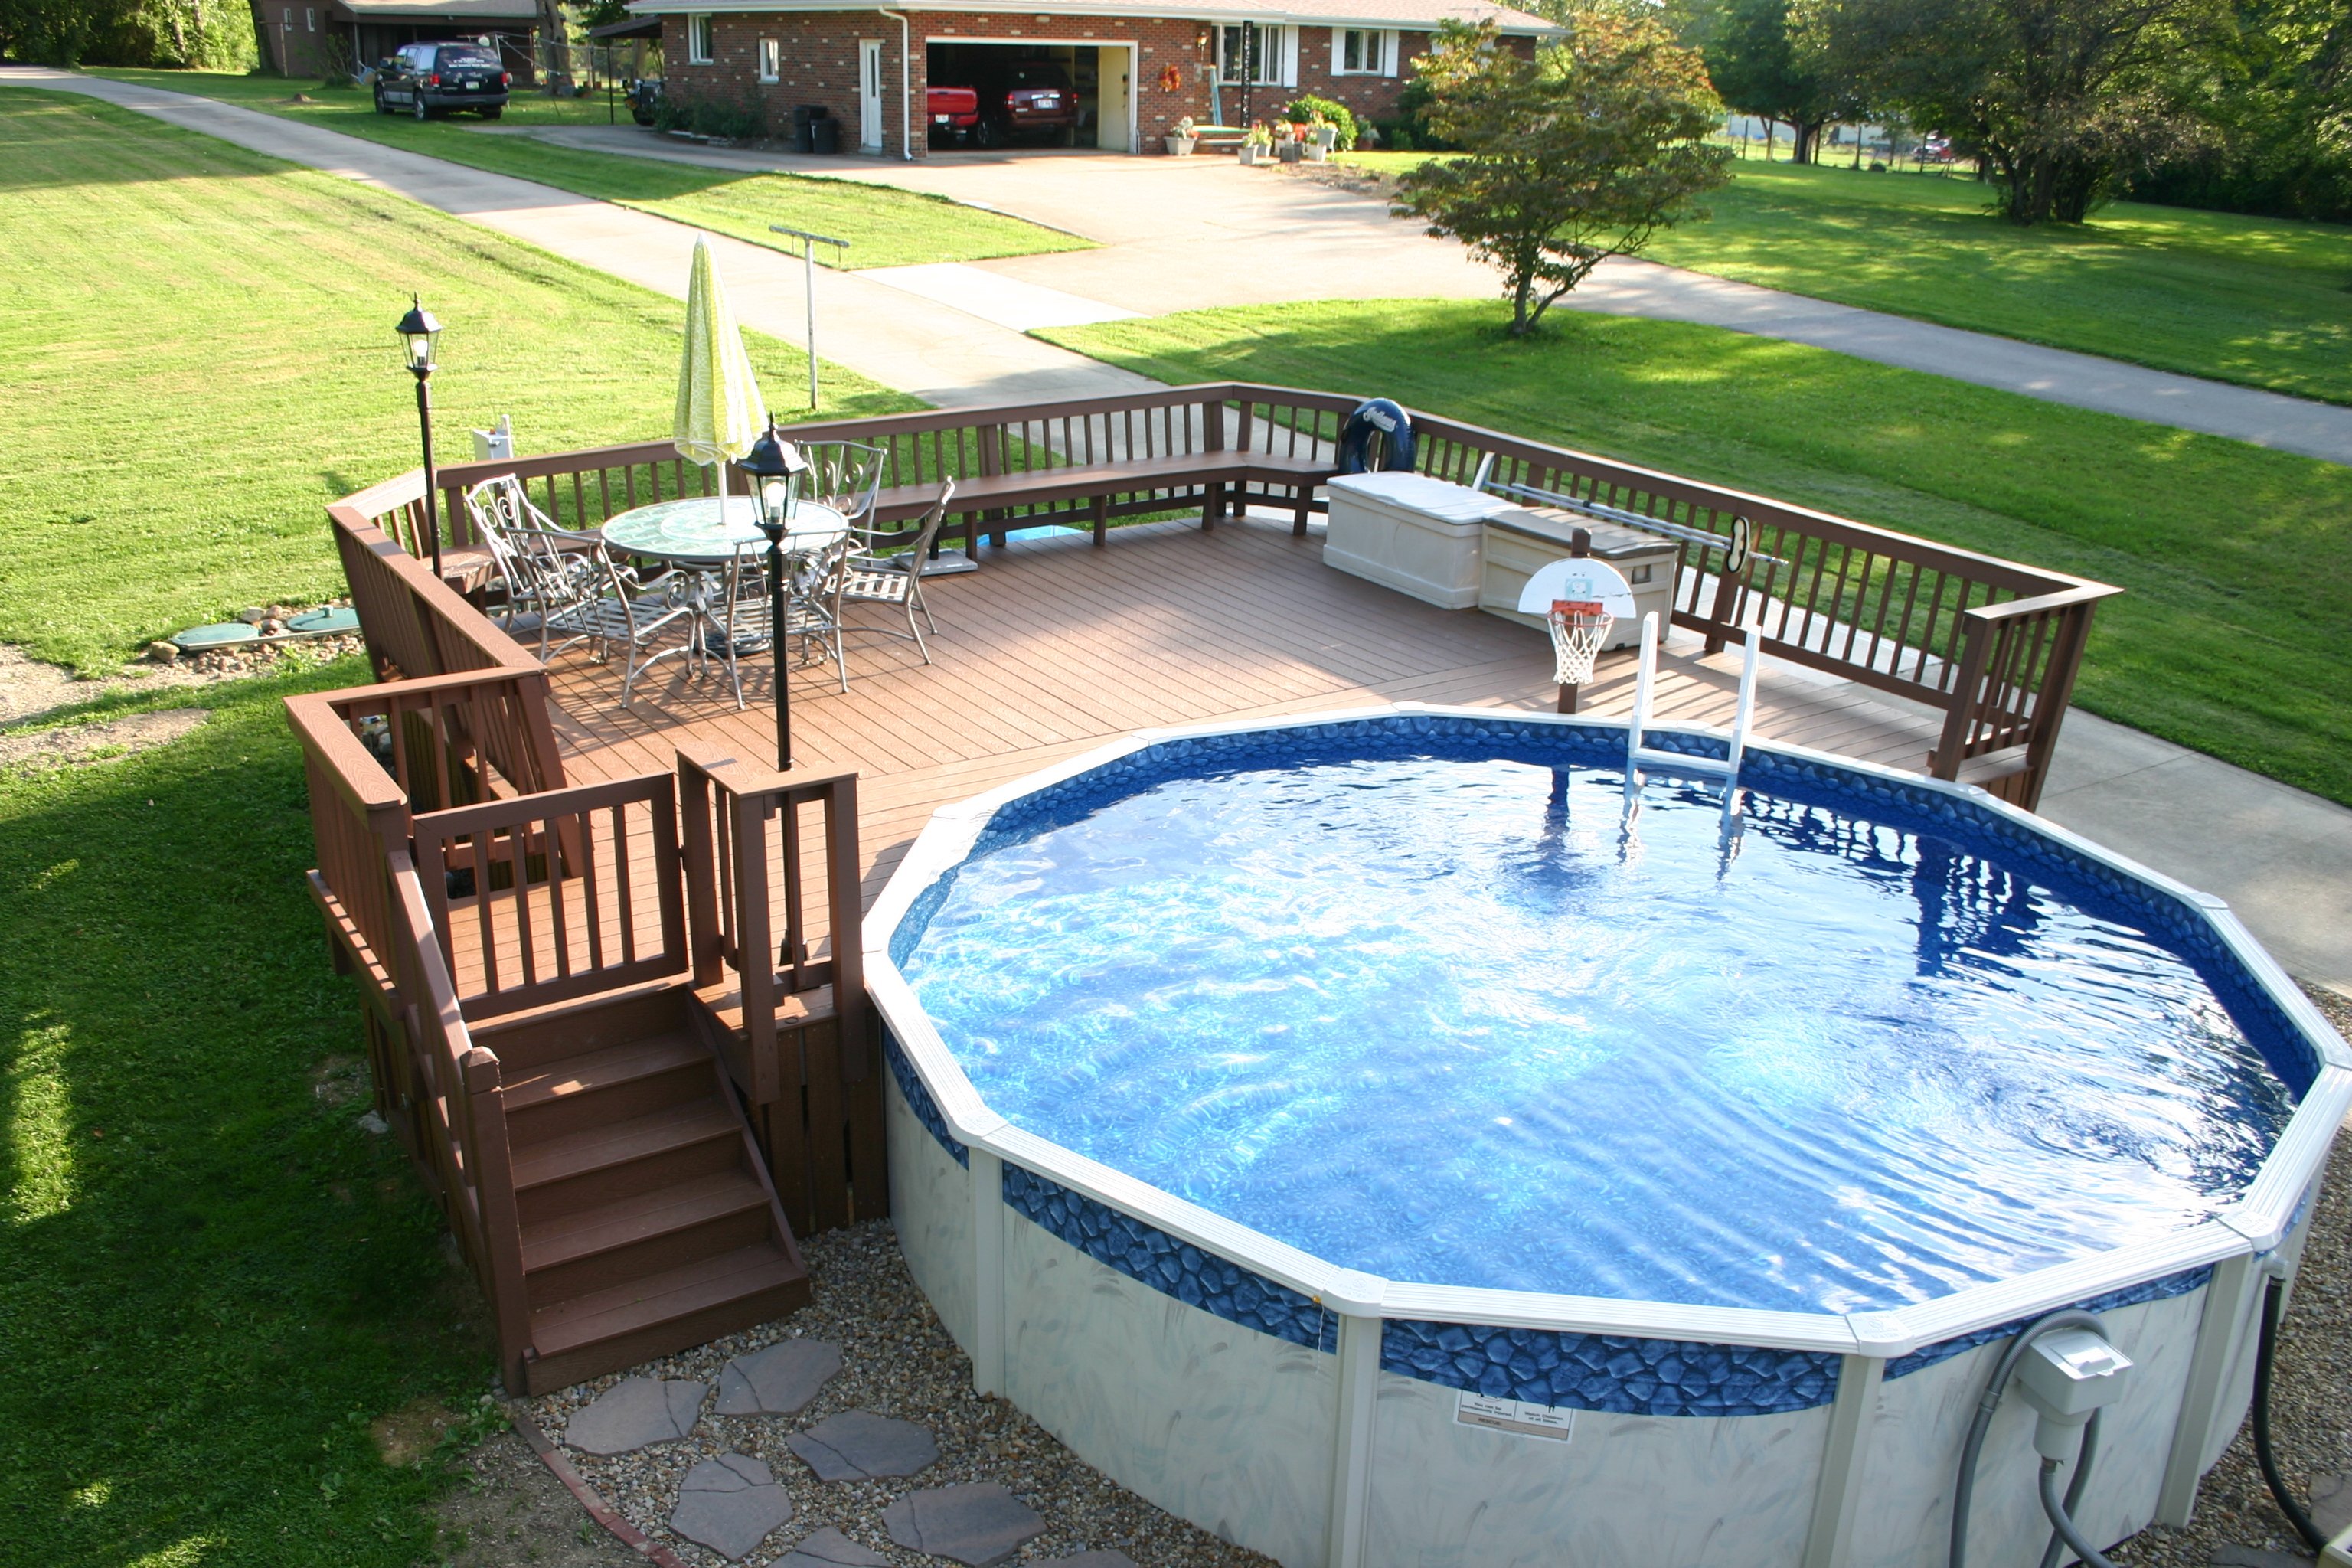
Step 4: Secure the Liner
Use the liner lock to secure the liner at the top of the pool wall. This will hold the liner in place as you fill the pool with water.
Step 5: Remove Air and Adjust the Liner
Use a shop vacuum to remove any air between the liner and the pool wall. As the pool fills with water, adjust the liner as needed to ensure it fits perfectly. 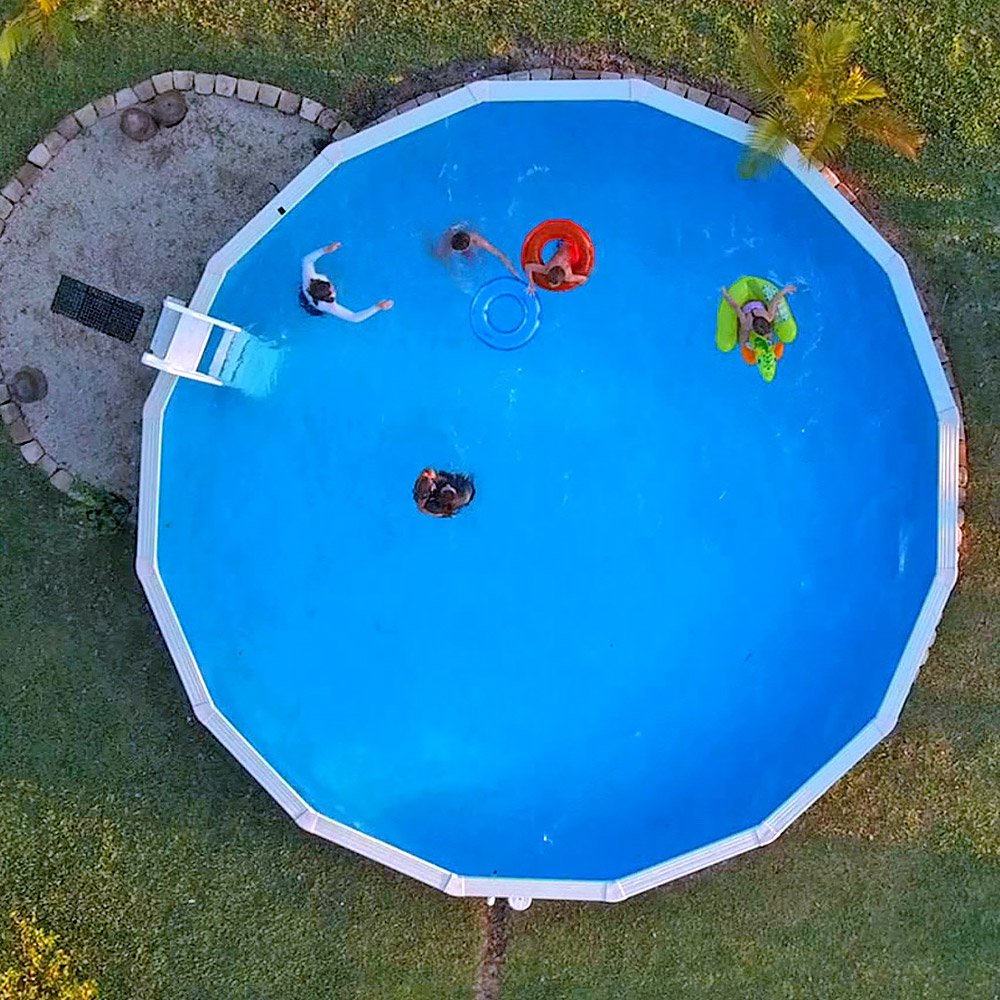
And voila! You've successfully installed an expandable pool liner. Remember, this process requires patience and precision. If you're unsure about any step, don't hesitate to consult with a pool maintenance expert or consider hiring the best pool liner replacement services. After all, your goal is to create a safe and enjoyable swimming environment.
Next, we'll discuss some common issues to look out for during inground pool liner replacement. Stay tuned!
Common Issues to Look Out for During Inground Pool Liner Replacement
As you navigate the world of DIY inground pool liner replacement, it's crucial to be aware of common issues that could arise. These problems, if not addressed promptly, can lead to more significant issues down the line, including damage to your pool and costly repairs.
One of the most common issues during inground pool liner replacement is improper fitting. This can occur if the liner is not measured correctly or if it's not installed properly. An ill-fitting liner can lead to wrinkles, leaks, and even premature wear and tear. To avoid this, it's essential to follow the pool liner installation guide meticulously and ensure the liner is smooth and secure before filling the pool with water. 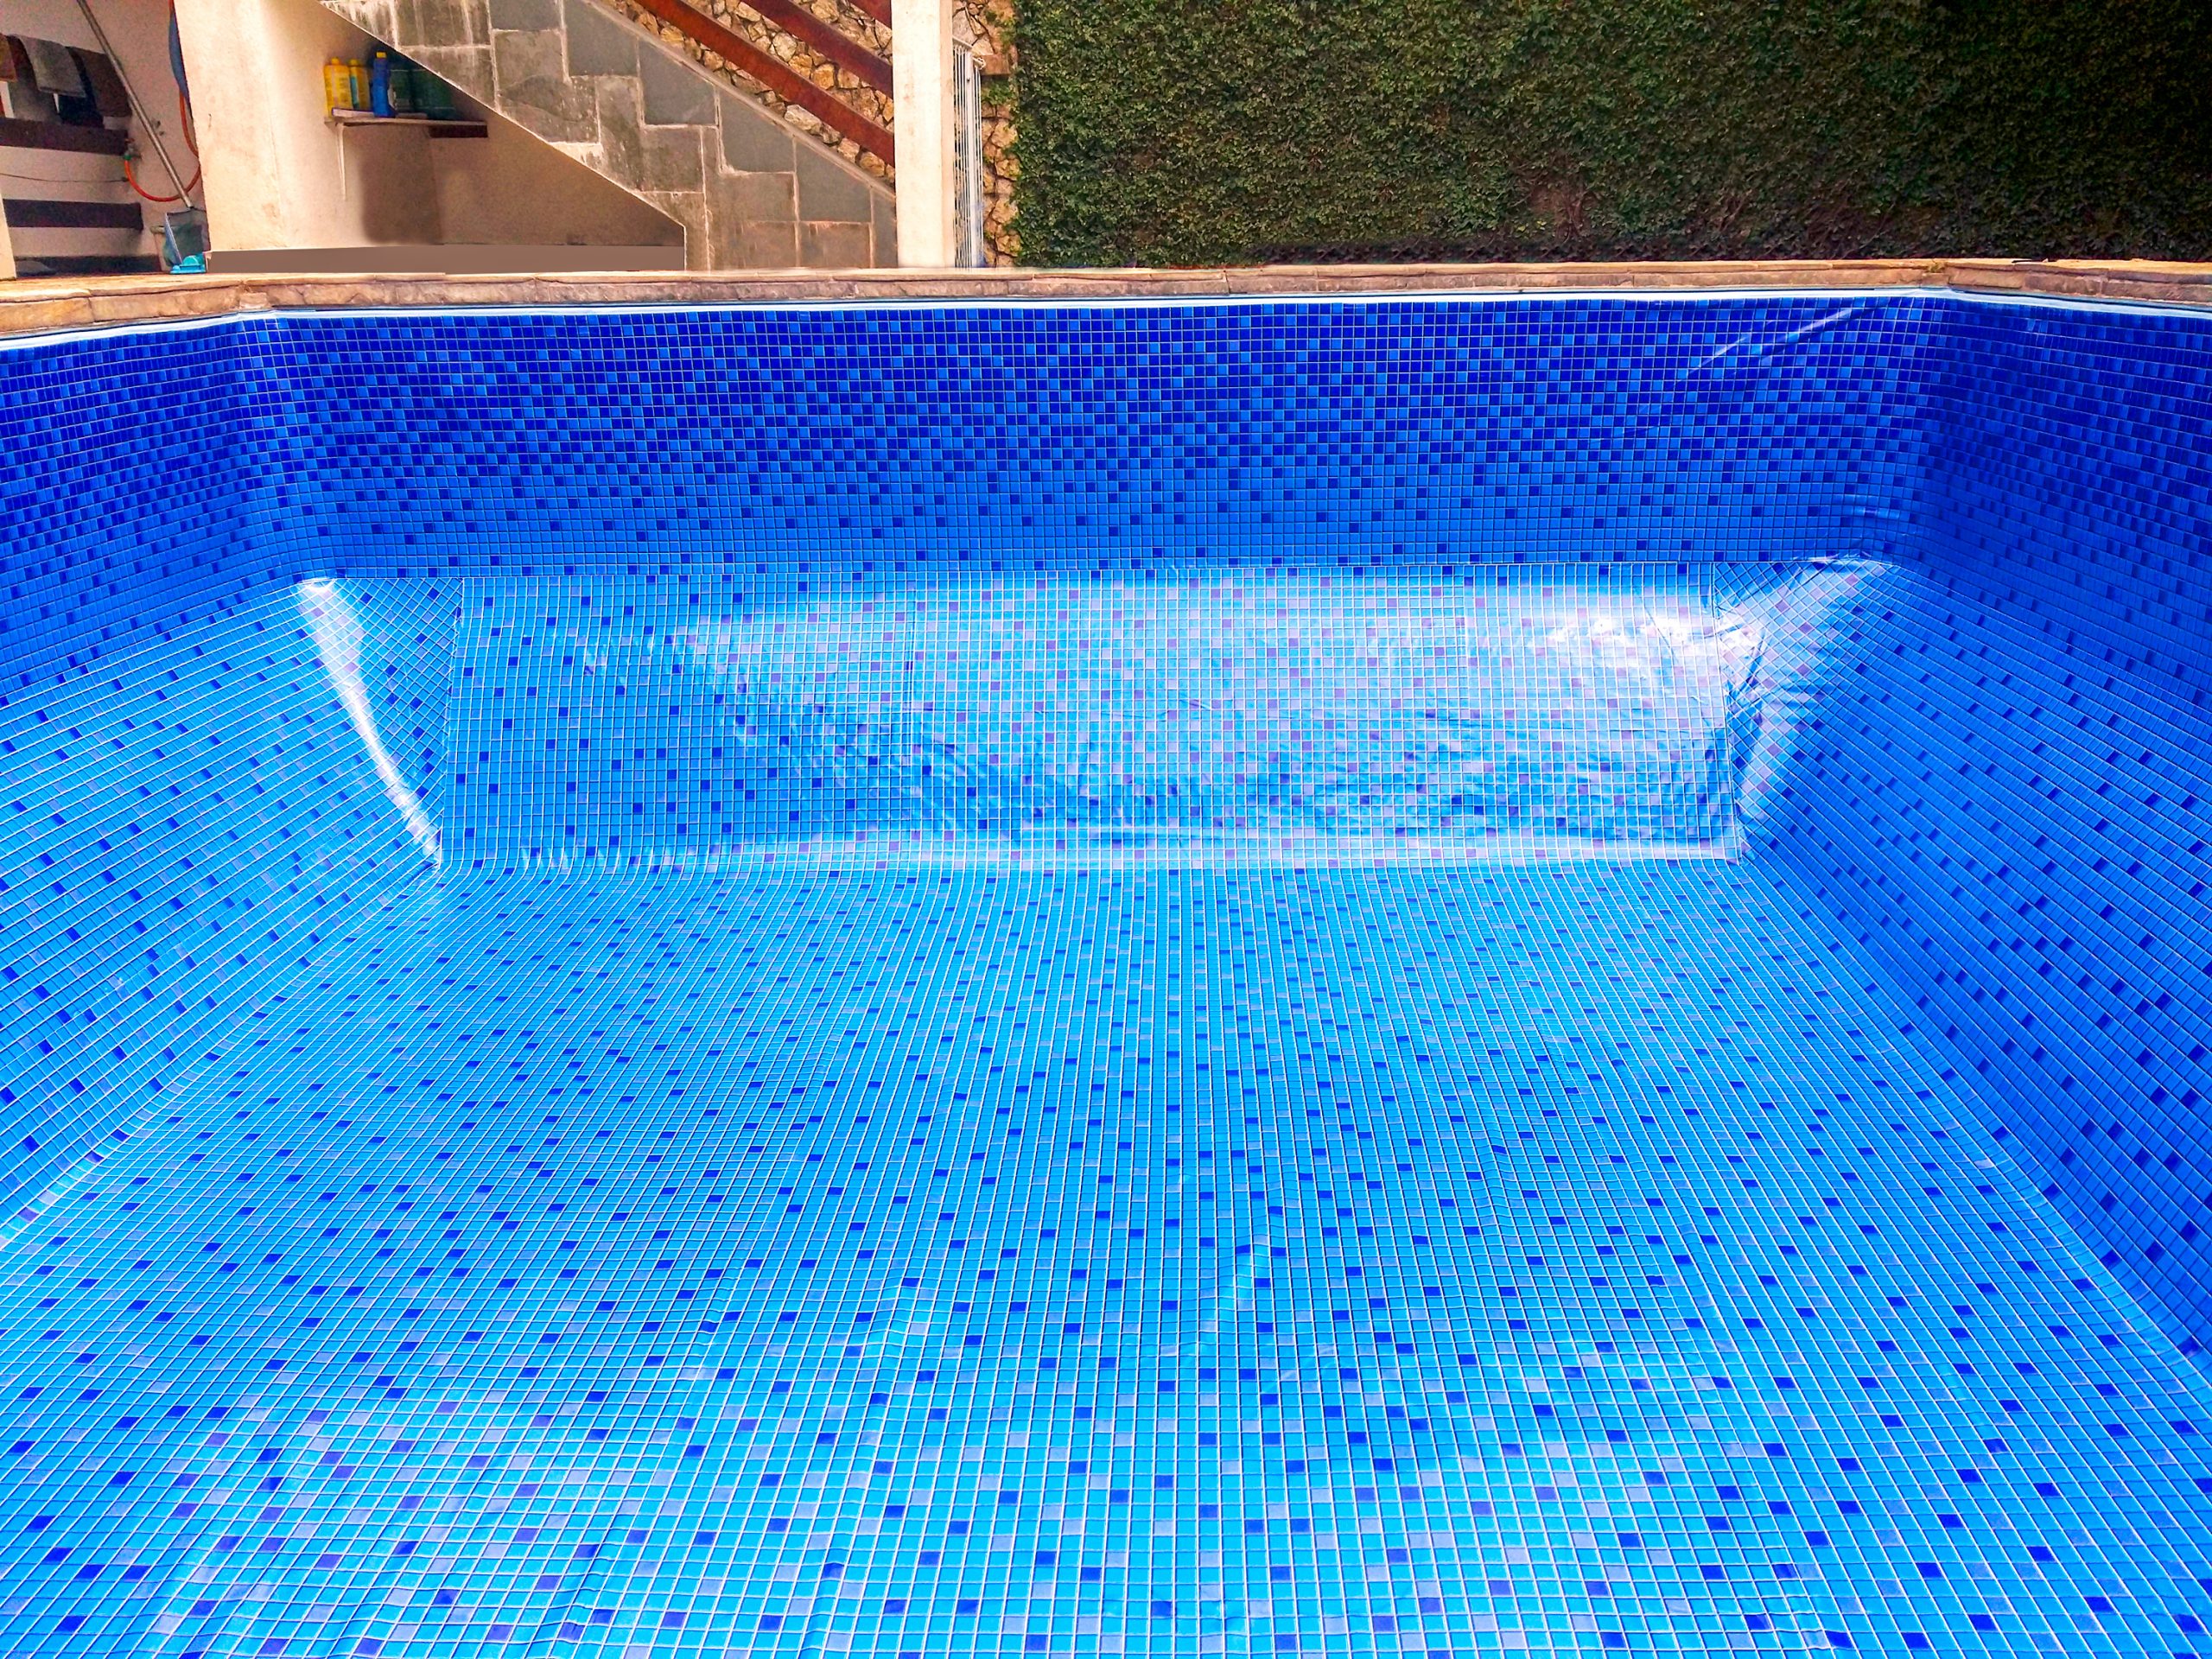
Another common issue is damage to the liner during installation. Sharp objects in the pool, such as stones or debris, can puncture the liner, leading to leaks. Conducting a thorough inground pool inspection before installation can help prevent this problem.
Lastly, many pool owners underestimate the importance of water chemistry during swimming pool liner repair or replacement. Incorrect water balance can cause the liner to fade, crack, or become brittle. Regular pool maintenance and testing of your pool's water chemistry can help maintain the longevity of your liner. 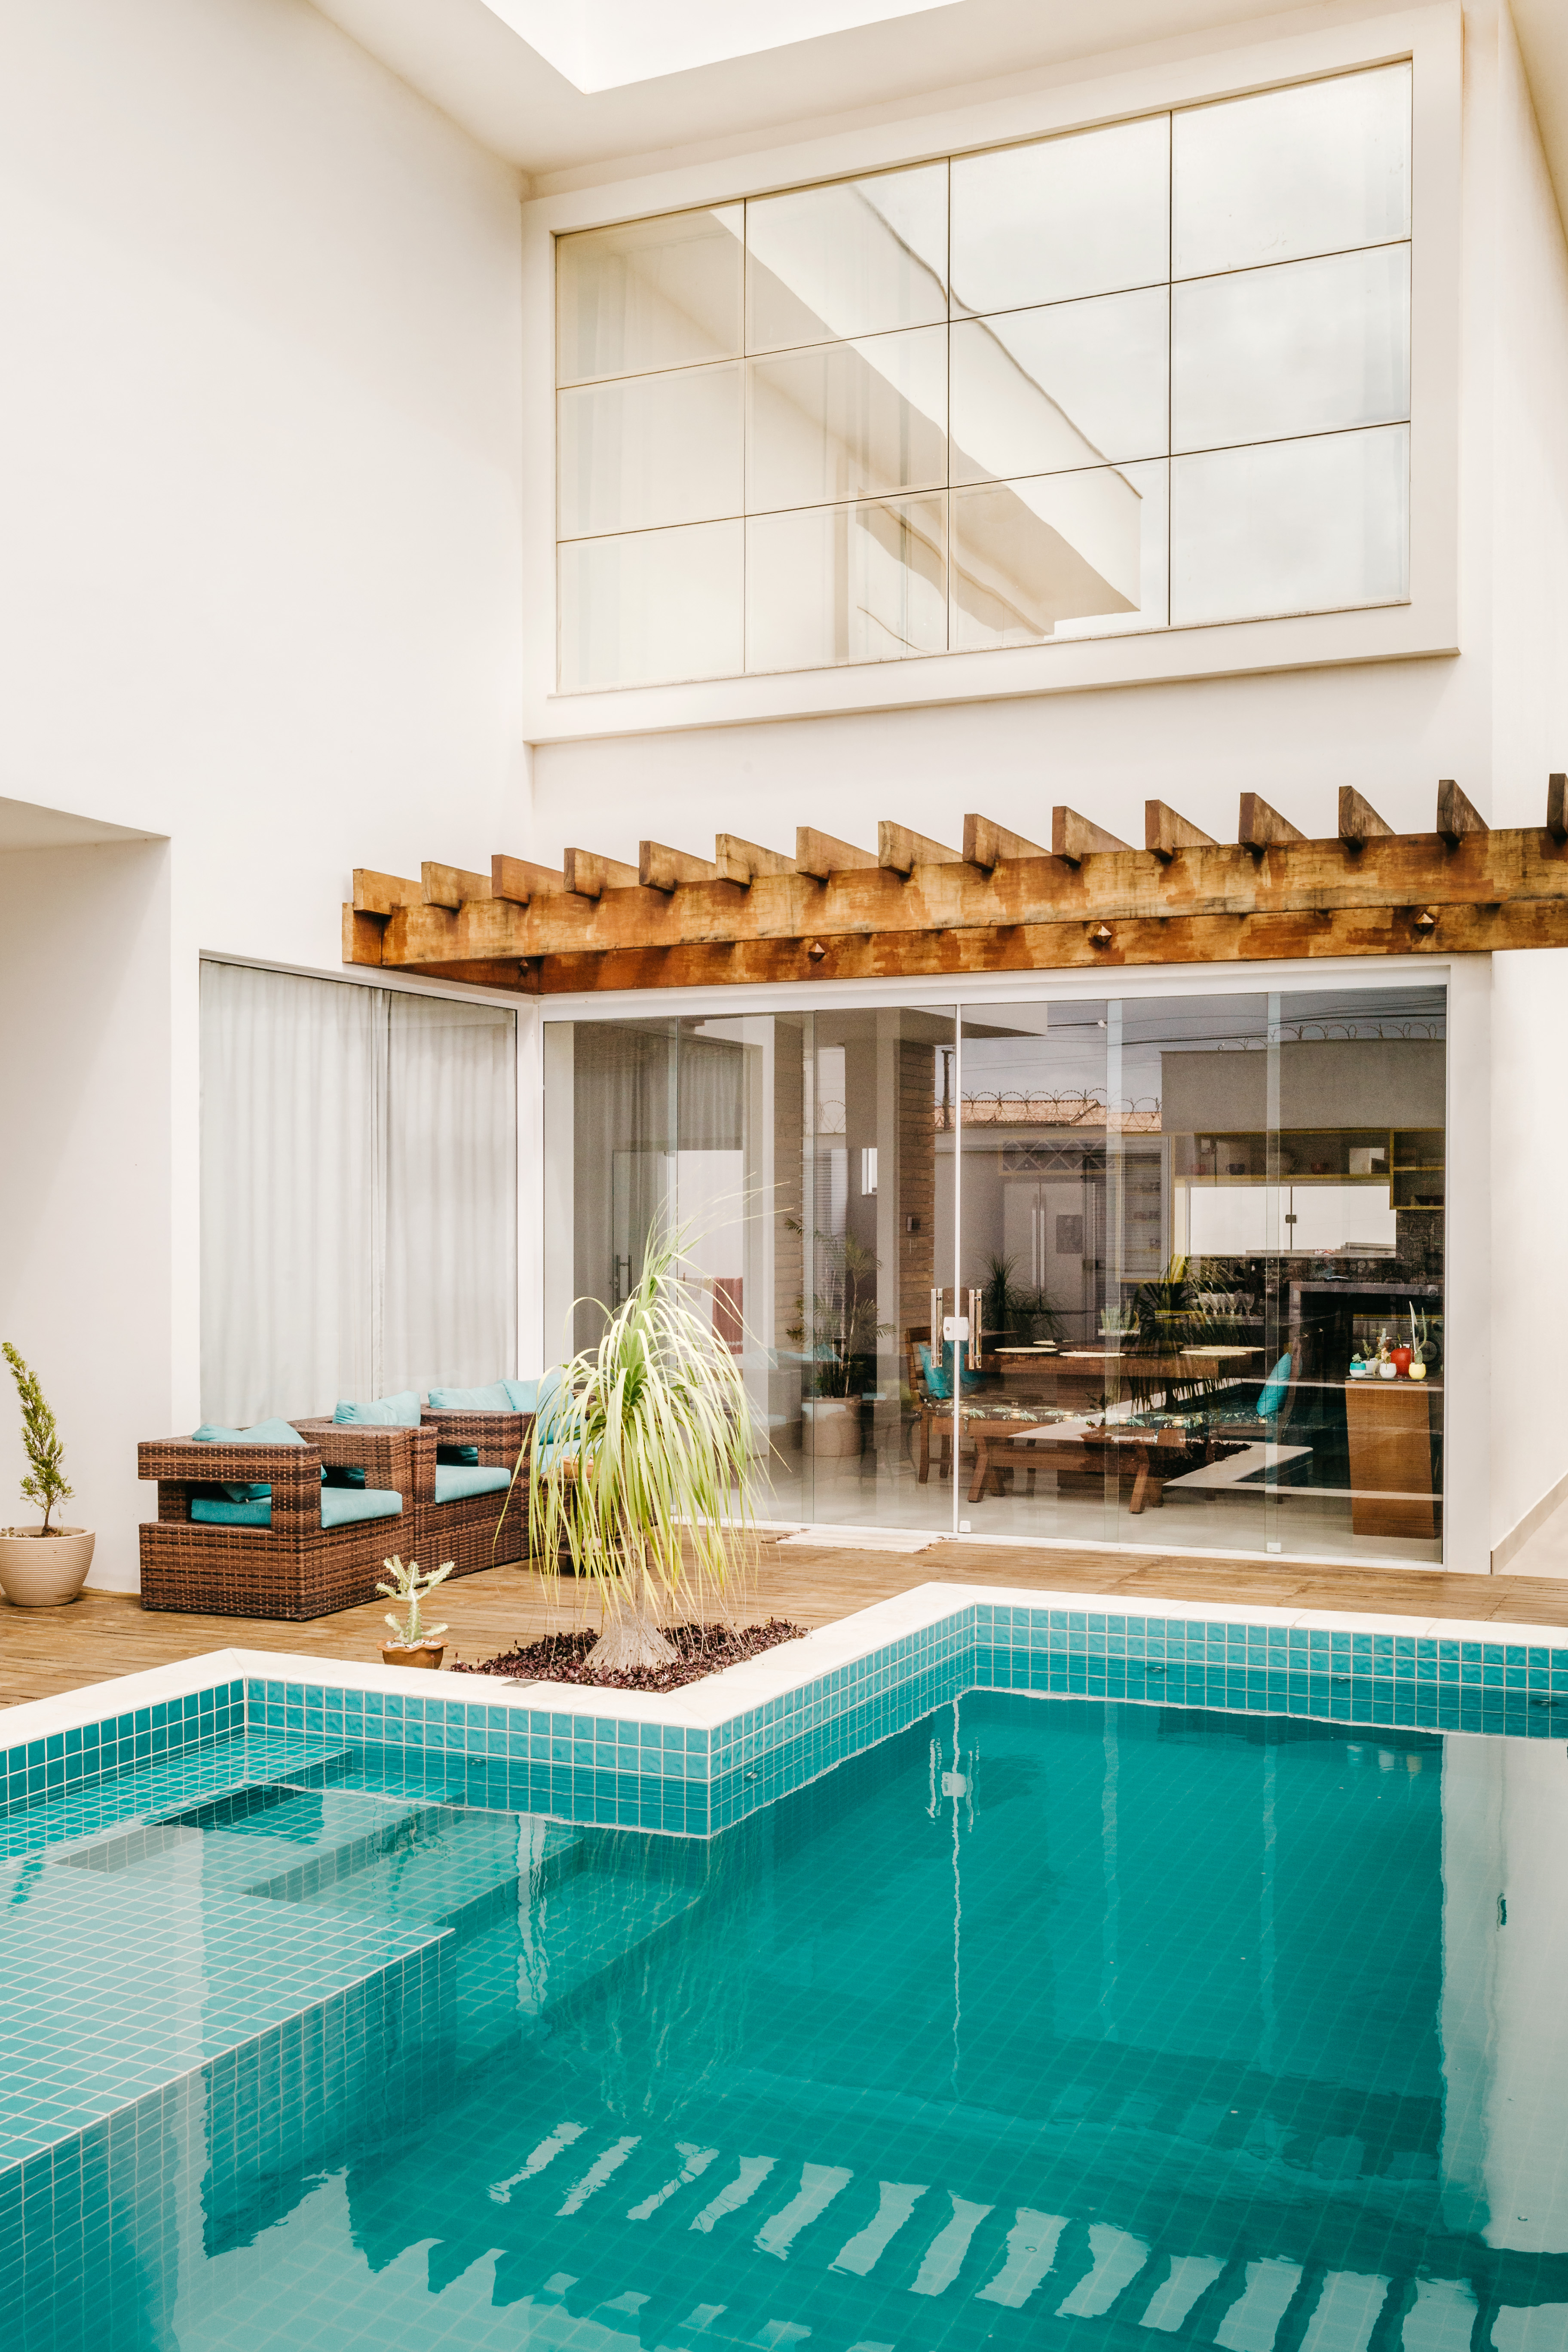
In conclusion, while inground pool liner replacement can be a DIY project, it's not without its challenges. If you're unsure about any aspect of the process, it's always best to consult with a professional. Remember, your goal is to ensure a safe and enjoyable swimming experience, and a well-maintained pool liner is a significant part of that.
Cost Breakdown: Inground Pool Liner Replacement Expenses
Now that we've explored the intricacies of DIY inground pool liner replacement and the common issues that can arise, let's dive into the cost aspect. Understanding the financial implications of an inground pool liner replacement can help you budget effectively and make informed decisions.
Inground pool liner replacement cost can vary widely based on several factors. These include the size and shape of your pool, the type of liner you choose, and whether you opt for a DIY approach or hire a professional service. On average, you can expect to spend between $1,000 and $2,500 for the liner itself. Beaded pool liners and expandable pool liners tend to be on the higher end of this range due to their superior durability and aesthetic appeal.
If you're considering a DIY inground pool liner replacement, remember to factor in additional costs such as water testing kits, pool liner installation tools, and any potential repair expenses. These can add up to several hundred dollars. However, the satisfaction of a job well done and the skills you'll acquire can make this a worthwhile investment.
On the other hand, hiring the best pool liner replacement services can range from $1,500 to $4,000, including the cost of the liner. While this may seem steep, it comes with the assurance of professional expertise, saving you time and potential headaches. Plus, many services offer warranties, providing added peace of mind.
Ultimately, the choice between DIY and professional service depends on your comfort level, budget, and time constraints. Whichever route you choose, remember that maintaining a well-functioning pool liner is essential for a safe and enjoyable swimming experience.
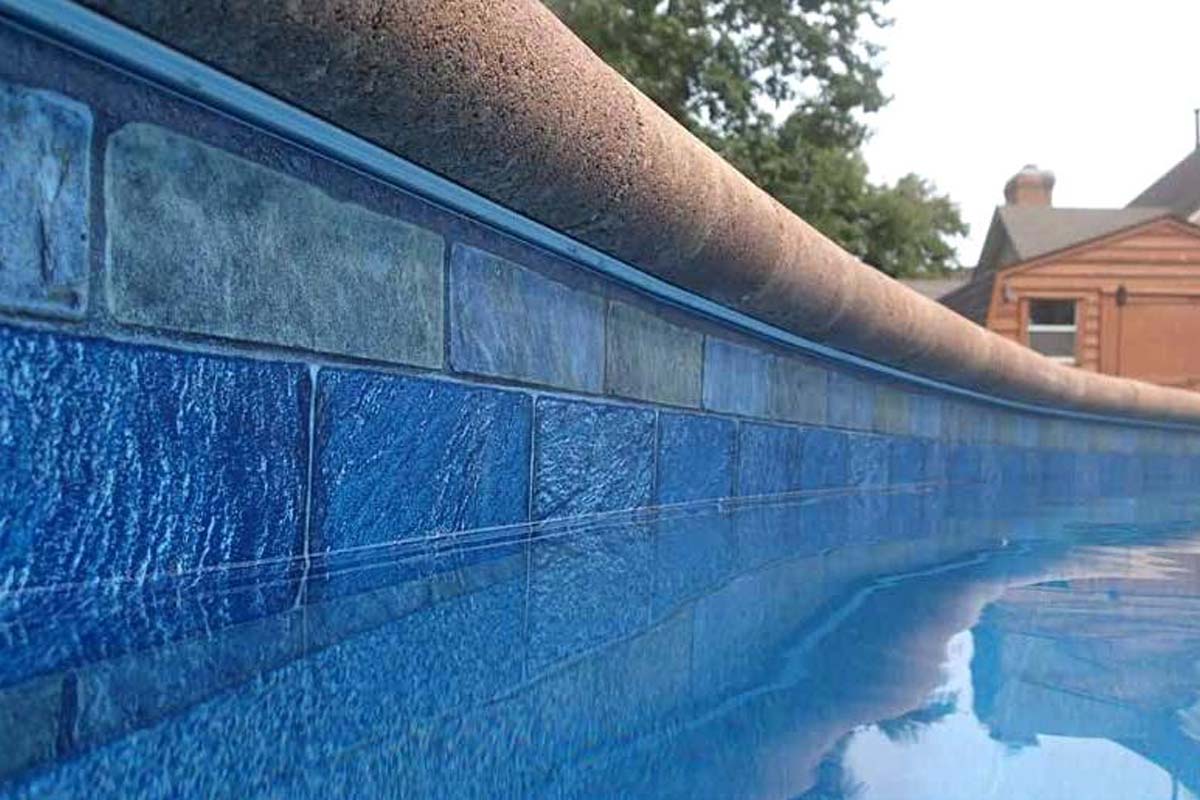
Maintaining and Repairing Your Inground Pool Liner: Best Practices
Now that you're familiar with the costs and processes involved in replacing your inground pool liner, let's shift our focus to the ongoing care and repair of your liner. Regular maintenance is key to extending the life of your pool liner and ensuring a safe, enjoyable swim.
Firstly, maintaining the right water chemistry is crucial. Unbalanced water can lead to liner discoloration and degradation. Test your pool water regularly and adjust the pH, alkalinity, and sanitizer levels as needed. This not only helps to protect your liner but also ensures a healthier swimming environment. 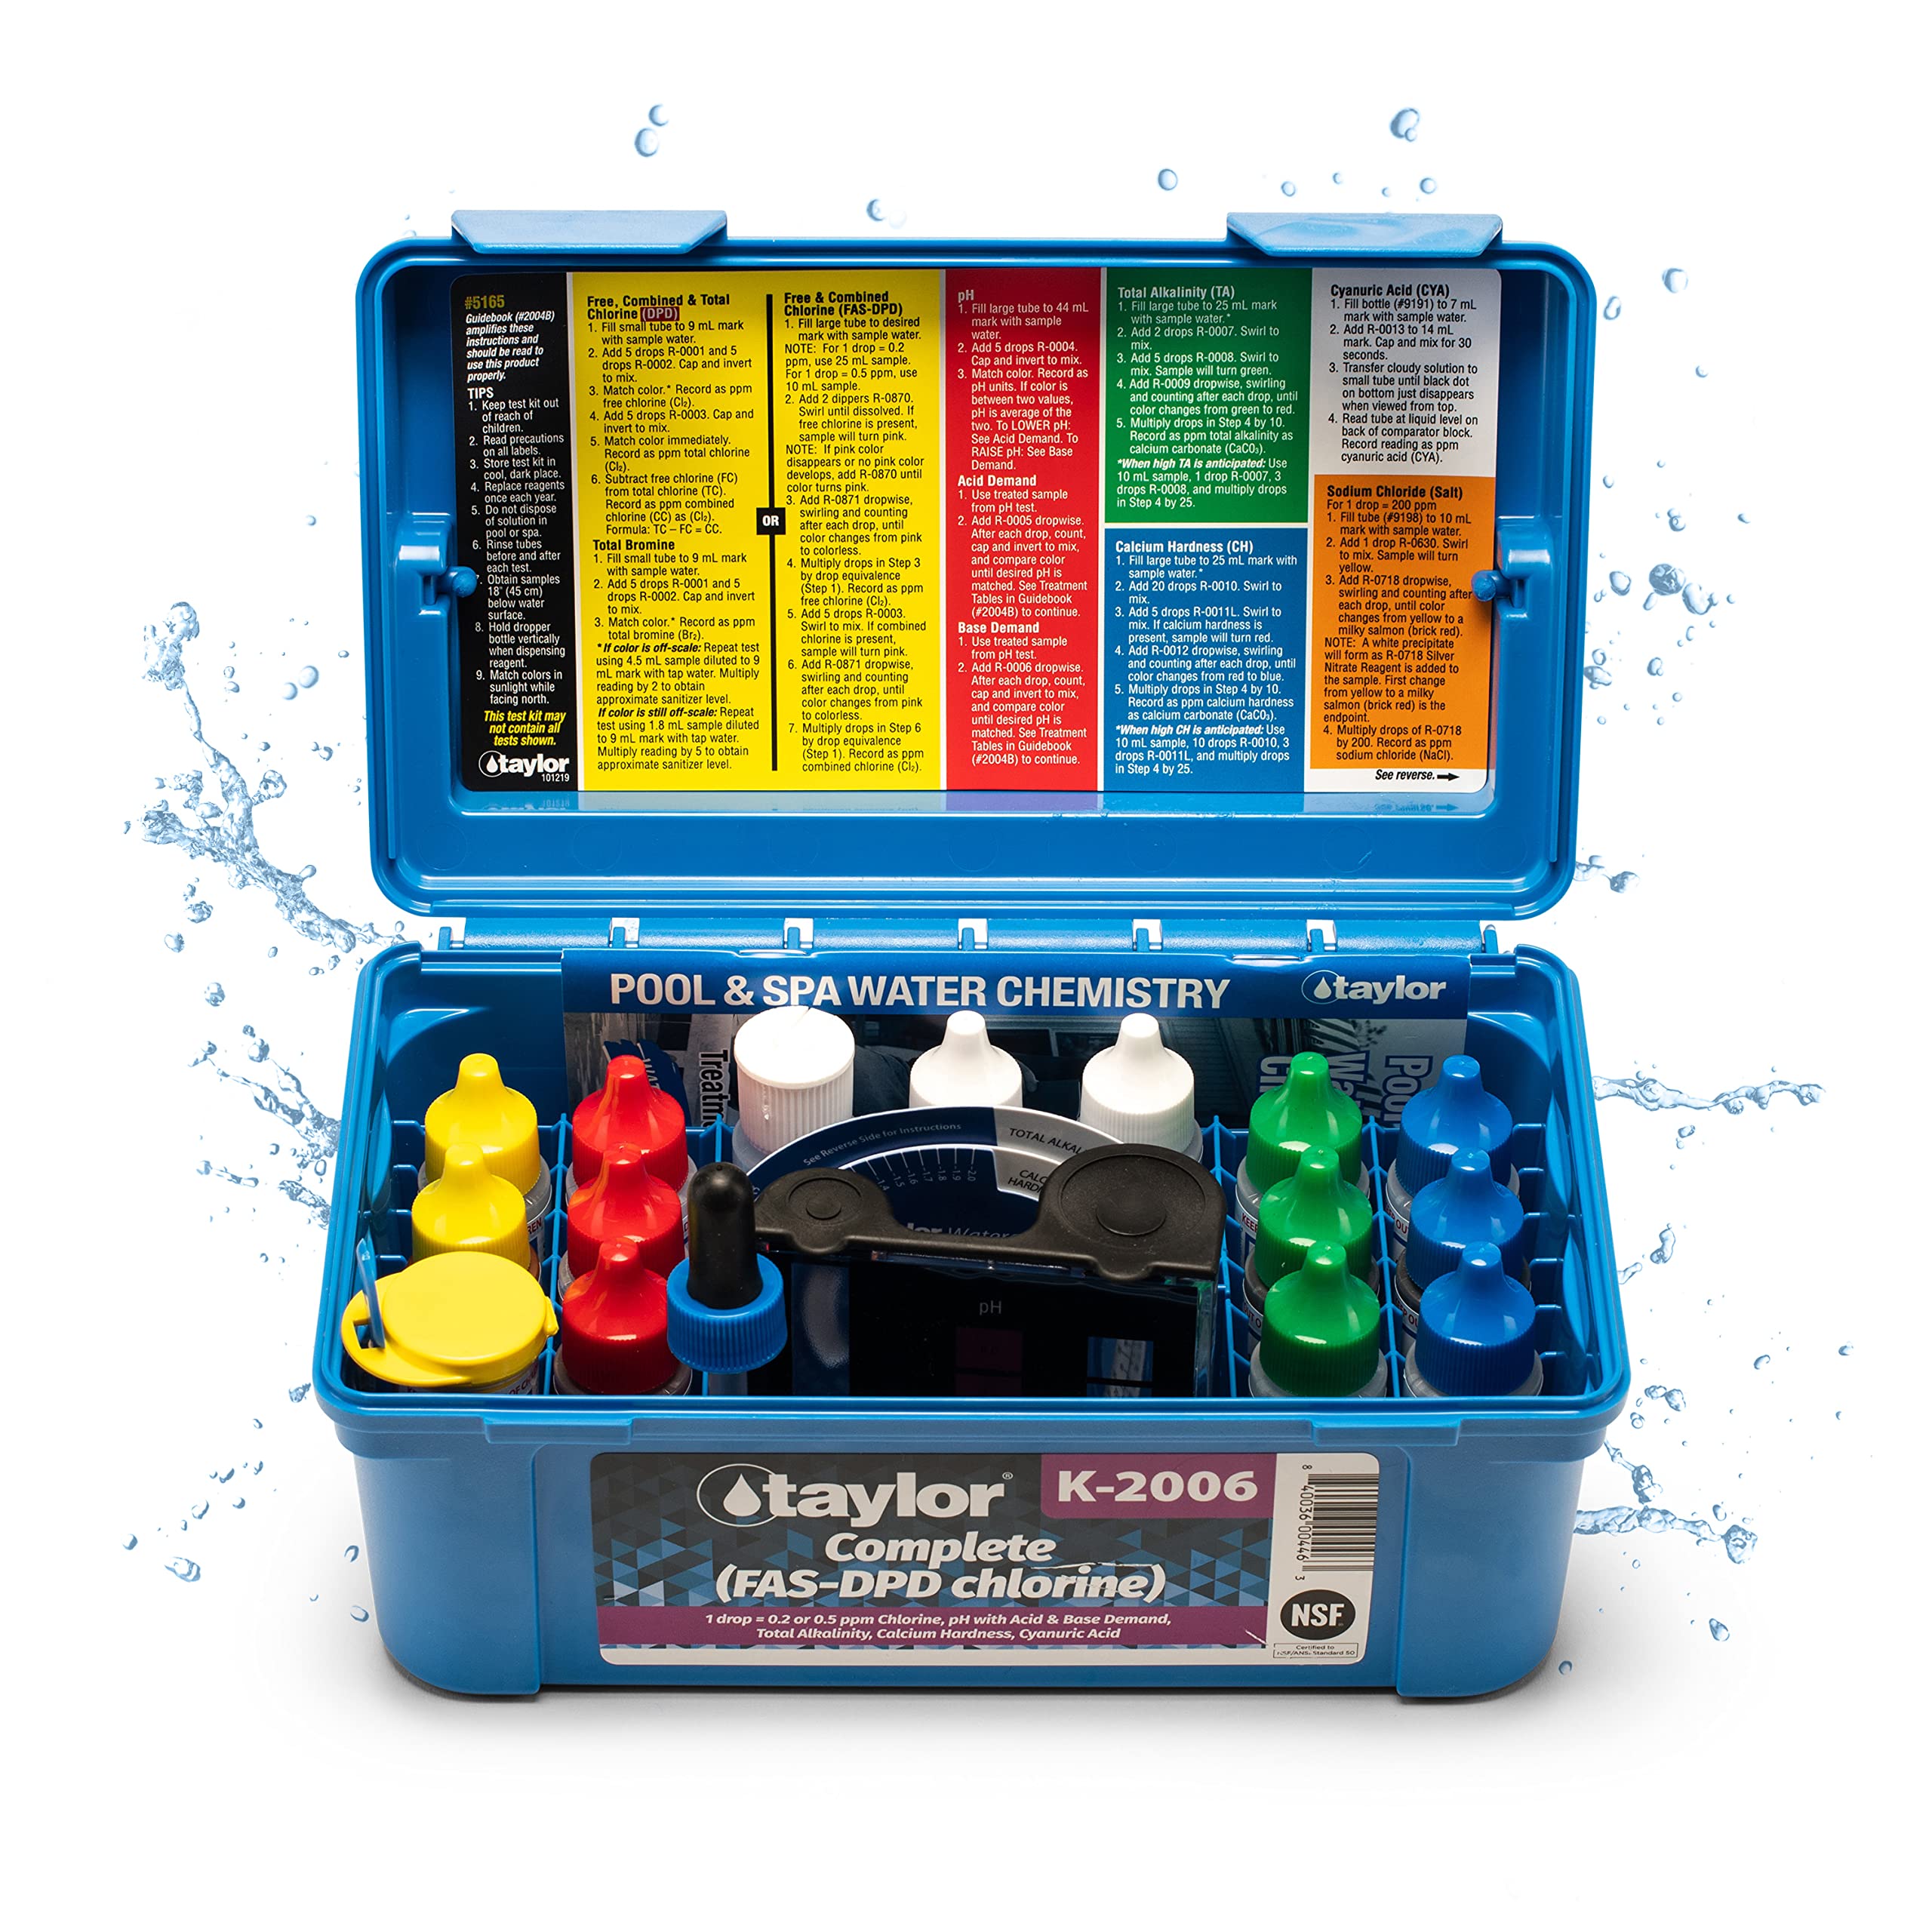
Next, be mindful of sharp objects. Avoid using harsh cleaning tools or allowing pets with sharp claws into the pool. These can cause scratches or tears in your liner. If you notice a small tear, don't panic. A DIY swimming pool liner repair is often possible with a patch kit. 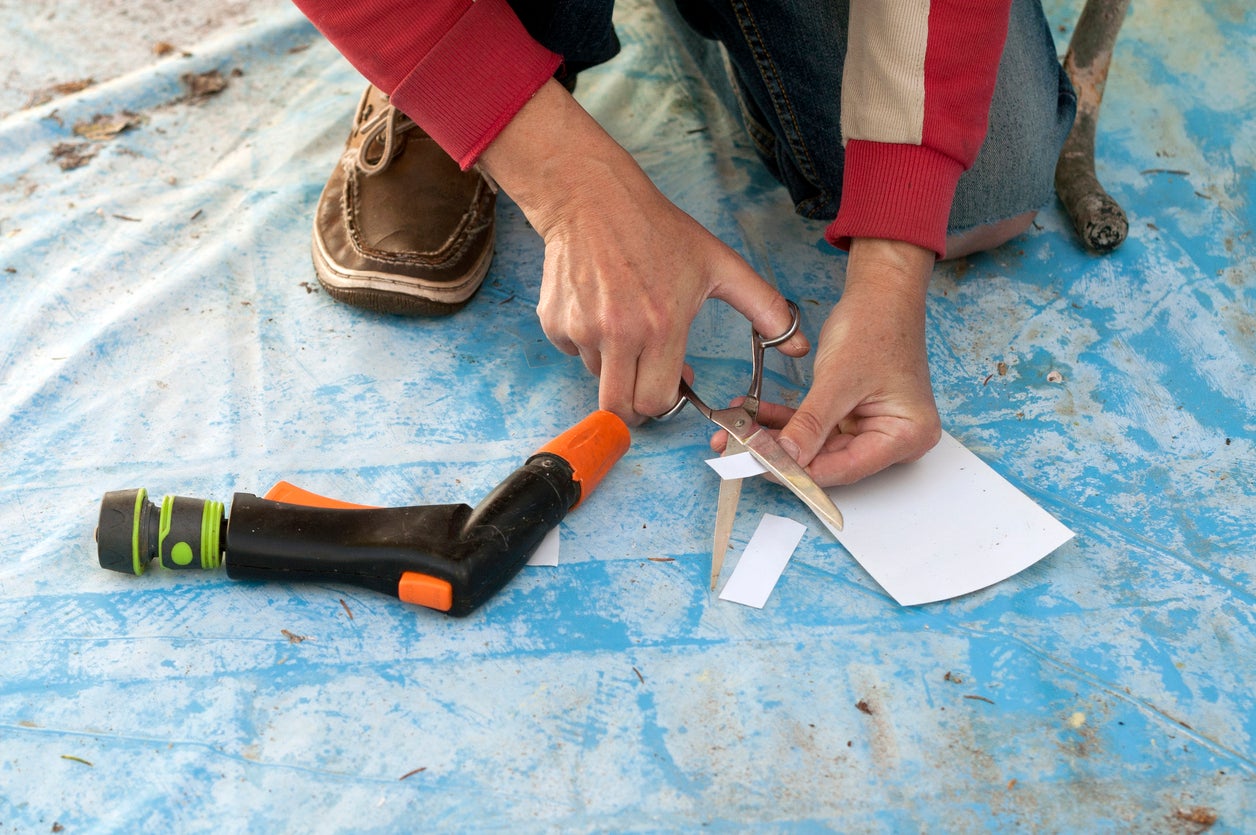
Finally, keep an eye on the water level. A drastic drop could indicate a leak in your liner. If you suspect a leak, it's best to conduct an inground pool inspection or hire a professional to do so. Early detection can save you from a more costly liner replacement down the line. 
Remember, a well-maintained pool liner not only looks great but also contributes to a safer and more enjoyable swimming experience. With these pool maintenance tips in mind, you can ensure your liner stays in top shape for years to come.
Factors to Consider When Choosing a Pool Liner Replacement Service
Choosing the right pool liner replacement service can feel like navigating a maze. But don't worry, we're here to guide you through the process. Here are some key factors to consider when making your choice.
Experience and Expertise: Pool liner replacement is a complex task that requires specific skills and knowledge. Look for a service that has a proven track record in inground pool liner replacement. They should be able to handle all types of liners, from beaded pool liners to expandable ones. Ask about their experience with different installation methods, such as how to install a J hook pool liner or an expandable pool liner.
Cost: Inground pool liner replacement cost can vary widely depending on the size and shape of your pool, the type of liner you choose, and the company's pricing structure. Get quotes from several companies to ensure you're getting a fair price. But remember, the cheapest option isn't always the best. Quality workmanship and materials are worth paying a bit extra for.
Reviews and Recommendations: Check out online reviews and ask for recommendations from friends or neighbors who have had their pool liners replaced. This can give you a good idea of the service's reliability and customer satisfaction.
Environmental Sustainability: As an environmental scientist, I always encourage pool owners to consider the environmental impact of their choices. Look for a service that uses eco-friendly practices and materials.
After-Sales Service: A good pool liner replacement service will offer after-sales support, including swimming pool liner repair and maintenance tips. They should be willing to answer any questions you have and provide guidance on how to maintain your new liner.
In summary, choosing the right pool liner replacement service is about more than just cost. It's about finding a service that offers the right combination of experience, expertise, customer service, and environmental responsibility. With the right service, you can ensure your pool liner is installed correctly and will last for years to come.
No comments yet. Be the first to share your thoughts!