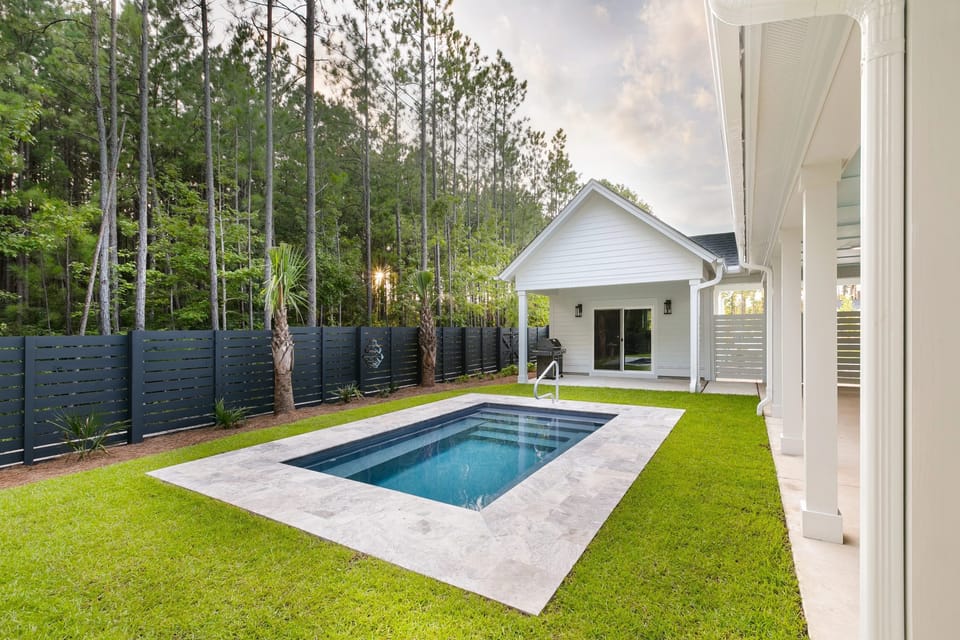

Choosing the Right Location for Your Above Ground Pool
Before you dive into the world of DIY pool installation, the first step in learning how to install an above ground pool is choosing the right location. This is a crucial part of your above ground pool setup guide, as the location can significantly impact your pool's longevity and your overall swimming experience.
Consider Sun Exposure
Start by considering the amount of sun exposure the area gets. A sunny spot can naturally warm your pool water, reducing the need for a heater. However, too much sun can lead to quick evaporation and may require you to frequently refill your pool. 
Check the Ground Level
Next, ensure the ground is level. Installing a pool on uneven ground can lead to structural problems and potential safety hazards. If the ground isn't level, you may need to do some groundwork before starting your pool installation. 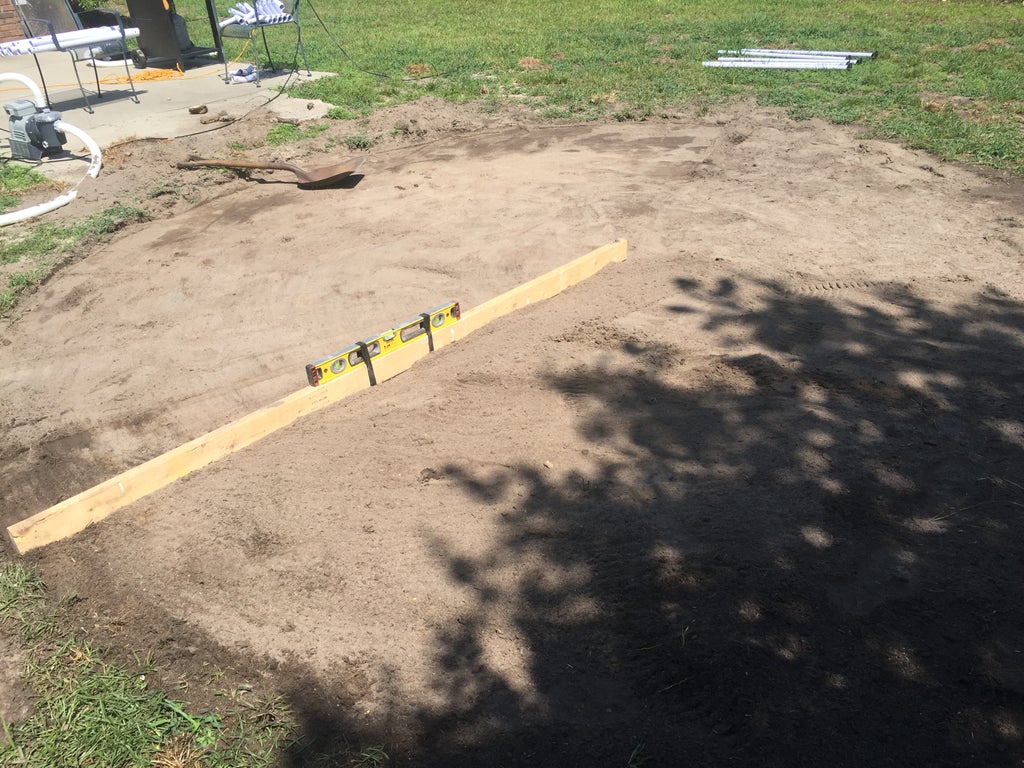
Think About Accessibility
Accessibility is another key factor. The location should be easily accessible for both maintenance and enjoyment. It should also be within reach of a water source for filling and close to a power source for the filter and pump system. 
Keep Distance from Trees and Structures
Lastly, keep your pool at a safe distance from trees and structures. Falling leaves can clog your filter, and overhanging branches can pose a risk. Similarly, structures like your house or shed can cast shadows, reducing your pool's sun exposure. 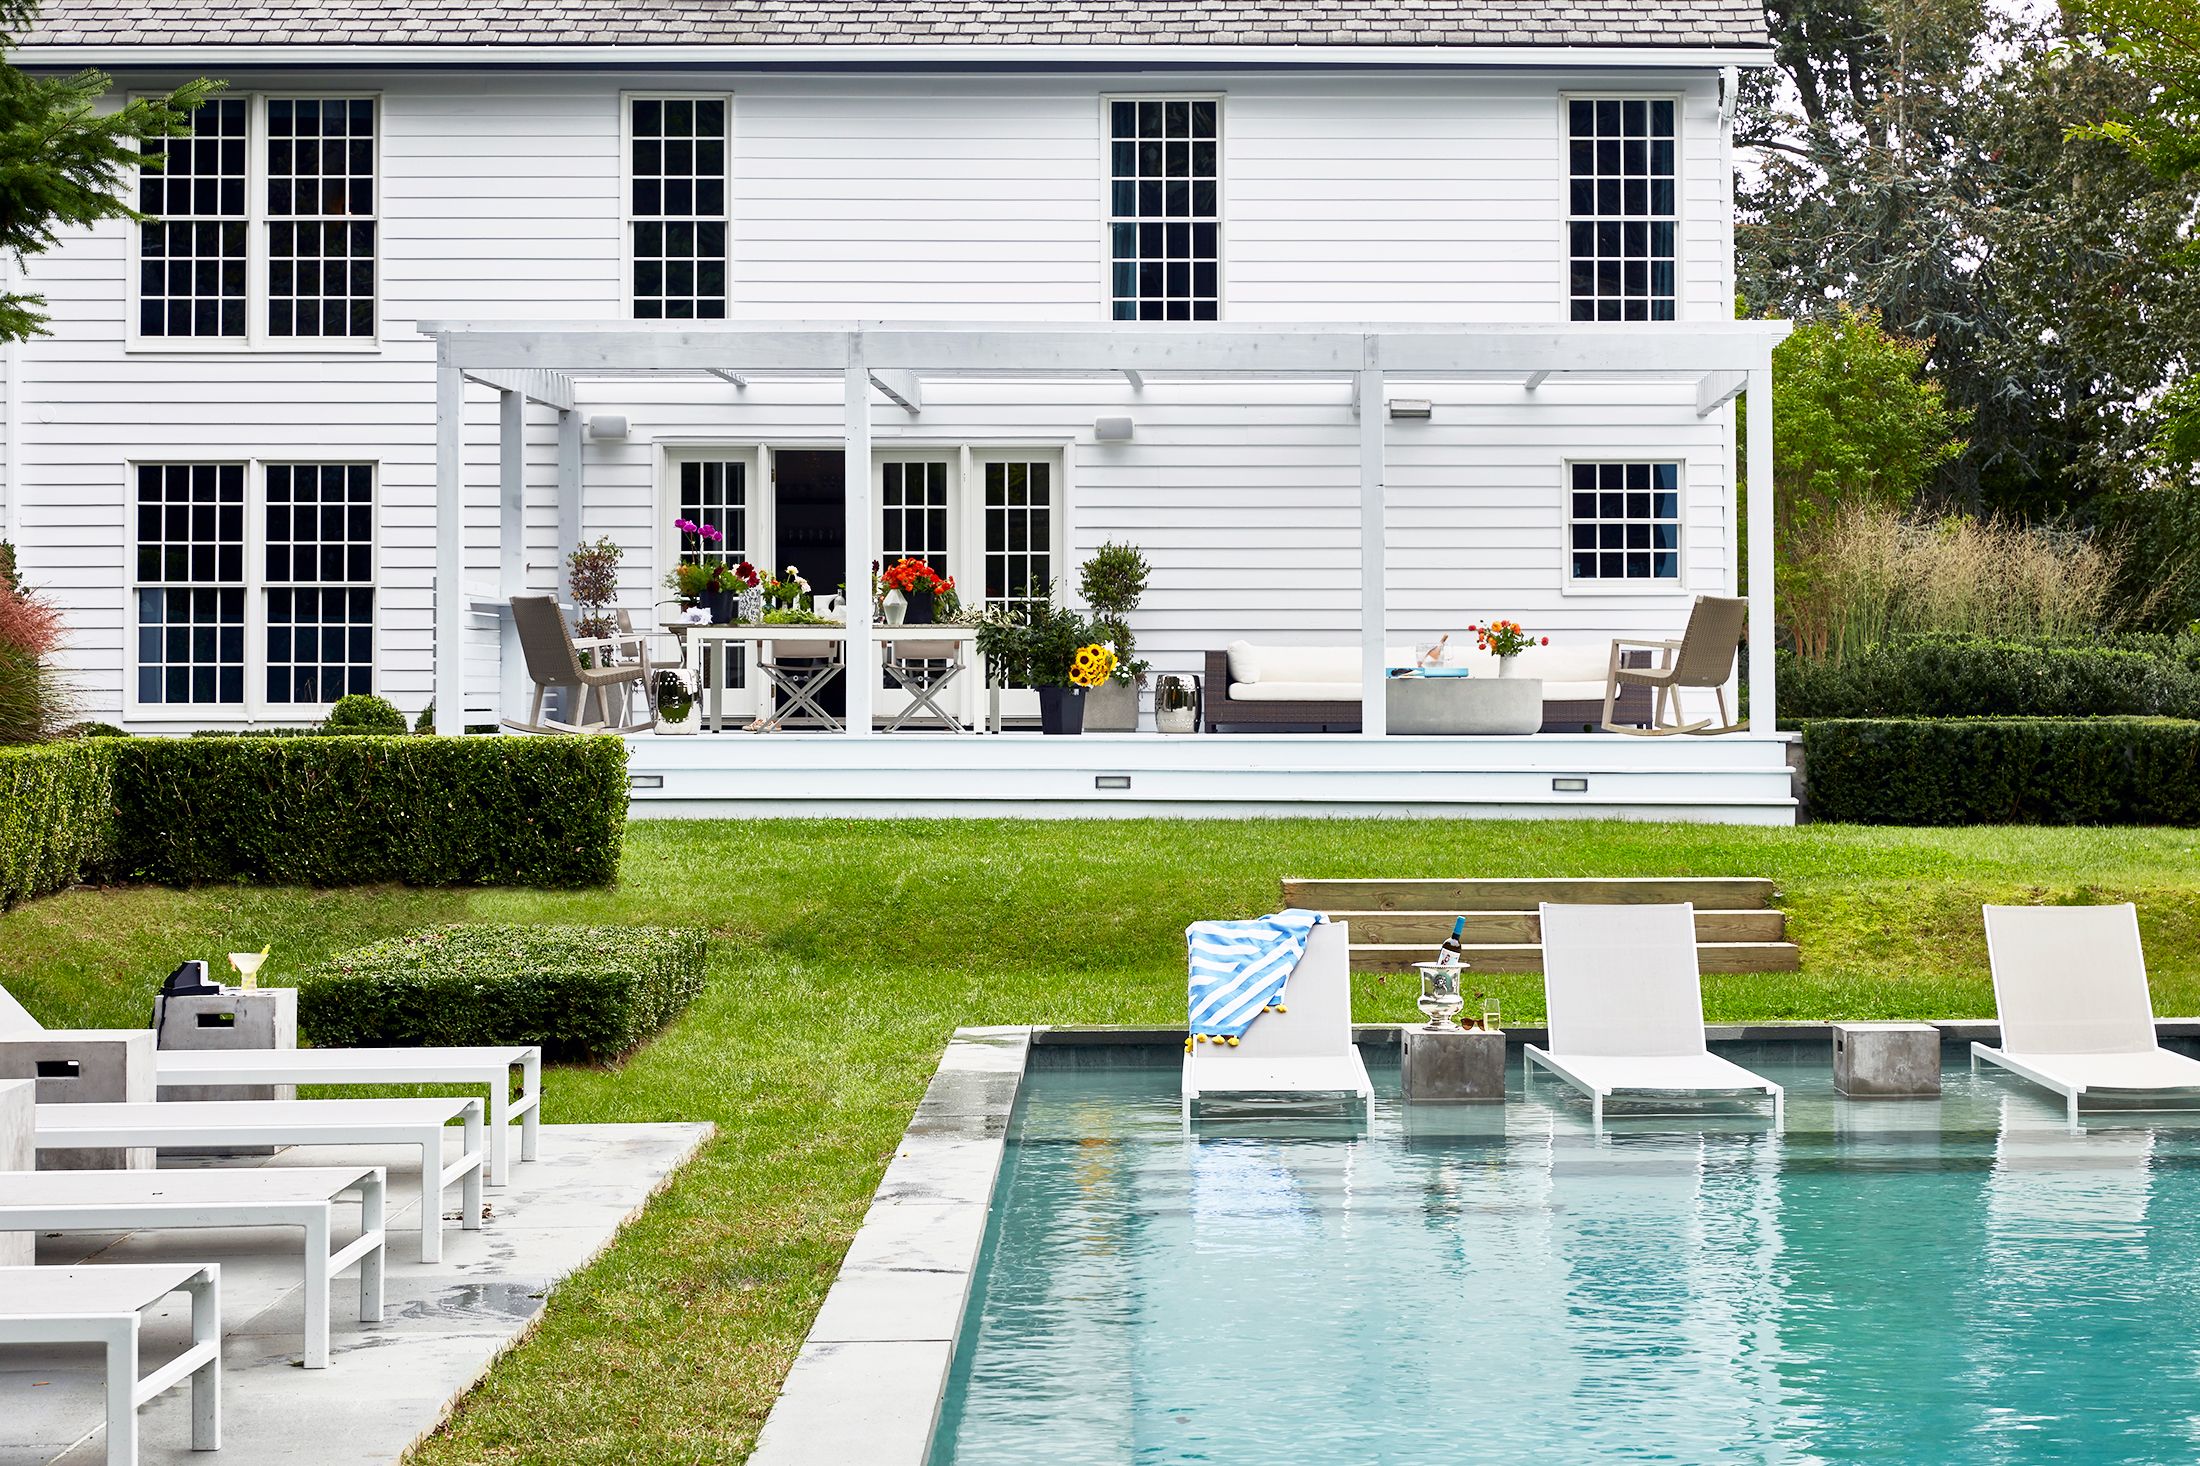
Remember, maintaining an above ground pool starts with the right location. Once you've selected the perfect spot, you're ready to move on to the next step in your pool installation guide: preparing the ground for installation.
Assembling the Pool Frame and Wall
Now that you've chosen the perfect spot and prepped the ground, it's time to dive into the heart of your DIY pool installation: assembling the pool frame and wall. This step is crucial in ensuring a sturdy and safe above ground pool setup.
Start by laying out the bottom rails according to the manufacturer's instructions. These rails will form the base of your pool frame. Make sure they are aligned correctly and are sitting flat on the ground. 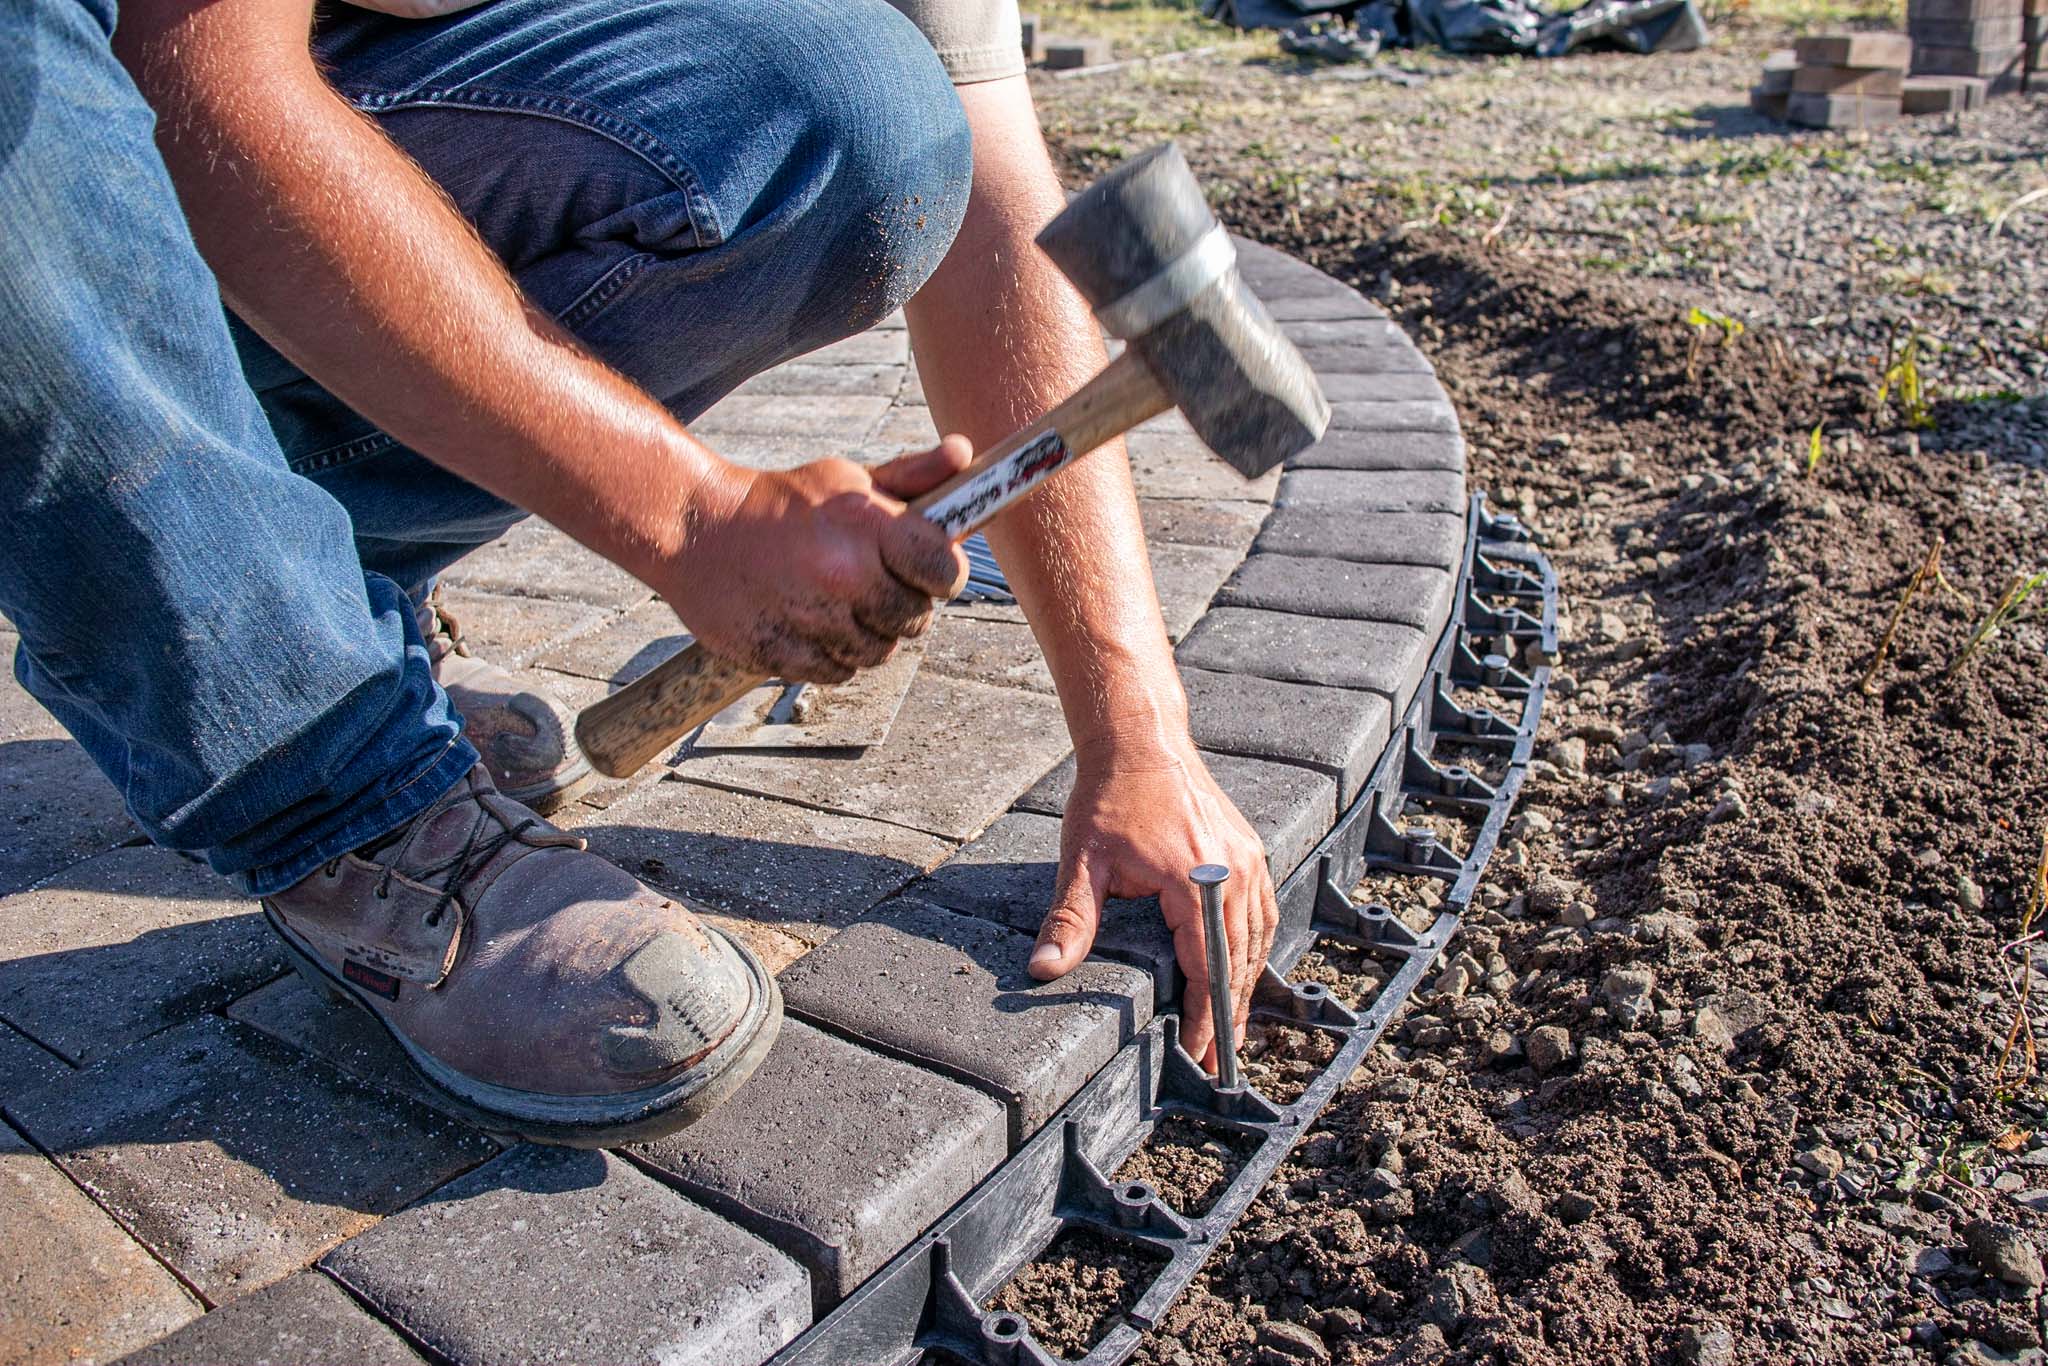
Next, you'll begin to assemble the uprights. These are the vertical pieces that connect to the bottom rails. Attach them securely, ensuring they are straight and level. This is the skeleton of your pool, so precision is key. 
Once the uprights are in place, it's time to install the pool wall. Unroll the wall along the inside of the frame, securing it to the uprights as you go. Be careful not to rush this step; the wall needs to be smooth and free of wrinkles. 
Finally, secure the top rails to the uprights, locking the wall in place. Make sure all connections are tight and secure. 
Remember, maintaining an above ground pool starts with a proper installation. By following this step-by-step pool installation guide, you're setting yourself up for a safe and enjoyable swimming experience. Stay tuned for the next step: installing the pool liner.
Installing the Pool Liner
With the frame and wall of your above ground pool securely in place, we now move on to a pivotal step in our DIY pool installation guide: Installing the Pool Liner. This step is crucial as the liner not only adds aesthetic appeal to your pool but also acts as a barrier, preventing water from damaging the pool structure.
Begin by spreading the liner out in the sun for a few hours. This makes it more pliable and easier to work with. 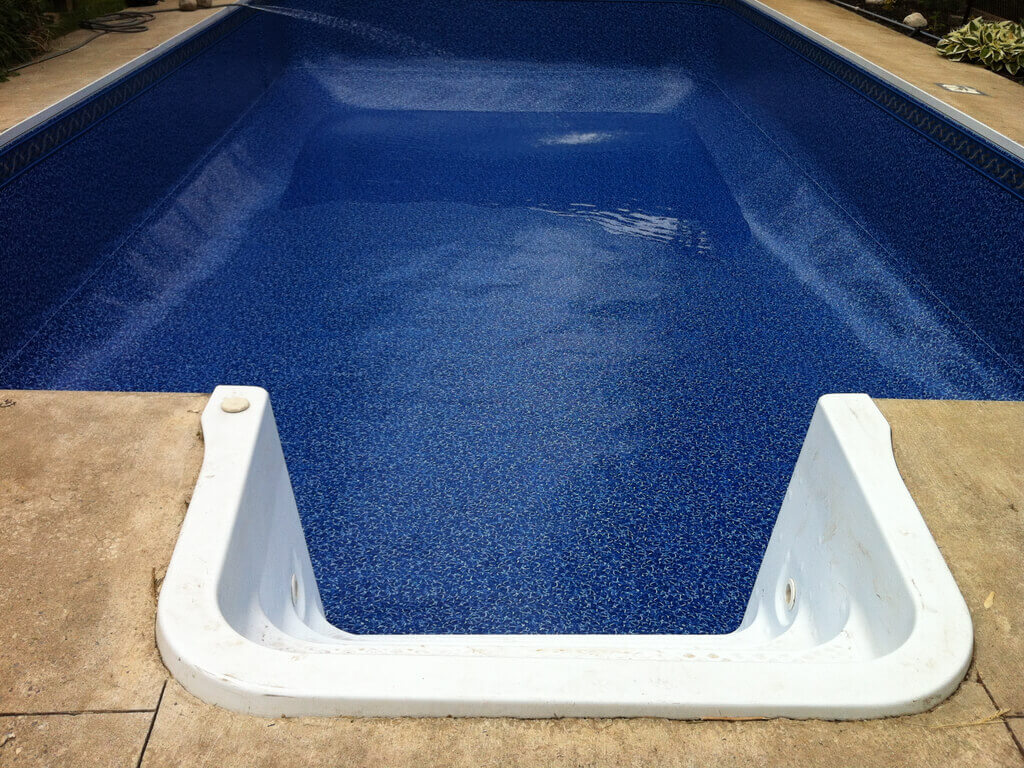
Once the liner is warm and flexible, drape it over the pool frame, ensuring it's centered. The seam that runs around the liner should align with the bottom of the pool wall. Use clothespins or liner clips to temporarily hold the liner in place. 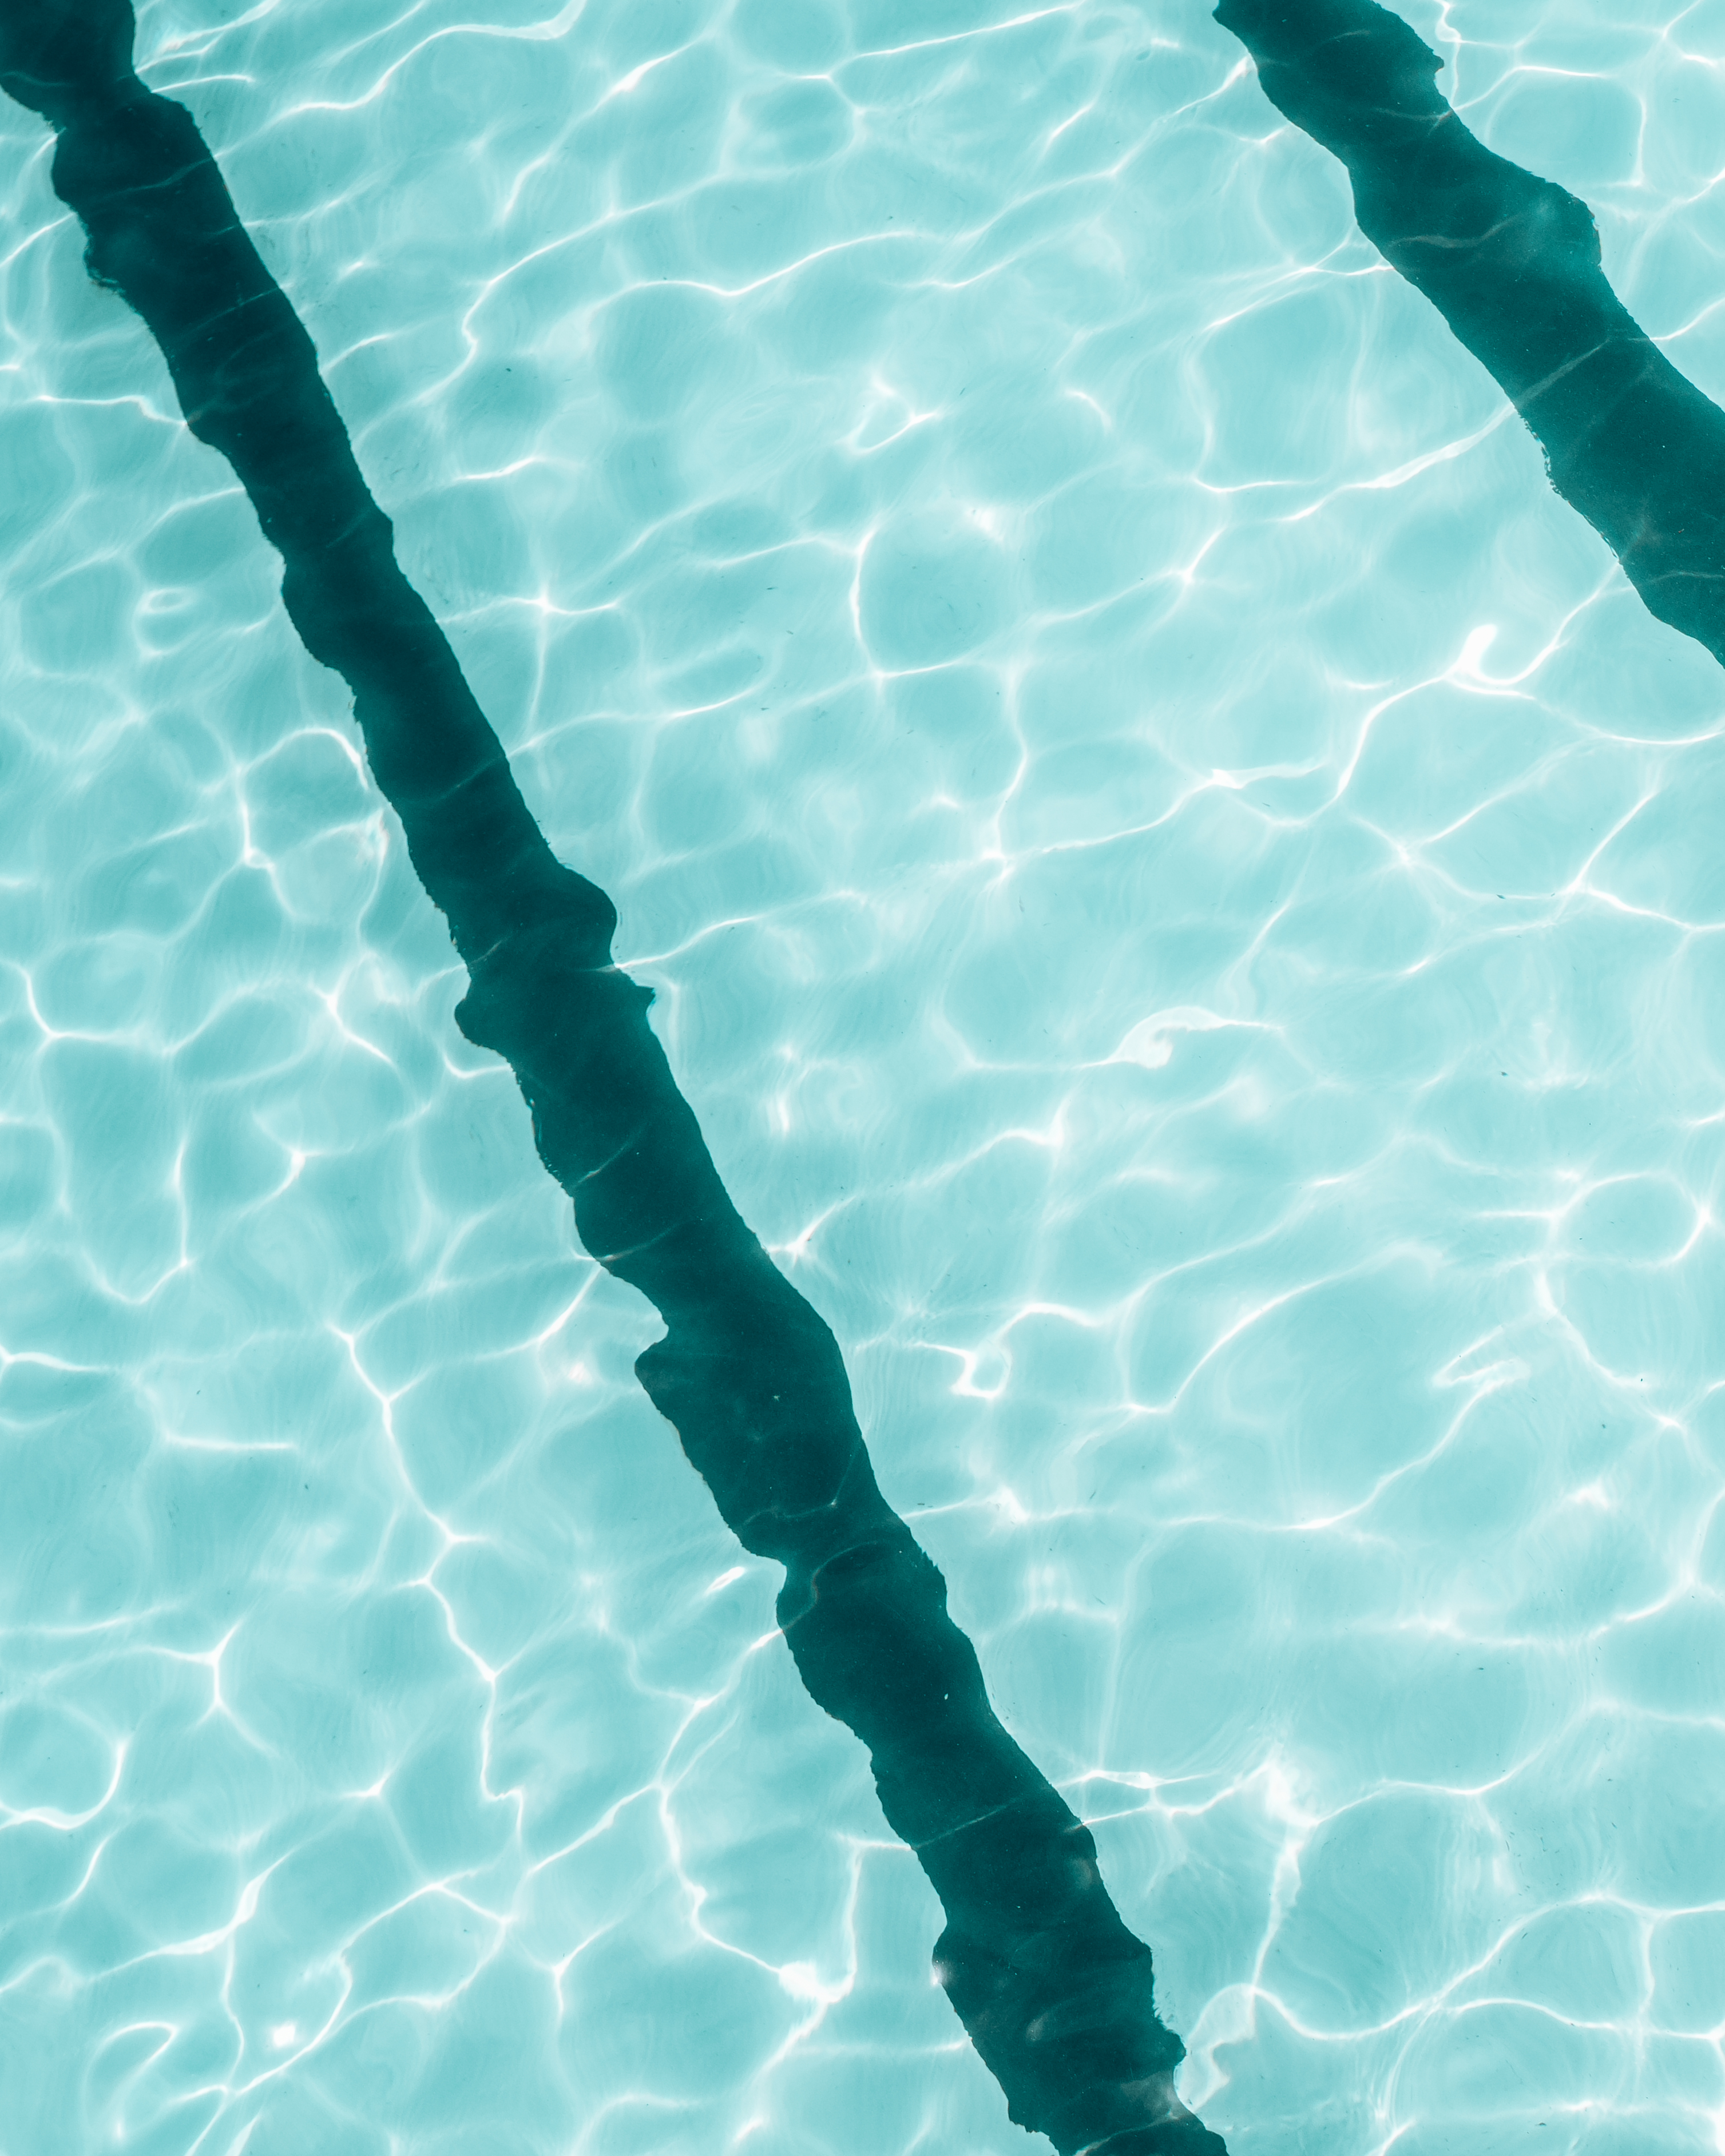
Now, start pushing the liner into the pool wall and floor, smoothing out any wrinkles as you go. This is a slow and meticulous process, but patience here will result in a smooth and wrinkle-free liner. 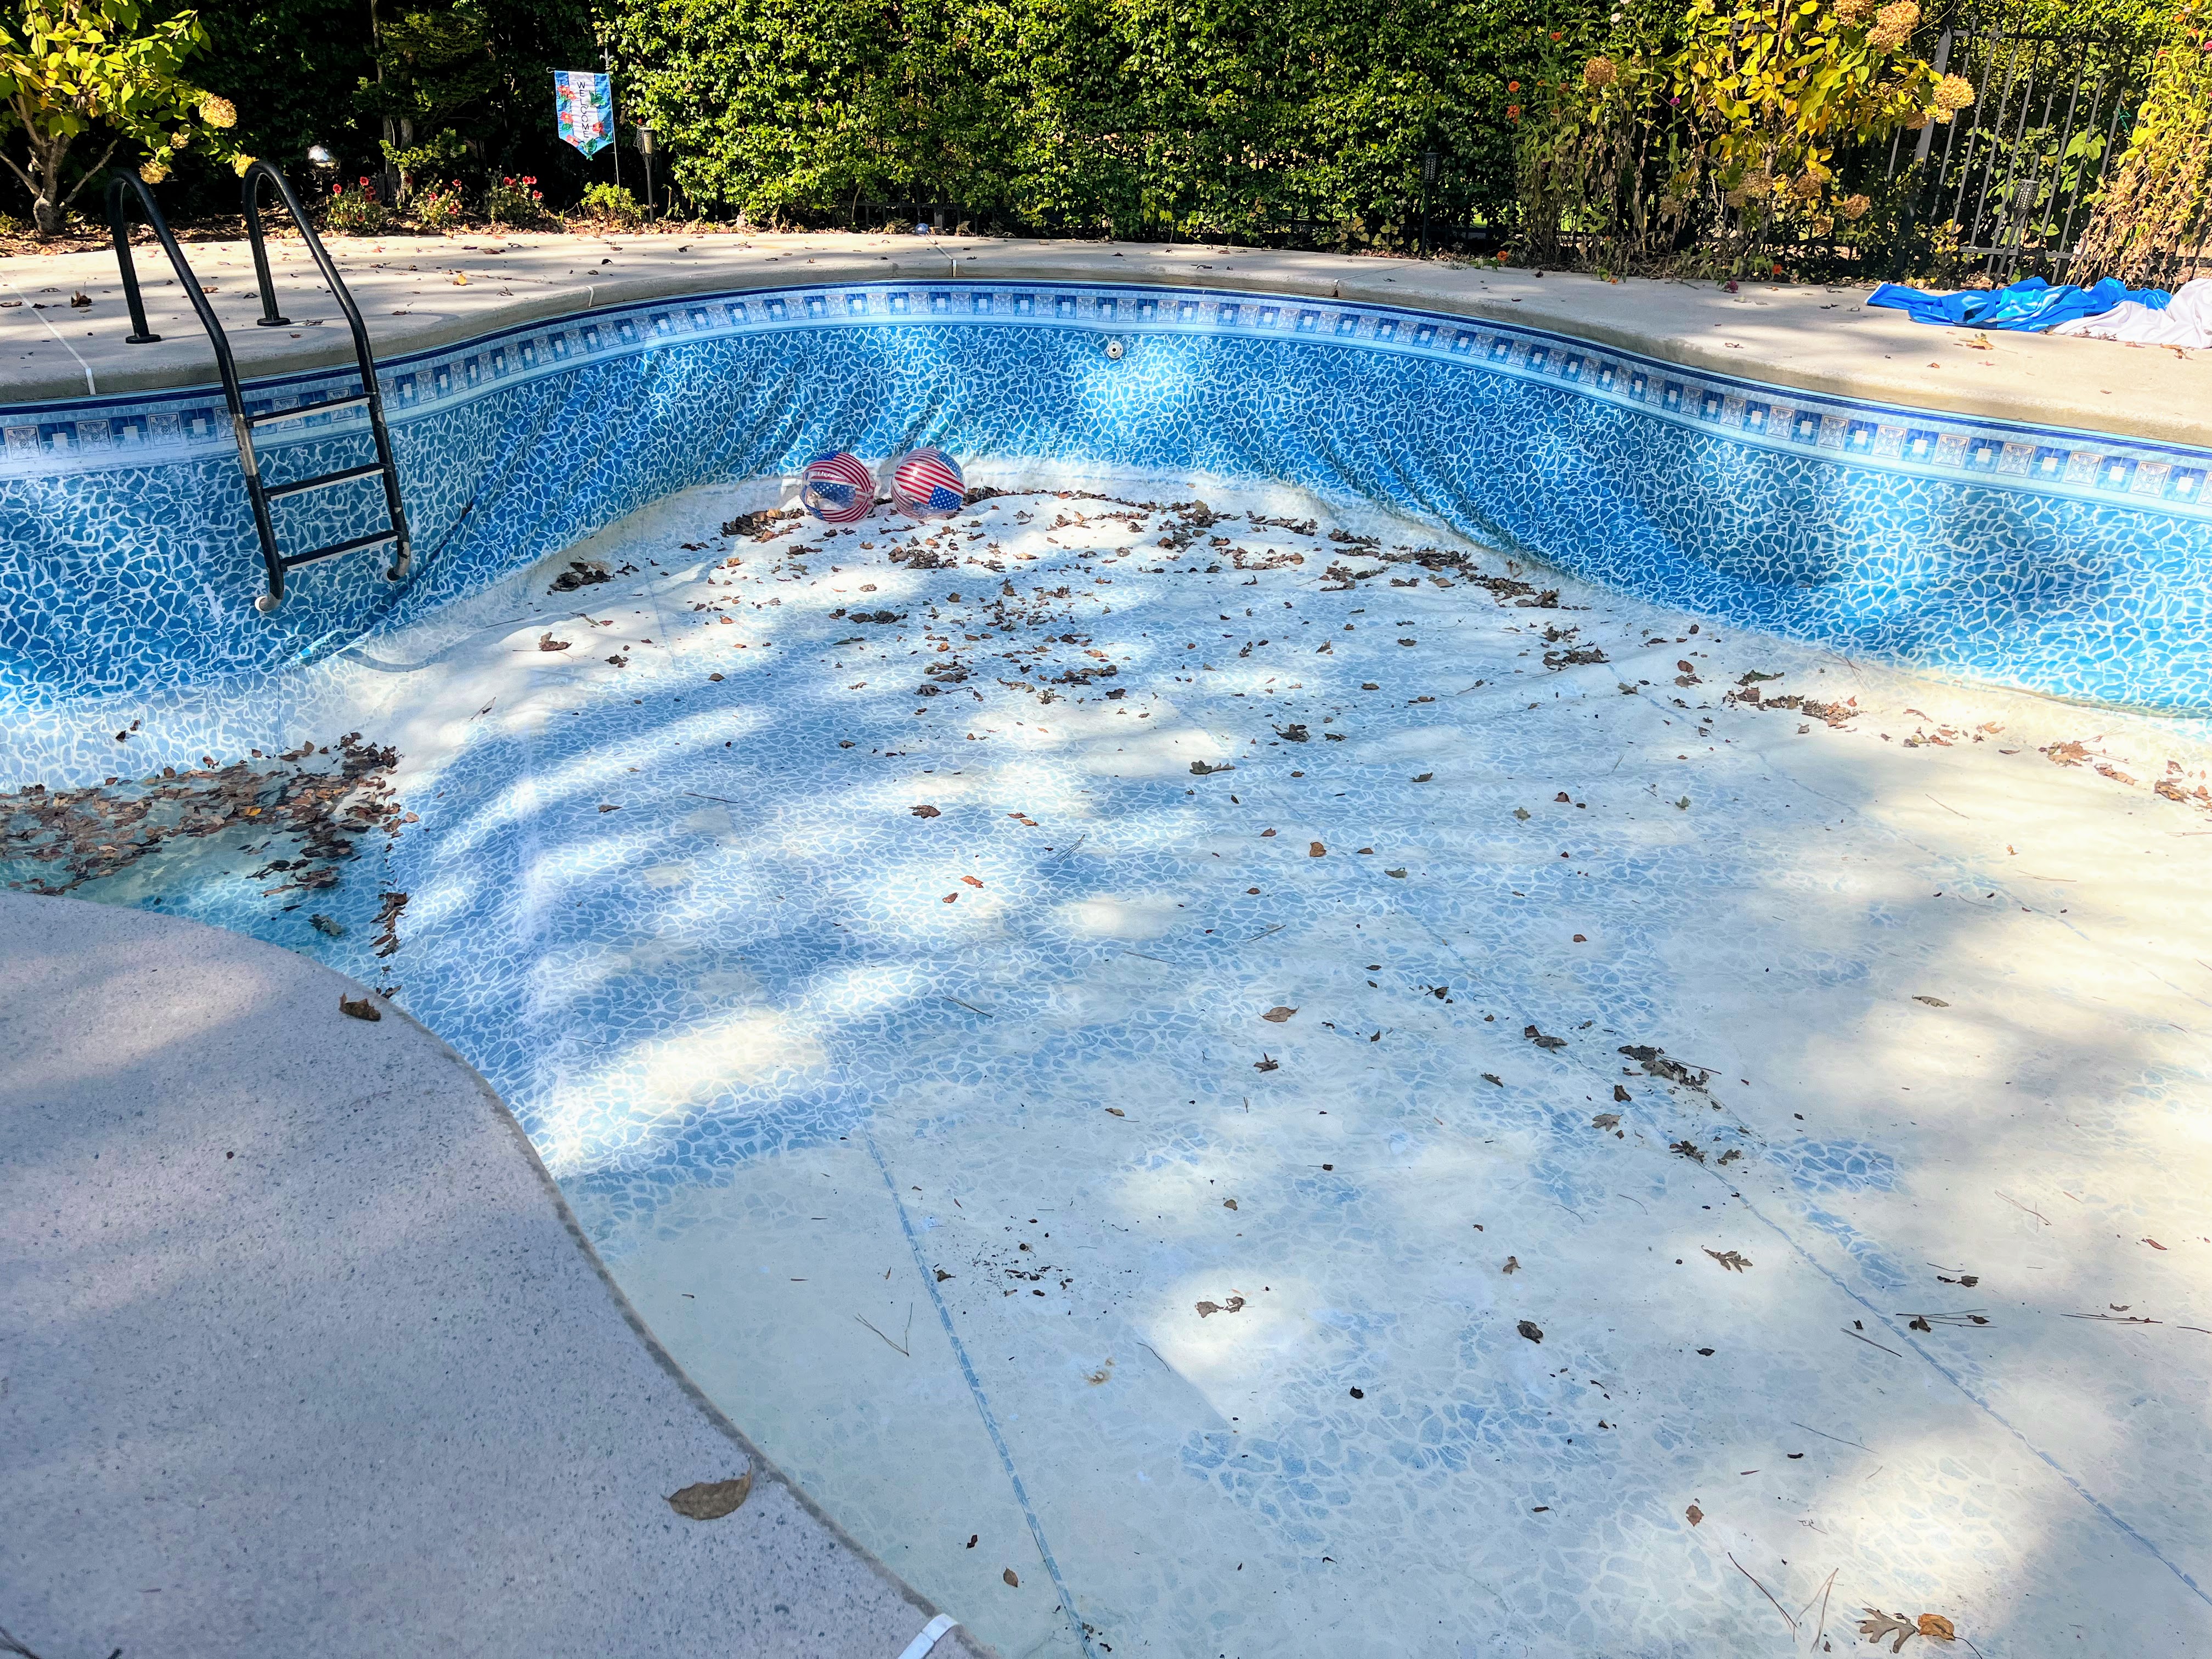
Once the liner is smooth and wrinkle-free, begin filling the pool with water. As the pool fills, continue to adjust and smooth out the liner. This helps the liner to form-fit to the pool structure.
When the pool is about half full, you can remove the clothespins or liner clips and secure the liner to the pool frame using the coping strips provided by the manufacturer. These strips lock the liner in place, ensuring it doesn't shift or wrinkle over time. 
Remember, a well-installed liner not only enhances the look of your above ground pool but also contributes to its longevity. So, take your time and ensure it's done right.
Stay tuned for the next step in our above ground pool setup guide: Setting up the Filter and Pump System.
Setting up the Filter and Pump System
Now that your liner is perfectly in place, it's time to move on to the next crucial step in our DIY pool installation guide: Setting up the Filter and Pump System. This system is the heart of your pool, circulating water and keeping it clean and clear for your swimming enjoyment.
Start by identifying the location for your pump and filter. This should ideally be a level spot, close to the pool, and within reach of a GFCI electrical outlet. Remember, safety first! 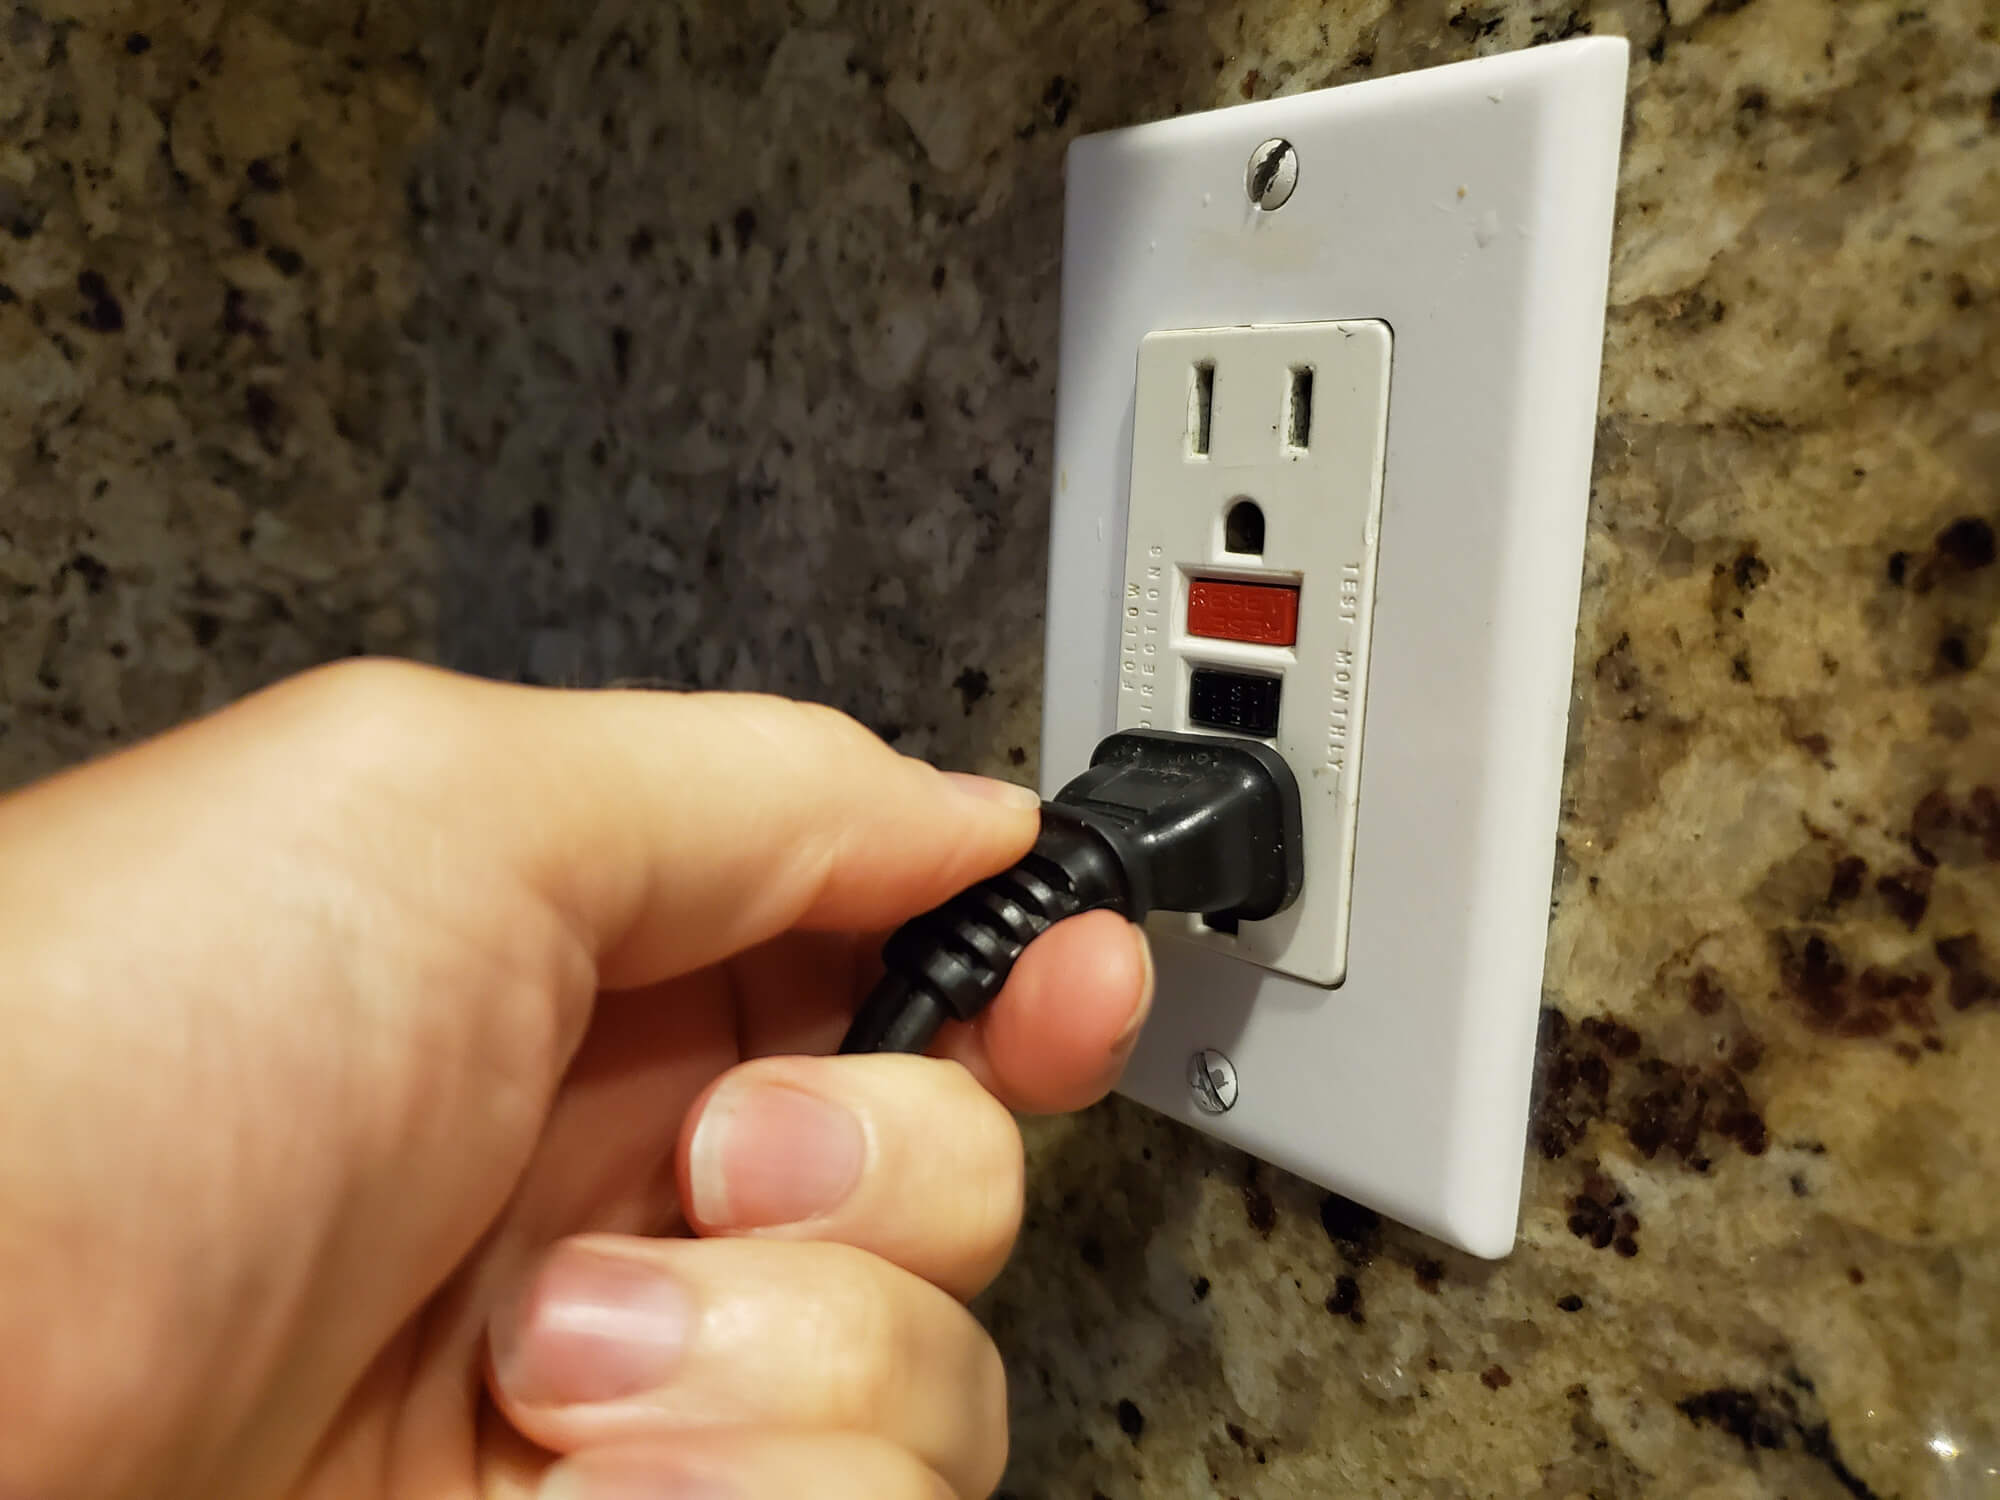
Next, assemble your pump and filter according to the manufacturer's instructions. Each model is different, so it's important to follow the guide provided. 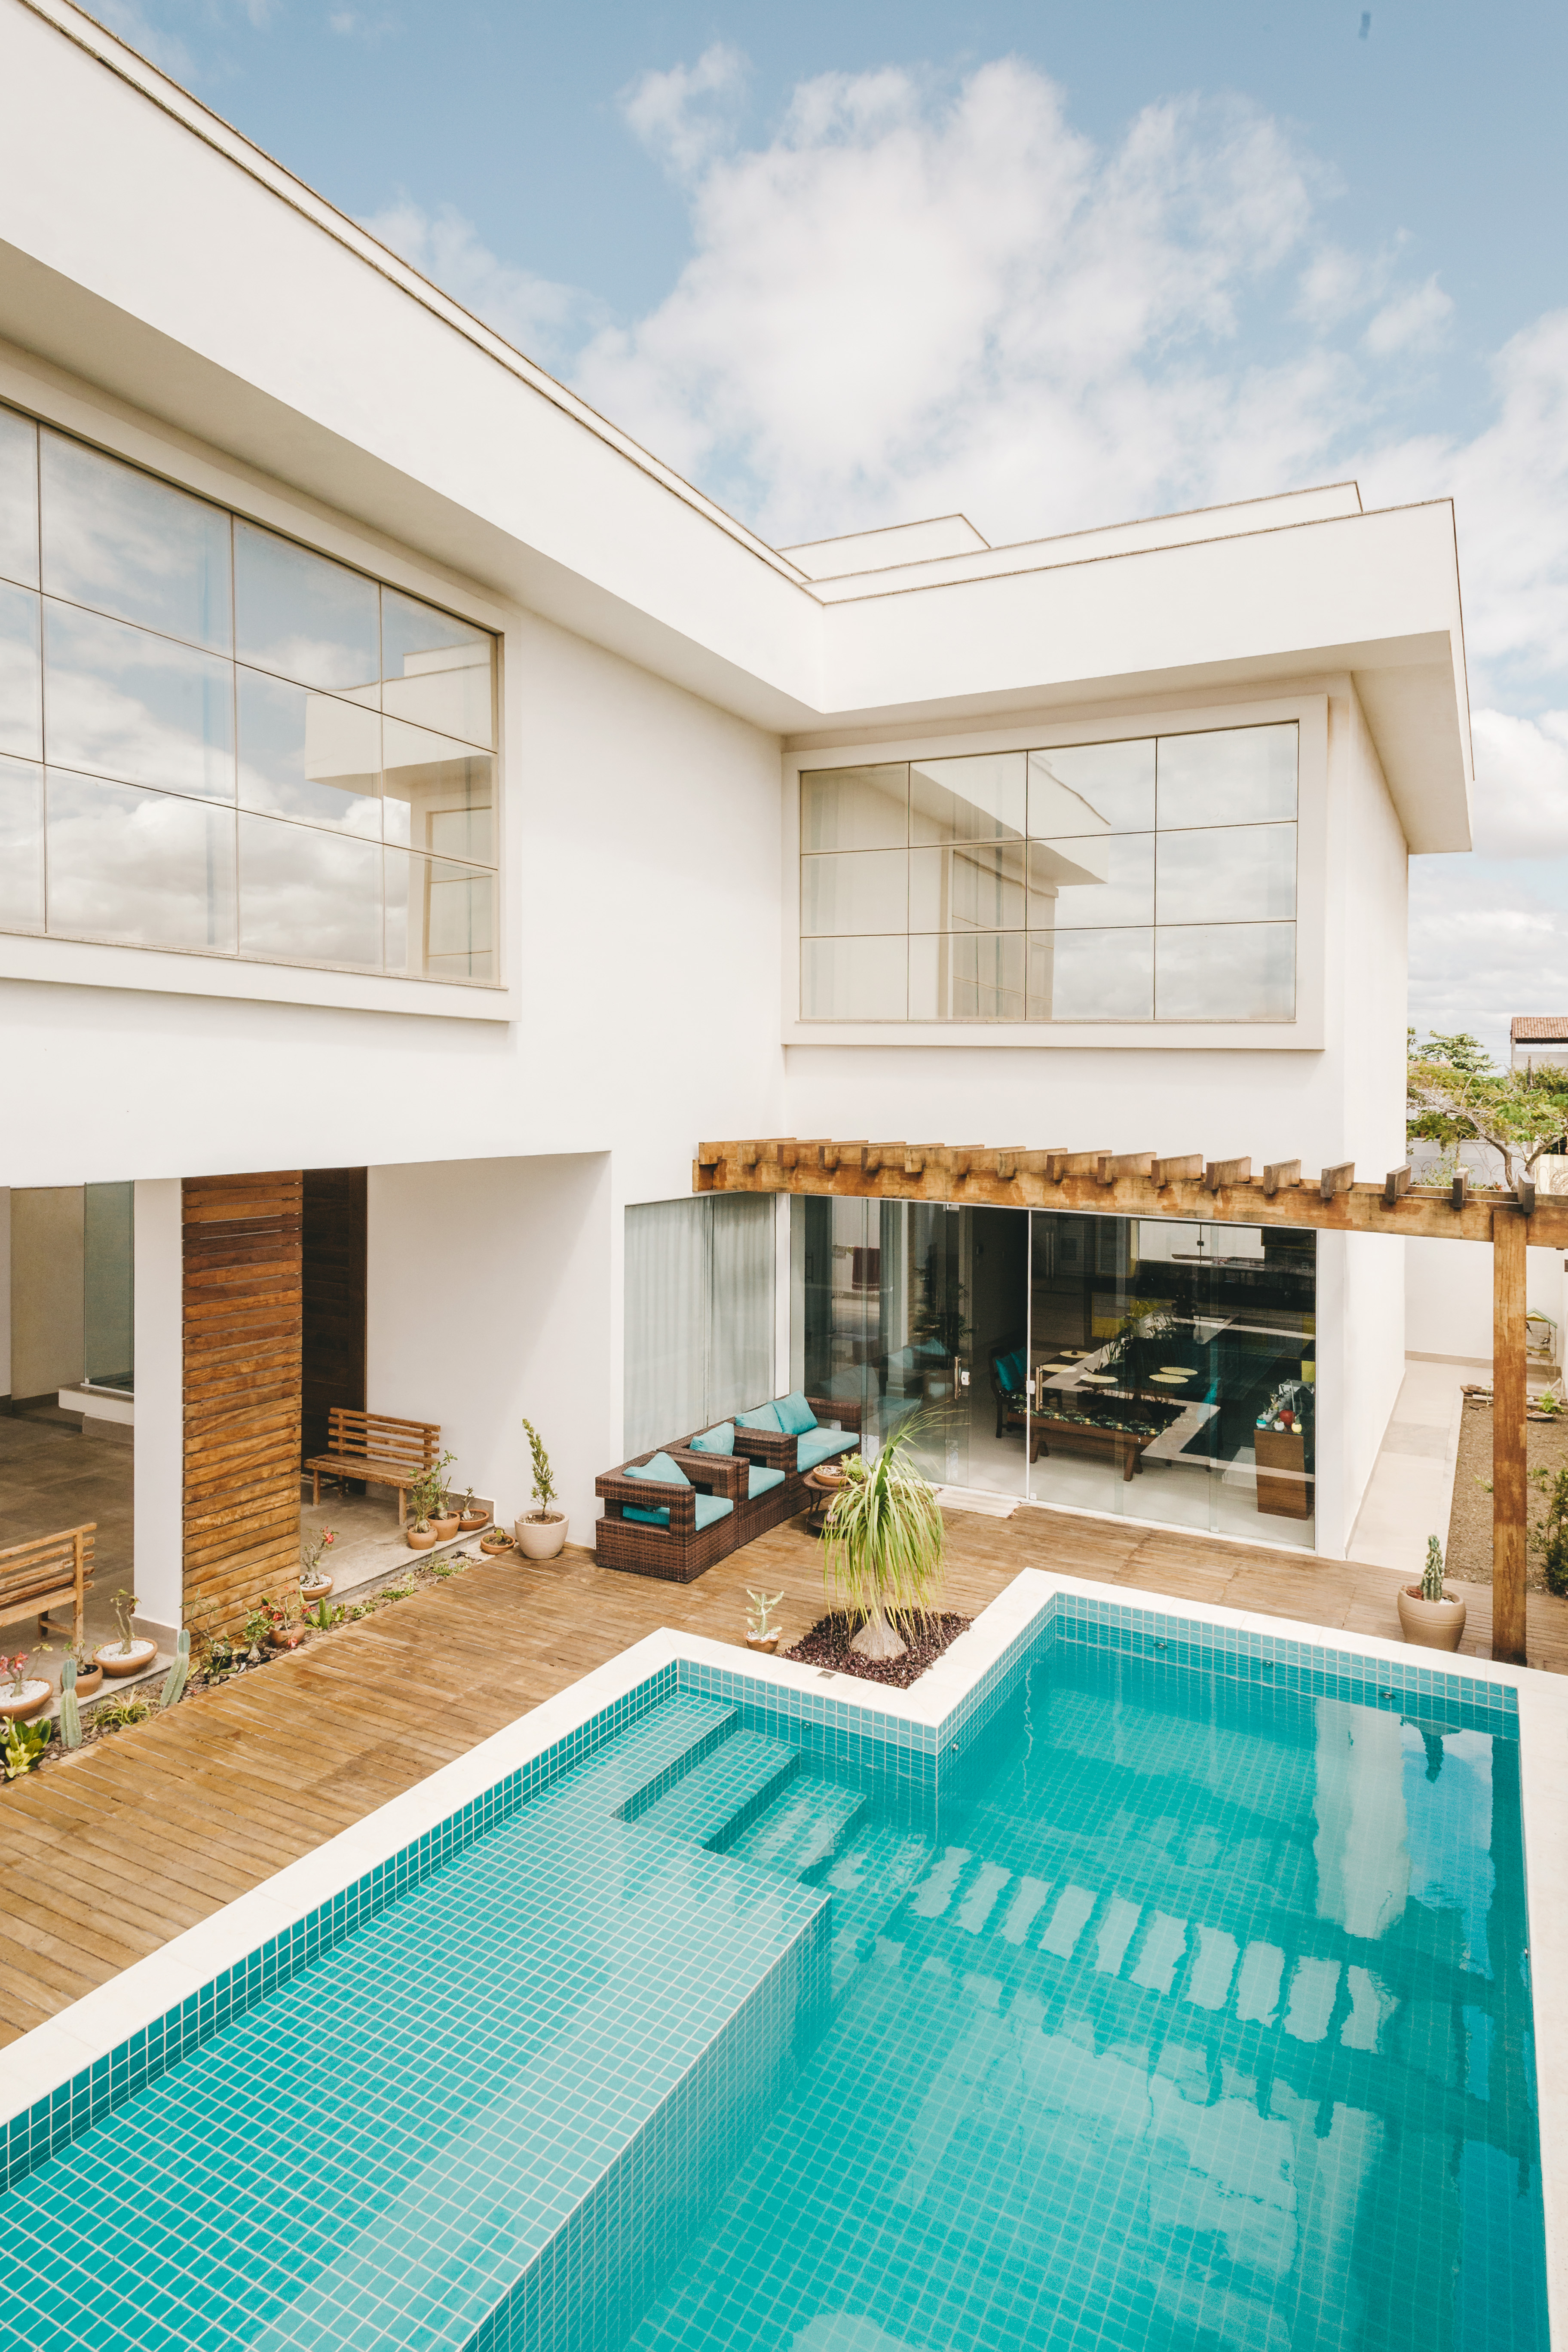
Once assembled, connect the pump to the filter. This is typically done using a hose and clamps. Ensure the connection is secure to prevent leaks. 
Now, connect the filter system to the pool. One hose should run from the skimmer on the pool wall to the pump, and another from the filter back to the pool. Again, make sure these connections are tight. 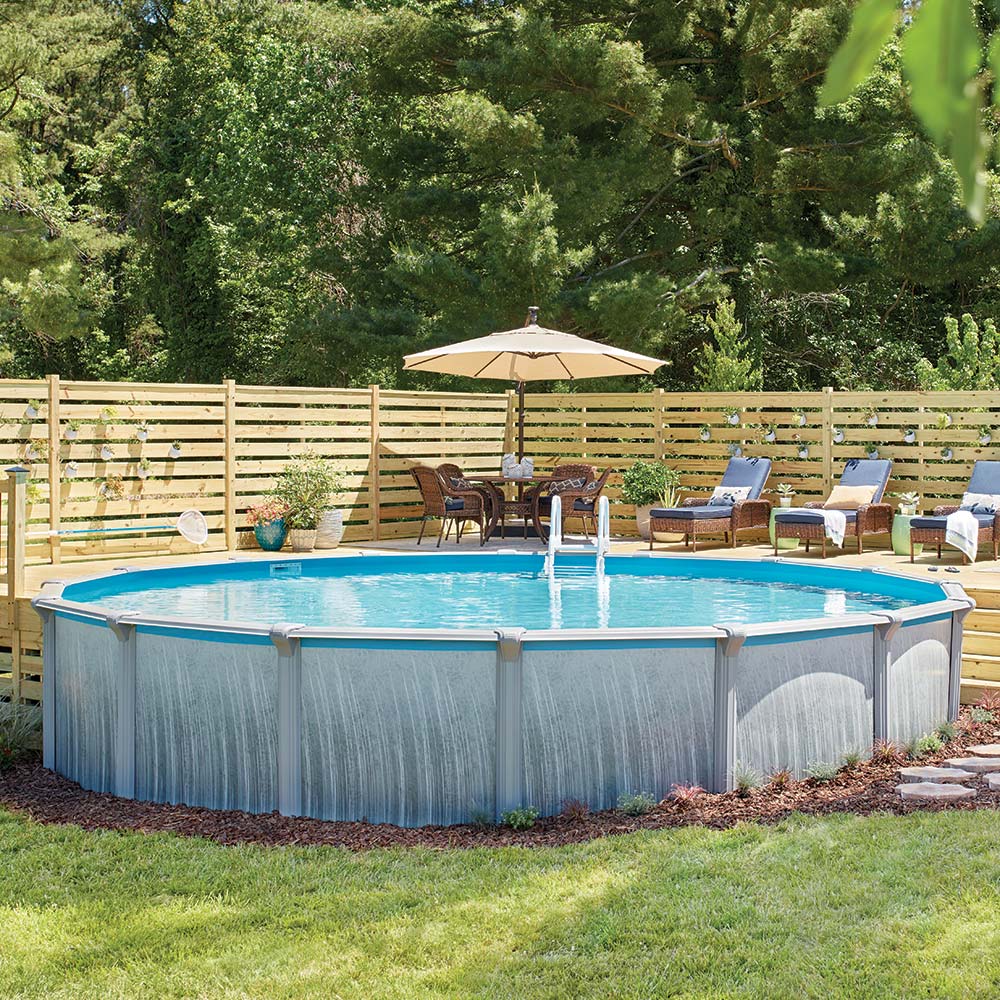
With everything connected, it's time to prime the pump. Fill the pump basket with water until it reaches the top, then secure the lid. Now, turn on the pump and let it run until it's pulling a steady stream of water from the pool. 
Remember, maintaining an above ground pool requires regular inspection and cleaning of the filter and pump system. This ensures your pool stays sparkling clean and ready for a swim at any time.
Stay tuned for the next step in our step-by-step pool installation guide: Filling and Testing the Pool.
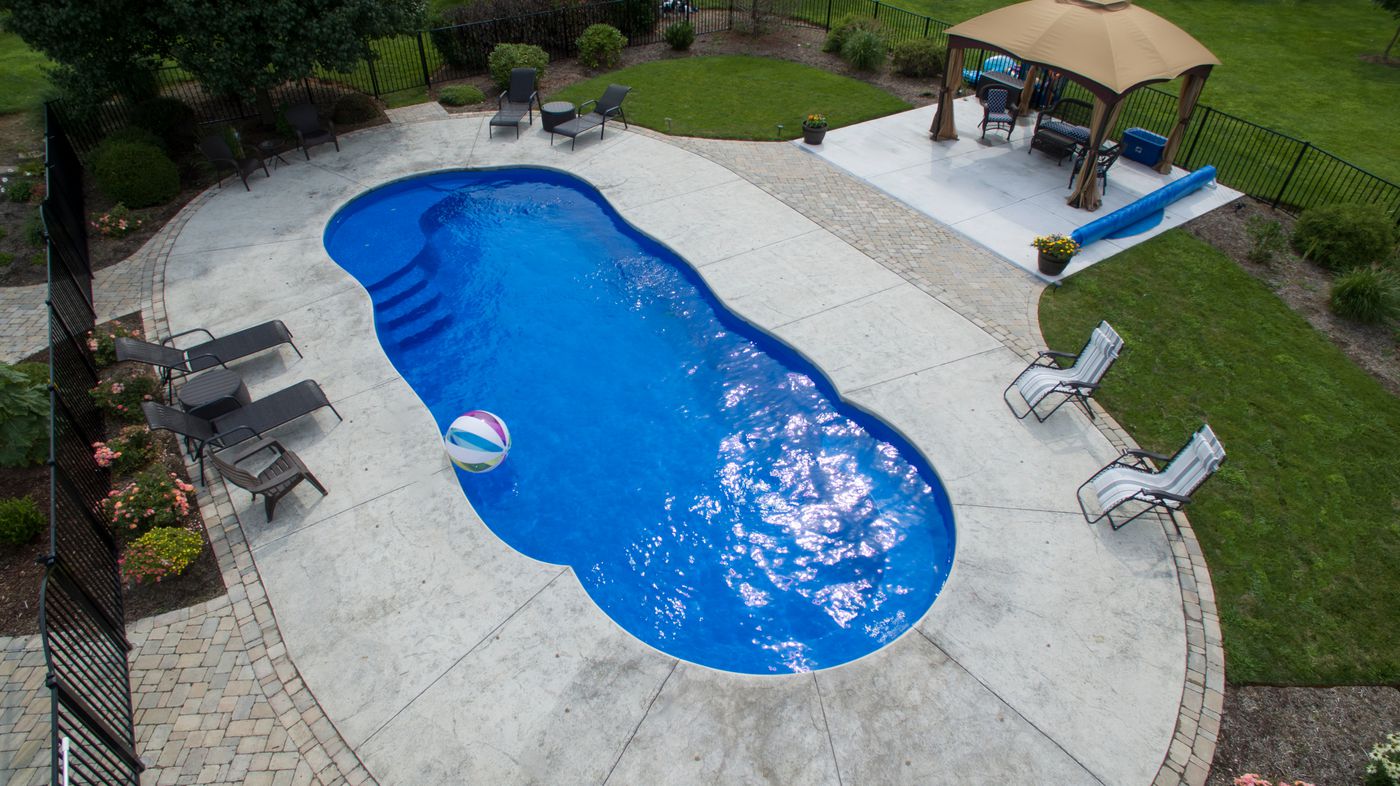
Adding the Finishing Touches
Now that your pool is filled and tested, it's time to add the finishing touches to your DIY pool installation. This is the stage where you make your above ground pool not just functional, but also a visually appealing part of your backyard.
Start by installing a pool ladder. This is an essential safety feature for any pool. Ensure it's sturdy and well-anchored. You don't want any wobbles or slips when climbing in or out of the pool. 
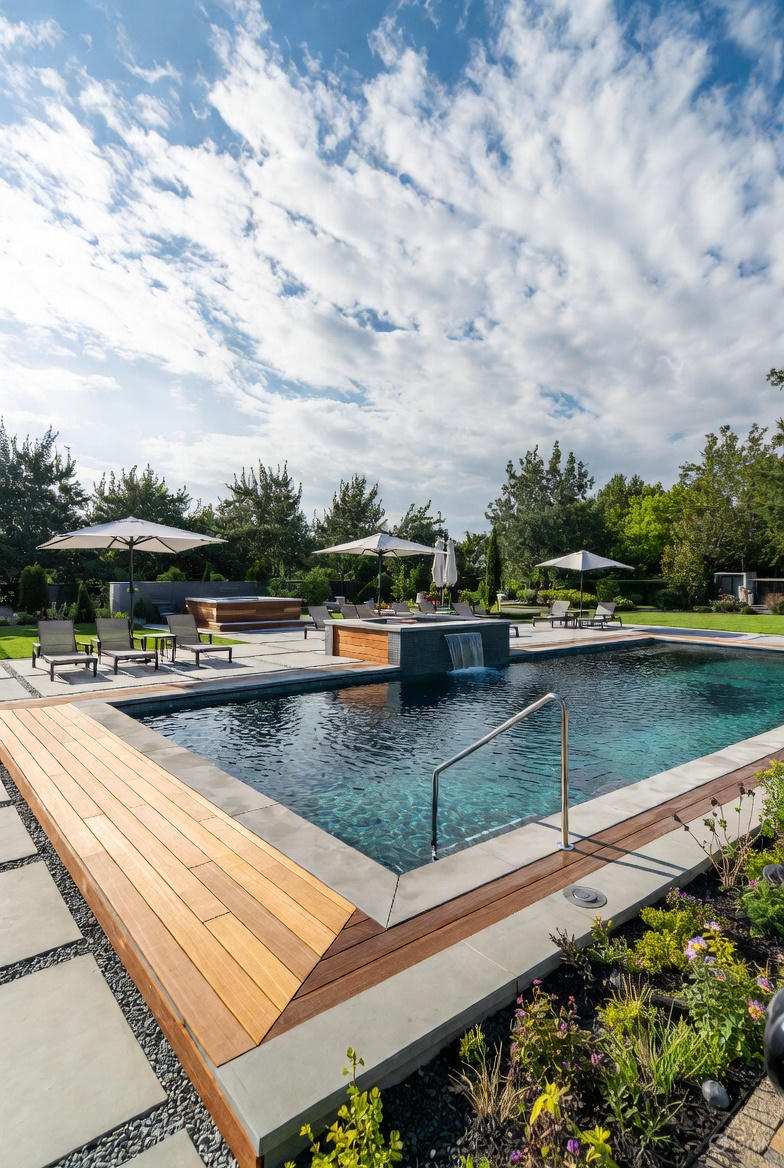
Next, consider adding a pool deck. This can provide a comfortable space for lounging, sunbathing, or watching over the swimmers. It can also enhance the overall look of your above ground pool, making it feel more like an in-ground one. 
For the final touch, think about landscaping around your pool. This could be as simple as laying down some attractive stones or pebbles, or as elaborate as planting a garden. Remember, any plants should be pool-friendly – you don't want leaves constantly falling into your pool! 
Lastly, don't forget about pool maintenance. Regular cleaning, water testing, and equipment checks are crucial for maintaining an above ground pool. Michael Diver's pool maintenance tips can help you keep your pool in top condition.
With these finishing touches, your pool is now ready for you to dive in and enjoy! Remember, the key to a successful DIY pool installation is patience, attention to detail, and a step-by-step pool installation guide. Happy swimming!
Performing an Above Ground Pool Inspection
Now that your above ground pool is set up and looking fantastic, it's time to conduct a thorough pool inspection. This crucial step ensures that your pool is not only visually appealing but also safe and ready for use. Let's dive into the process of performing an above ground pool inspection.
Step 1: Check the Pool Structure
Begin by examining the overall structure of your pool. Ensure that the pool walls are straight and the top rails are level. Any signs of bending or warping could indicate a problem. Also, check the pool liner for any signs of damage such as tears or leaks. 
Step 2: Inspect the Pool Equipment
Next, turn your attention to the pool equipment. The filter and pump system should be working efficiently, with no strange noises or leaks. The pool ladder should be sturdy and securely attached. 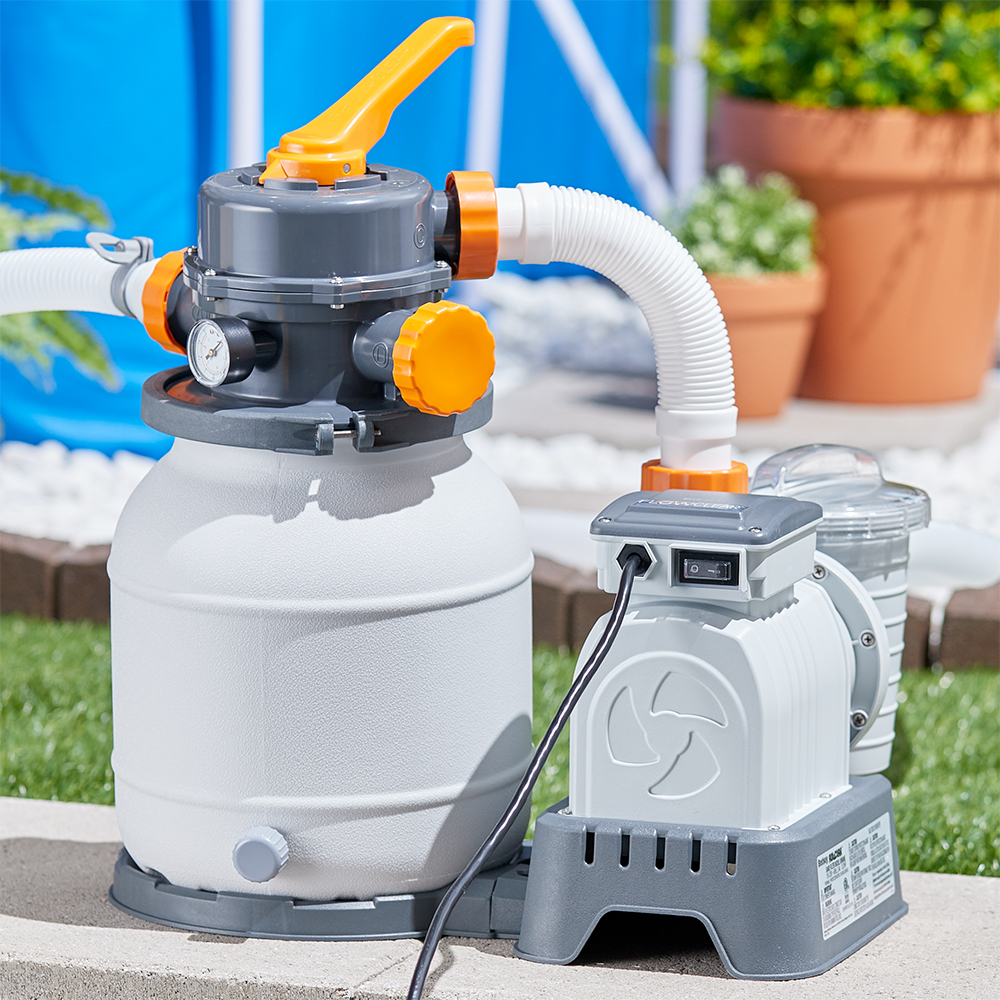
Step 3: Test the Water Quality
Water quality is a vital aspect of pool maintenance. Use a pool testing kit to check the pH, chlorine, and alkalinity levels. The water should be clear, with no visible algae or debris. 
Step 4: Review Safety Measures
Lastly, ensure all safety measures are in place. This includes a secure pool cover, safety signs, and a fence or barrier around the pool if necessary. 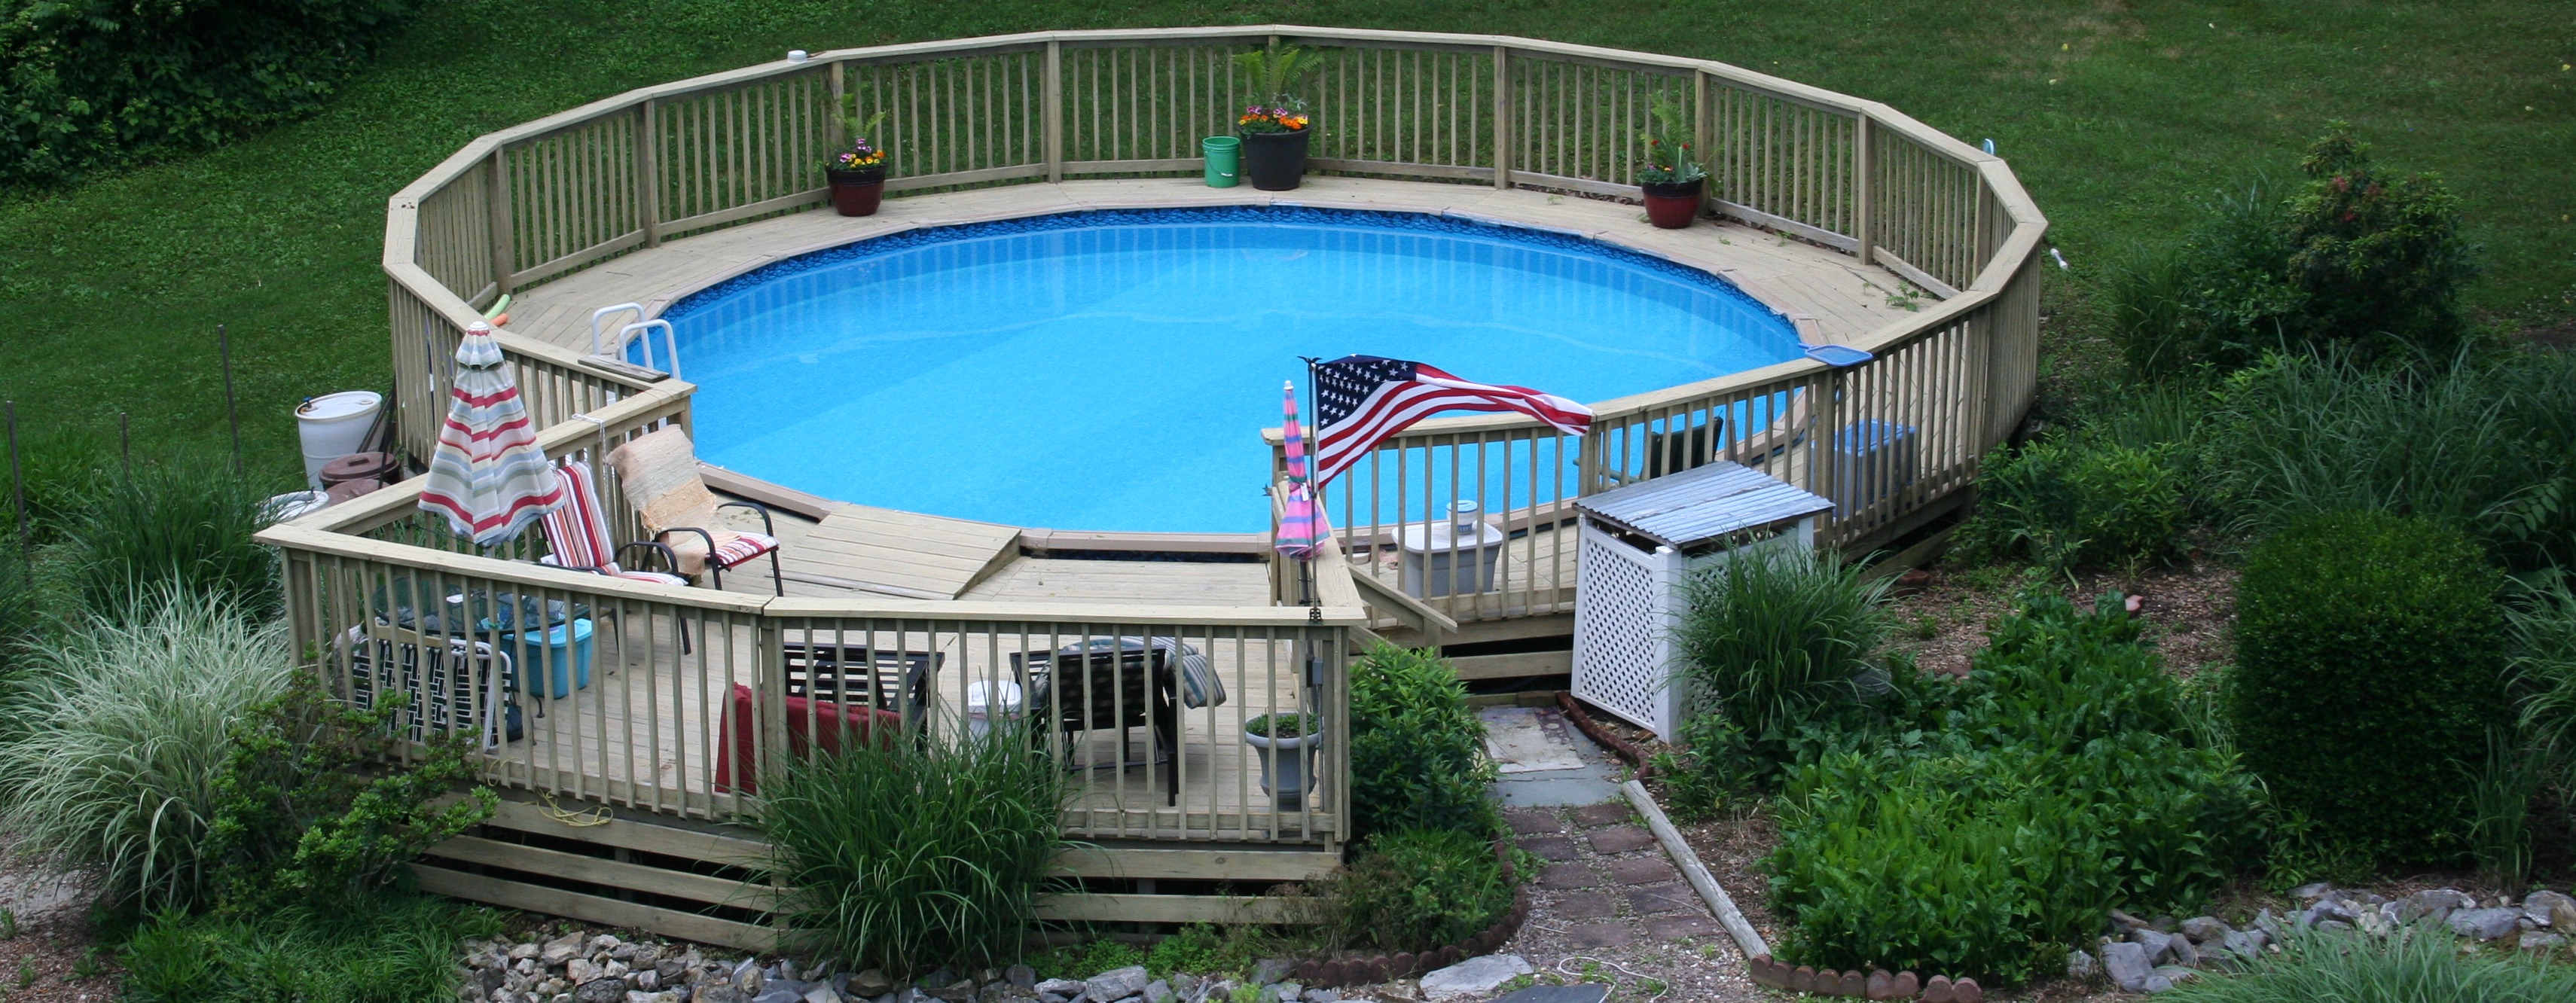
Performing a thorough inspection after your DIY pool installation is key to maintaining an above ground pool. By following this guide, you can ensure your pool is safe, clean, and ready for endless summer fun. Remember, regular inspections are part of Michael Diver's pool maintenance tips, helping you keep your pool in top condition.
Filling and Testing the Pool
As we continue our journey on how to install an above ground pool, we've now reached the exciting stage of filling and testing the pool. This is where you'll see your hard work start to come to life!
First, you'll need to fill your pool with water. Using a garden hose, begin to fill the pool, ensuring the water is spreading evenly across the pool floor. This process can take several hours, so patience is key. 
While the pool is filling, it's a good time to prepare for the testing phase. You'll need a reliable pool water testing kit. These kits are designed to measure the pH, chlorine, and alkalinity levels in your pool water. It's crucial to maintain these levels within the recommended ranges to keep your pool safe and enjoyable.
Once your pool is filled, take a water sample from about 12-18 inches below the water's surface. Follow the instructions on your testing kit to evaluate the water quality. If any levels are outside the recommended ranges, you'll need to adjust them using pool chemicals. Remember, always add chemicals to water, not water to chemicals, for safety.
Pro Tip: It's a good idea to test your pool water at least once a week. Regular testing and maintenance are key to keeping your pool in top condition.
Now that your pool is filled and tested, you're one step closer to diving into your very own backyard oasis. Stay tuned for the next section in our above ground pool setup guide: Adding the Finishing Touches.
Remember, Emily Aqua is always here to help with your pool maintenance tips and above ground pool inspection needs. Happy swimming!
Understanding Above Ground Pool Installation
Imagine the joy of plunging into cool, refreshing water on a hot summer day, right in your backyard. That's the beauty of having an above ground pool. But how do you transition from dreaming about it to actually installing one? Welcome to our comprehensive guide on above ground pool installation. This step-by-step guide will take you through the process, making DIY pool installation a breeze.
Understanding the process of how to install an above ground pool is crucial. It's not just about filling a structure with water. It involves careful planning, preparation, and a keen eye for detail. From choosing the perfect location in your yard to ensuring safety during installation, each step is vital to creating your personal oasis.
Are you ready to dive into the world of DIY pool installation? This guide will equip you with the knowledge and tips you need to successfully install your above ground pool. We'll cover everything from site preparation to the final touches that complete your installation. And we won't stop there. We'll also guide you on how to maintain your pool post-installation, ensuring it remains in top condition for years to come.
So, are you ready to transform your backyard into a summer paradise? Let's embark on this exciting journey of step by step above ground pool installation. By the end of this guide, you'll be well on your way to creating unforgettable summer memories right at home.
Preparing for Your DIY Pool Installation
As we delve deeper into the world of DIY pool installation, it's time to focus on the crucial first step: preparing for your above ground pool installation. This stage sets the foundation for your project and ensures a smooth and successful installation process.
Firstly, it's essential to gather all the necessary tools and materials. This includes your pool kit, a level, sand, a tamp, and a carpenter's square. Having everything at hand will save you time and prevent unnecessary interruptions during the installation process. 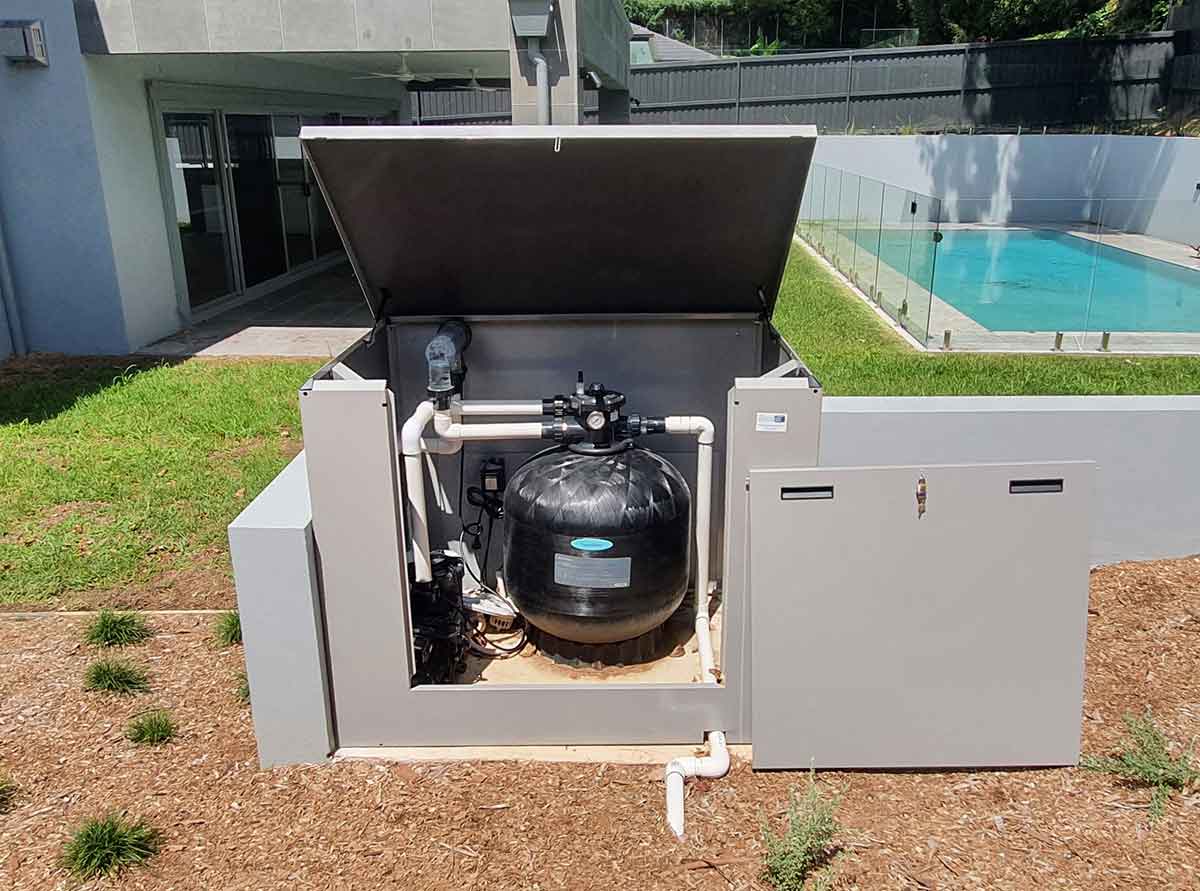
Next, it's time to prepare the ground. This step is vital for the stability and longevity of your pool. The area where your pool will sit needs to be level and free of any rocks, roots, or debris that could puncture the pool liner. This might require some digging or filling, but it's well worth the effort.
Remember, patience is key during this stage. Rushing through the preparation could lead to problems down the line, such as an uneven pool or damaged liner. So, take your time and ensure everything is perfect before moving on to the next step.
Lastly, consider the logistics. Will you need any permits for your above ground pool installation? Are there any local regulations you need to be aware of? It's better to address these issues now rather than face potential fines or delays later.
Preparing for your DIY pool installation might seem like a daunting task, but with careful planning and attention to detail, you'll be well on your way to creating your very own backyard paradise. So, are you ready to roll up your sleeves and get started on your step by step above ground pool installation?
Step by Step Guide: How to Install an Above Ground Pool
Now that you've chosen the perfect location for your above ground pool, let's dive into the exciting part: the step by step pool installation. With a bit of patience and the right tools, you'll soon have a refreshing oasis in your backyard.
First, you'll need to prepare the ground. This involves removing any grass or vegetation and leveling the area. You may need to use a sod cutter or a shovel for this task. Remember, a level base is crucial for the longevity and safety of your pool. 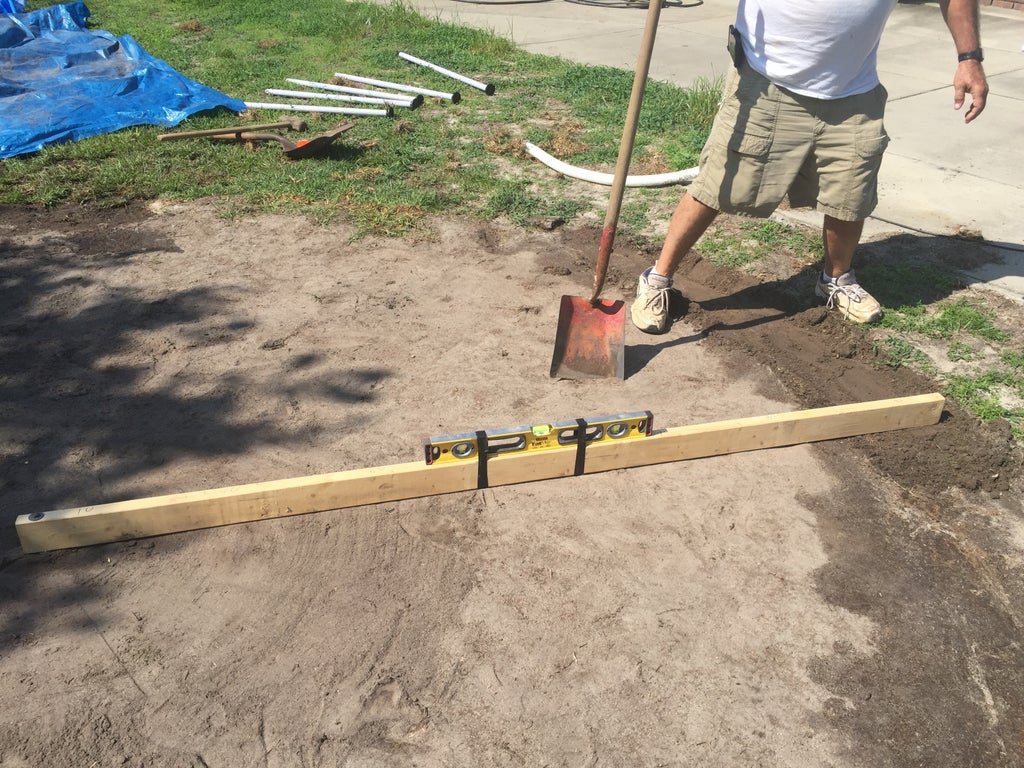
Next, lay down a sturdy pool pad or a thick layer of sand. This creates a soft and protective layer for your pool liner, preventing any sharp objects from puncturing it. Now, you're ready to assemble your pool frame according to the manufacturer's instructions. This is where your DIY pool installation really starts to take shape!
Once the frame is up, it's time to install the pool liner. Carefully spread it out and smooth any wrinkles. This might take some time, but it's worth the effort to prevent leaks and ensure a smooth swimming experience.
With the liner in place, you can start filling your pool with water. As the pool fills, adjust the liner as needed to keep it smooth. Meanwhile, you can set up your filter and pump system. Remember to follow the manufacturer's instructions closely for this step.
Finally, install the pool ladder and any other accessories. Now, take a step back and admire your handiwork. You've just completed your above ground pool installation! But remember, the work doesn't stop here. Ensuring safety during your above ground pool installation and maintaining your pool post-installation are just as important.
Installing an above ground pool can be a rewarding DIY project. With careful planning and a step by step approach, you can create a backyard paradise that offers endless fun and relaxation. So, are you ready to make a splash?
Ensuring Safety during Above Ground Pool Installation
As you stand back, admiring the fruit of your labor, it's essential to remember that the journey doesn't end with the completion of your DIY pool installation. The real task lies in ensuring safety during your above ground pool installation and beyond. After all, what's a backyard oasis without peace of mind?
Firstly, always remember to follow the manufacturer's instructions to the letter during the step by step pool installation. This ensures that every component of your pool is correctly installed and functioning as it should. A minor oversight during installation could lead to significant safety concerns down the line.
Next, consider the area around your pool. Is it free from tripping hazards? Are there any sharp objects or debris that could cause injury? A clean, clear space around your pool not only enhances its aesthetic appeal but also significantly reduces the risk of accidents.
Furthermore, it's crucial to install a sturdy, non-slip ladder for safe entry and exit from the pool. Ensure it's firmly attached and stable before anyone uses it. Additionally, consider installing a safety fence around your pool, especially if you have young children or pets. This can prevent accidental falls into the pool when it's not in use.
Lastly, remember that how to install an above ground pool also involves understanding how to maintain it. Regular maintenance checks can help identify potential issues before they become significant problems. This includes checking for leaks, ensuring the filter and pump system are working correctly, and keeping the water clean and balanced.
So, as you bask in the glory of your new backyard retreat, remember that safety and maintenance are integral parts of the step by step above ground pool installation journey. After all, isn't it more enjoyable to relax in your pool knowing it's as safe as it is refreshing?
Final Touches: Completing Your DIY Pool Installation
Now that you've successfully navigated the journey of DIY pool installation, it's time to add the final touches to your above ground pool. These finishing steps are just as crucial as the initial stages of how to install an above ground pool, as they enhance the overall look and functionality of your new aquatic haven.
Start by adding a pool liner, which not only gives your pool a polished look but also acts as a protective layer between the pool structure and water. Choose a liner that complements your backyard aesthetic and ensures it's installed smoothly to avoid wrinkles or air pockets. Remember, a well-installed liner can significantly extend the lifespan of your pool.
Next, fill your pool with water. This is a momentous step in your step by step pool installation journey. As you watch the water rise, you'll see your vision come to life. But remember, filling your pool isn't just about turning on a hose. You need to monitor the process closely to ensure the water level is correct and the liner adjusts properly.
Once your pool is filled, it's time to set up the filtration system. This crucial component keeps your pool water clean, clear, and safe for swimming. Make sure to follow the manufacturer's instructions carefully during installation. A well-functioning filtration system is key to maintaining a healthy pool environment.
Lastly, consider adding some landscaping around your pool. This could be anything from a simple deck for lounging to a lush garden that transforms your backyard into a tropical paradise. The choice is yours. After all, isn't the beauty of a DIY above ground pool installation that you get to design every aspect of it?
So, as you add these final touches, take a moment to appreciate the work you've put into this project. You've learned how to install an above ground pool, and you've done it with style. Now, all that's left to do is dive in and enjoy!
Maintaining Your Above Ground Pool Post-Installation
With the final touches complete, your DIY above ground pool installation journey has reached its end. But remember, owning a pool is not just about the installation process. It's about maintaining it post-installation to ensure it remains your backyard's sparkling jewel. So, how do you maintain an above ground pool after installation?
Firstly, regular cleaning is paramount. Your pool's cleanliness directly impacts its longevity and your swimming experience. Make use of a pool skimmer to remove any floating debris, and a pool vacuum for any dirt settled at the bottom. Don't forget to clean the pool liner gently to avoid any damage.
Next, keep a close eye on your pool's chemical balance. Regular testing of your pool water will help maintain a healthy pH level, ensuring the water is safe for swimming. This is where your filtration system plays a vital role. It's not just about installing it; it's about maintaining it. Regularly check and clean your filters to ensure they function optimally.
Lastly, protect your pool during off-seasons. If you live in a region with harsh winters, consider investing in a high-quality pool cover. This will protect your pool from debris and freezing temperatures, extending its lifespan.
Remember, maintaining your above ground pool post-installation is just as important as the step by step pool installation process itself. It's about preserving the hard work you've put into creating your backyard oasis. So, are you ready to dive into the world of pool maintenance?
At Aquatic Inspections, we're here to help you navigate this journey. From comprehensive guides on how to install an above ground pool to expert tips on pool maintenance, we've got you covered. So, why wait? Dive into our wealth of resources and keep your pool in top condition all year round.
Remember, a well-maintained pool is not just a source of fun and relaxation, but also a testament to your dedication and hard work. So, take a moment to appreciate your achievement. You've not only learned how to install an above ground pool, but you've also mastered the art of maintaining it. Now, all that's left to do is enjoy the fruits of your labor. Happy swimming!

No comments yet. Be the first to share your thoughts!