
Why Proper Pool Opening and Closing is Important
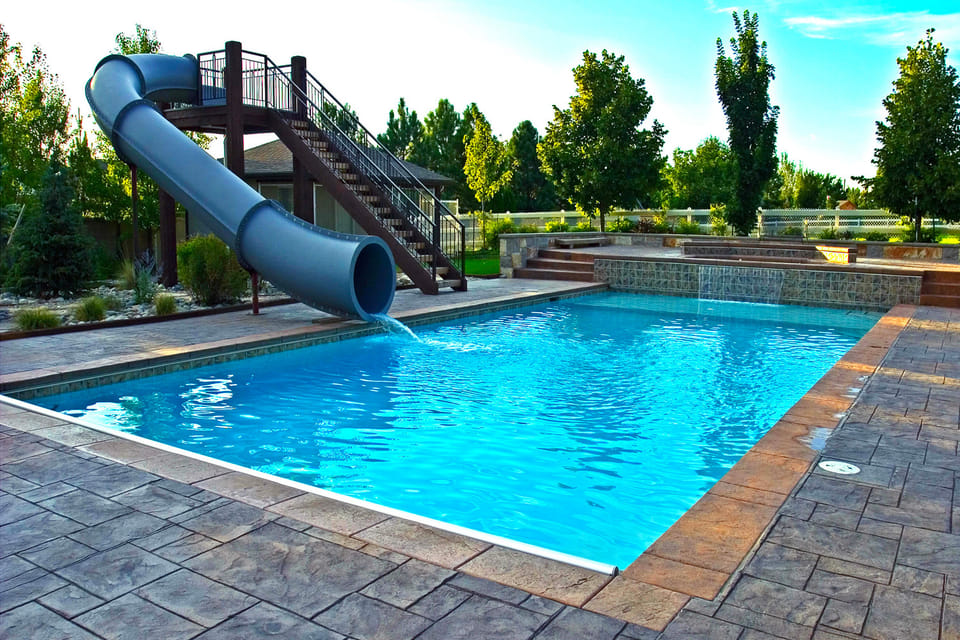
Understanding the importance of proper pool opening and closing is the first step towards effective DIY pool maintenance. It's more than just a seasonal ritual; it's a critical process that safeguards the longevity of your pool and ensures its optimal performance throughout the year.
When you properly close your pool for the winter, you're protecting it from potential damage caused by freezing temperatures and harsh weather conditions. This includes preventing the water from freezing and expanding, which can cause cracks in the pool structure and damage to the plumbing system. 
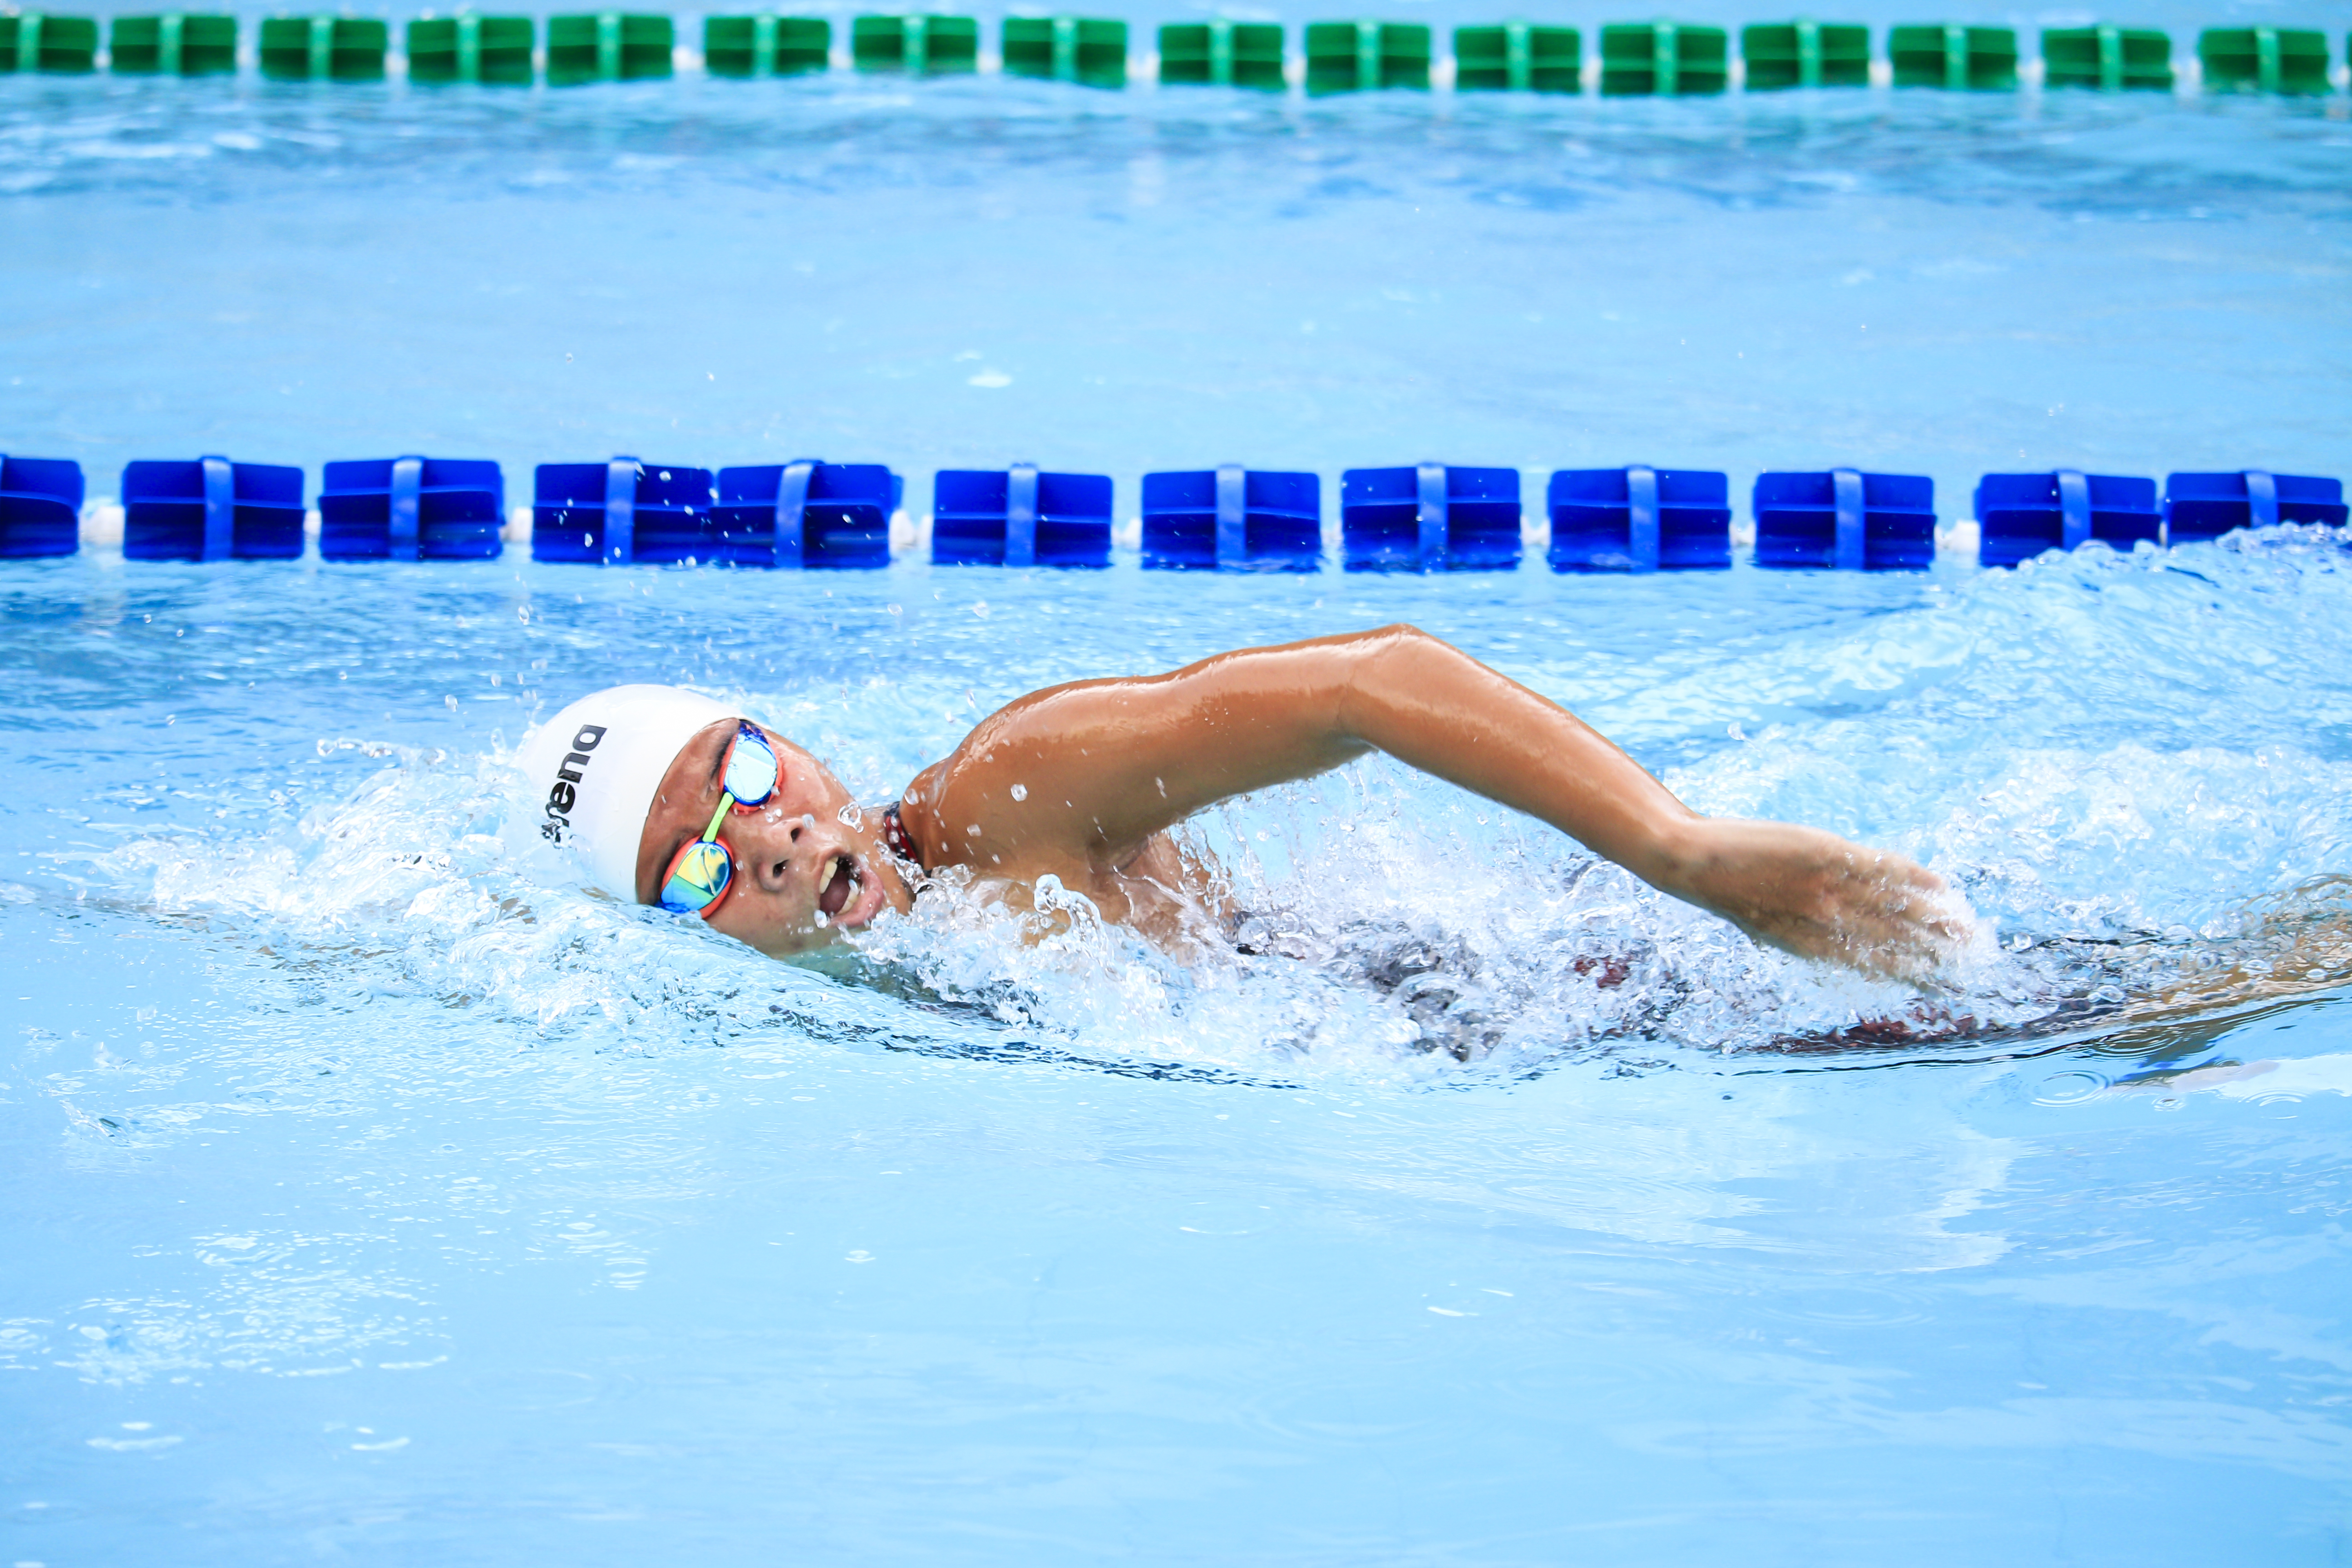
On the flip side, correctly opening your pool for the summer season ensures that it's clean, safe, and ready for use. It involves removing any winterizing plugs, starting up the filtration system, and balancing the water chemistry. This process not only enhances your swimming experience but also helps to prevent the growth of algae and bacteria, which can lead to health issues. 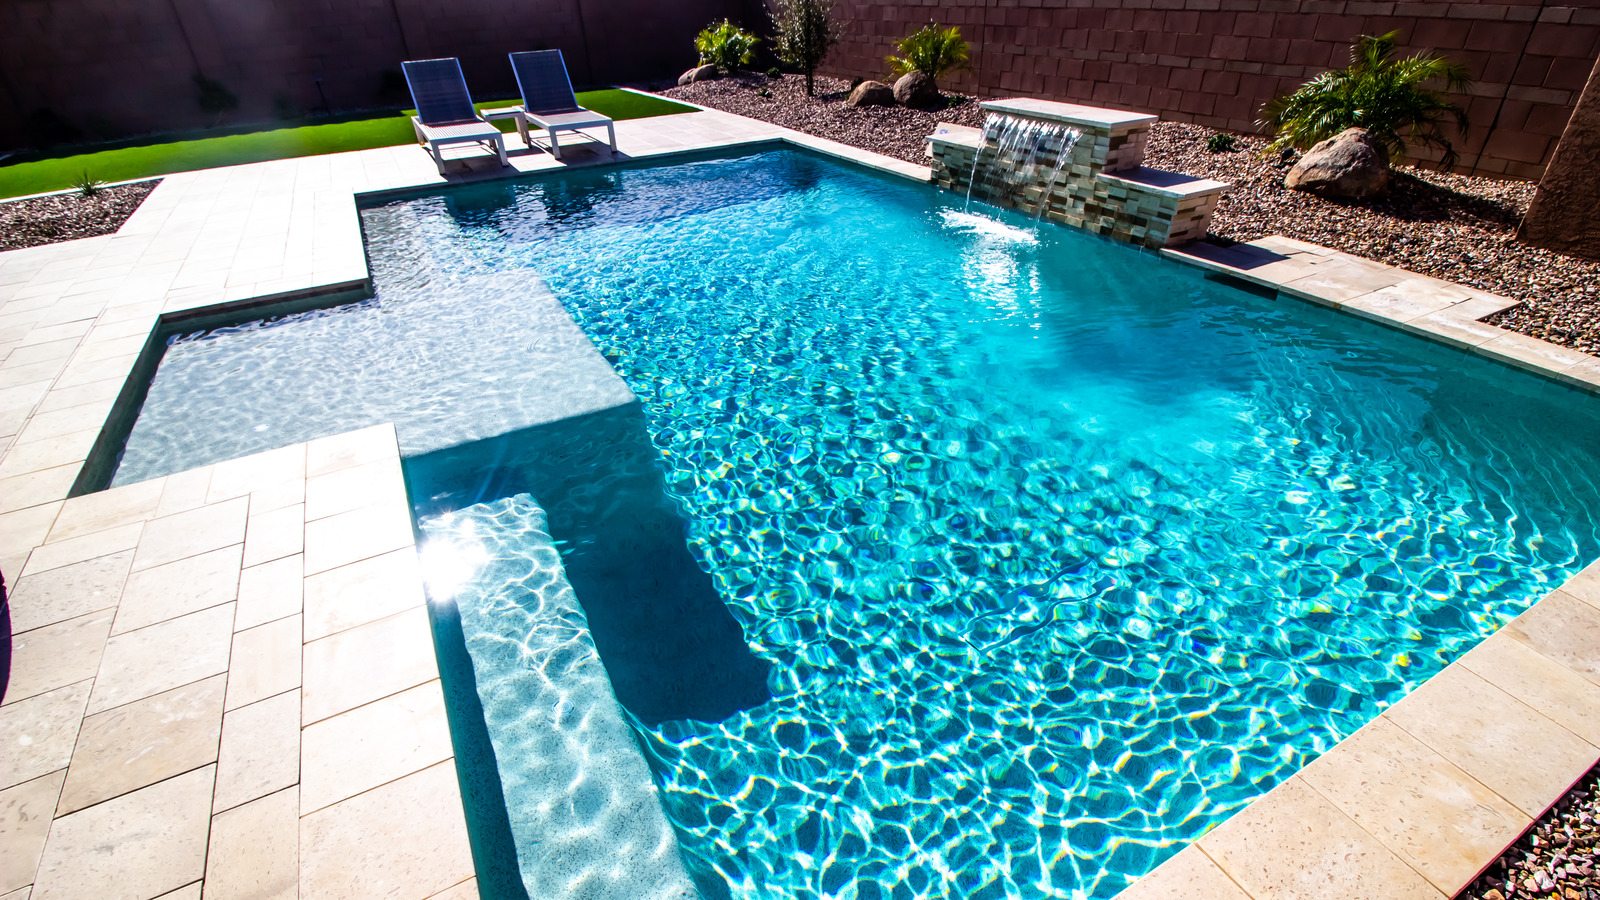
Moreover, regular pool opening and closing steps allow you to spot any potential issues early on. This can save you from costly repairs and unnecessary downtime. It's also a great opportunity to perform a pool maintenance checklist, ensuring every part of your pool is in top shape.
In essence, proper swimming pool opening and closing is a proactive approach to pool care. It promotes the longevity of your pool, ensures the safety of its users, and maintains the aesthetic appeal of your property. Whether you're dealing with a salt water pool maintenance during winter or a summer pool maintenance, understanding the importance of these processes is key to a well-maintained pool.
Step 1: Clean and Remove Debris
As we dive into the first step of our pool opening guide, it's time to roll up your sleeves and get your hands a little dirty. Step 1: Clean and Remove Debris is all about ensuring your pool is sparkling clean and free from unwanted materials that could potentially harm your pool's system or affect the water quality.
Start by skimming the surface of your pool to remove leaves, twigs, and other floating debris. A long-handled net is perfect for this task.  . Remember, the cleaner your pool's surface, the less work your filtration system has to do.
Next, focus on the pool floor. Use a pool vacuum to suck up dirt, sand, and other debris that has settled at the bottom. This is especially important for maintaining a clear and inviting pool. 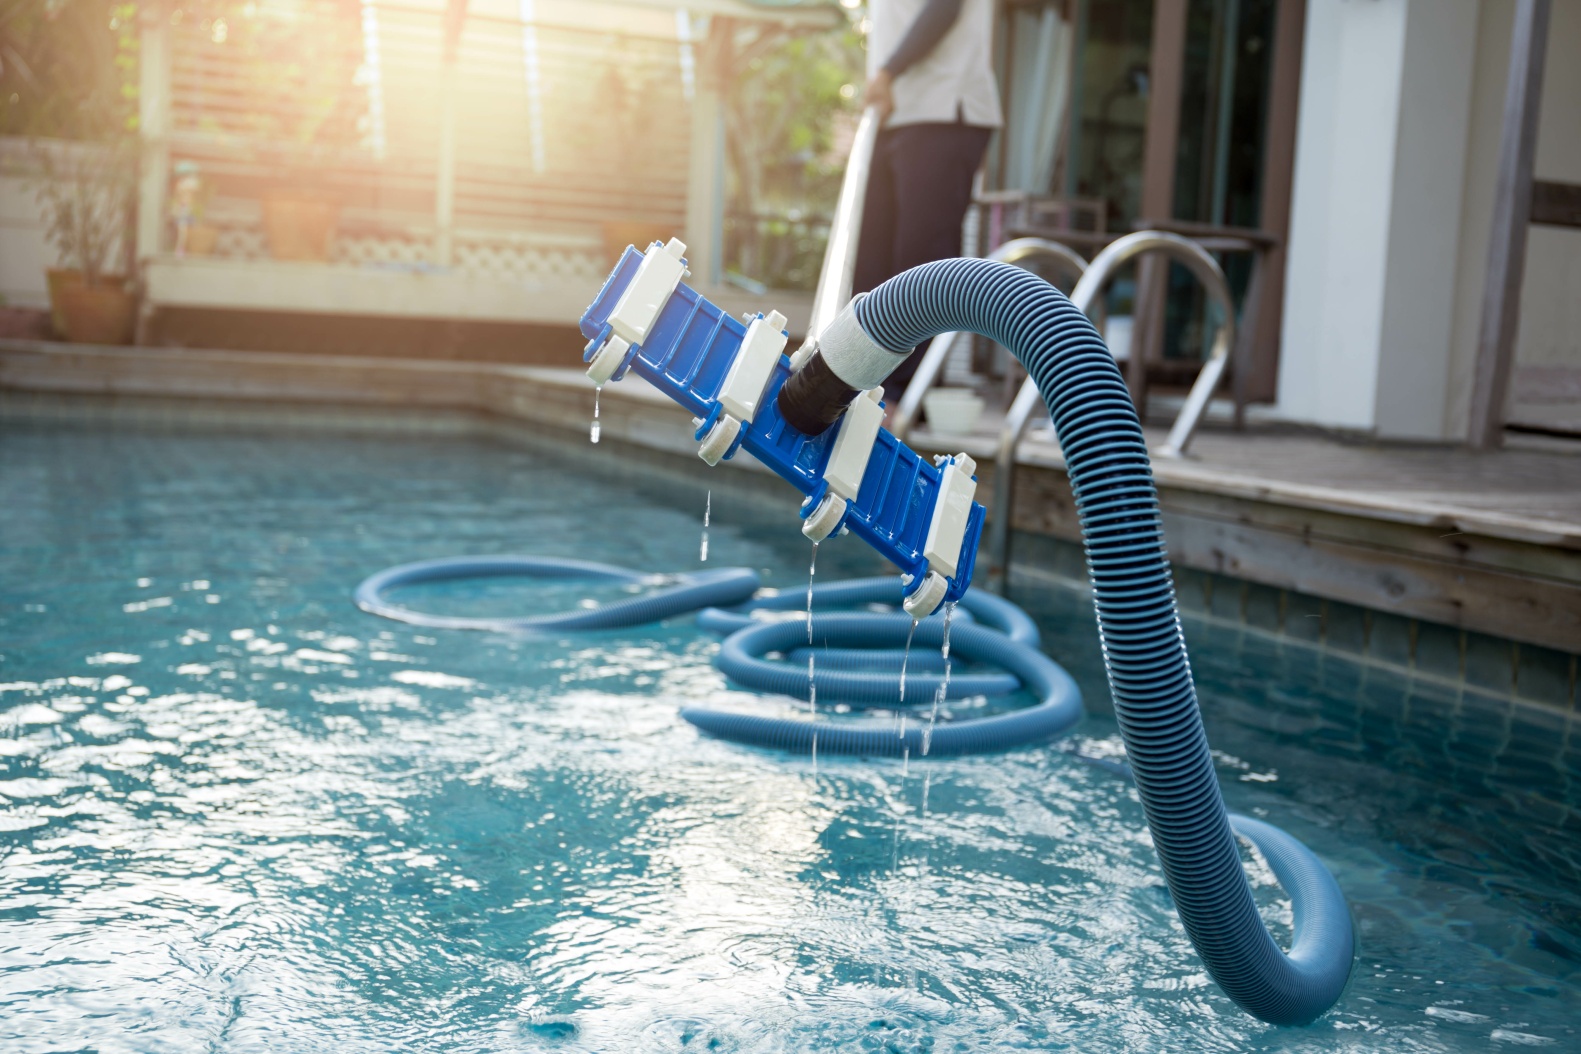 .
.
Don't forget to clean out your pool's strainer baskets. These often collect debris and can become clogged, reducing the efficiency of your pool's circulation system. Simply remove the baskets, empty the contents, and rinse them out before replacing them.
Lastly, give your pool's walls and tiles a good scrubbing to remove any buildup of algae or calcium. A pool brush with stiff bristles is ideal for this task. 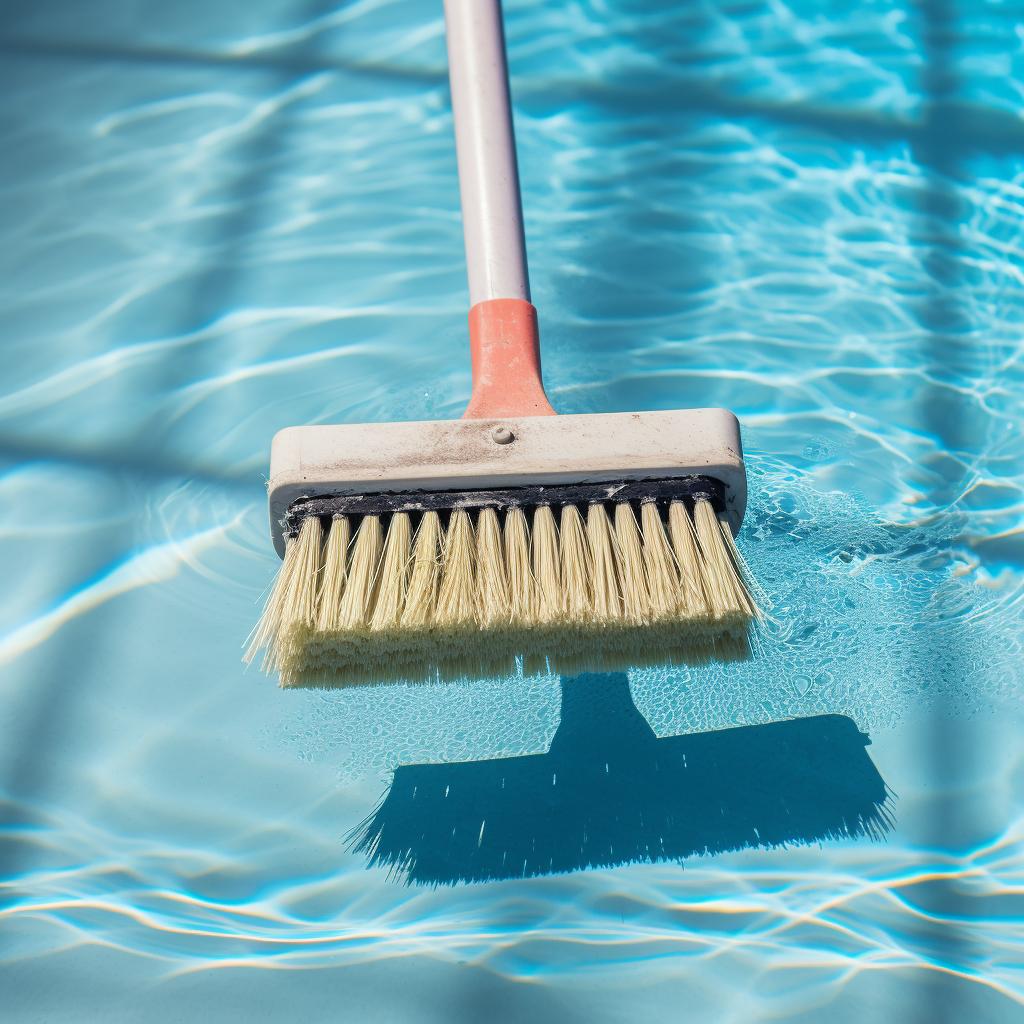 . Remember, a clean pool is not only more appealing but also healthier and safer for swimmers.
By following these pool maintenance checklist items, you're already on your way to a pristine pool. But remember, this is just the beginning. Stay tuned for Step 2: Check and Balance Chemical Levels, where we'll delve into the science of pool maintenance.
Step 2: Check and Balance Chemical Levels
Now that your pool is squeaky clean, it's time to dive into the nitty-gritty of pool maintenance - checking and balancing chemical levels. This step is crucial in maintaining a healthy and safe swimming environment. It's not as daunting as it might sound, and with our easy-to-follow guide, you'll master this DIY pool maintenance task in no time.
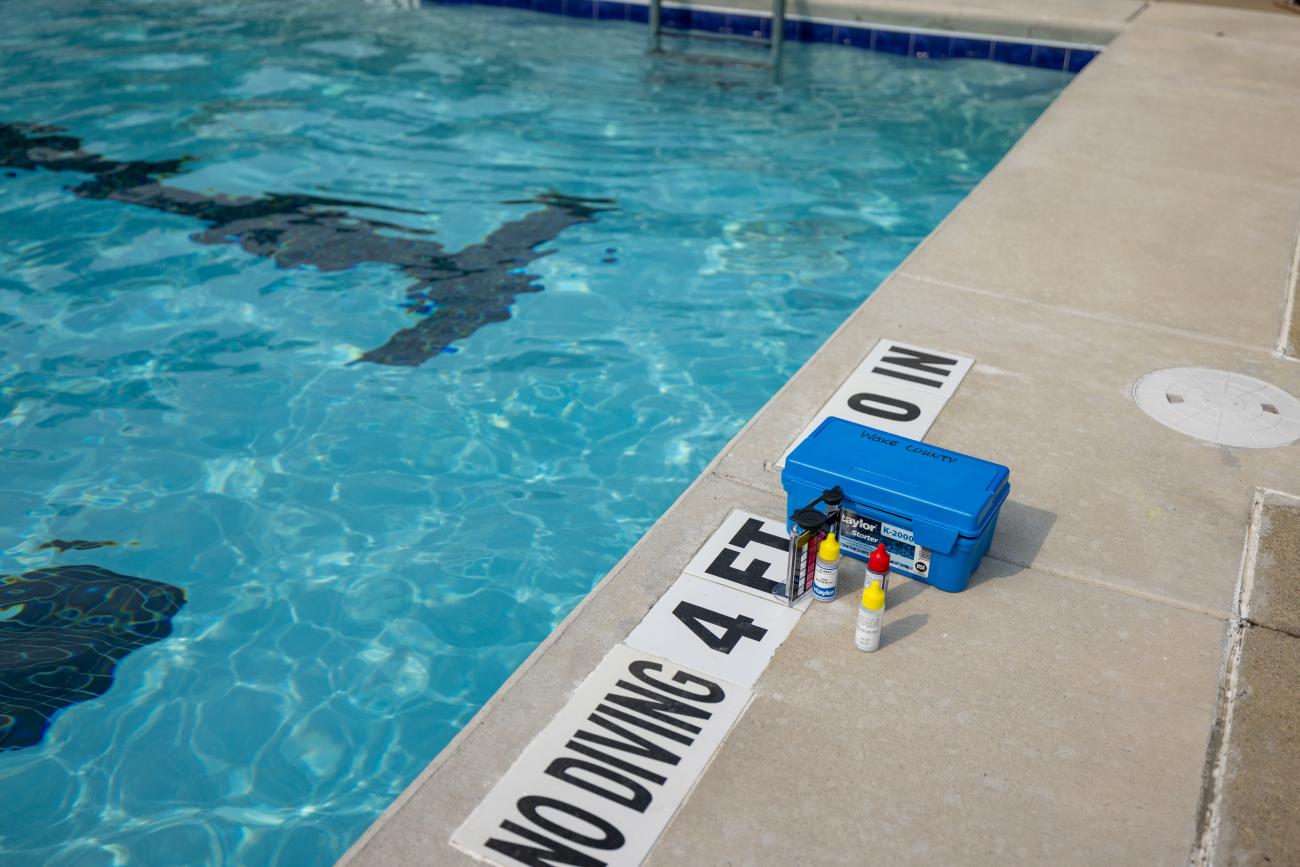
Firstly, you'll need to test the water. You can do this using a pool water testing kit, which is readily available at any pool supply store. This kit will help you measure the levels of pH, alkalinity, and chlorine in your pool water. 
The ideal pH level for pool water is between 7.2 and 7.6. This ensures the water is neither too acidic nor too alkaline, both of which can cause discomfort to swimmers and damage to your pool equipment. If the pH level is off, you can use pH increasers or decreasers to balance it out.
Next, check the alkalinity level. This should ideally be between 80 and 120 parts per million (ppm). Alkalinity acts as a buffer for the pH level, helping to keep it stable. If the alkalinity is too low, you can increase it using a baking soda solution. If it's too high, a muriatic acid solution can help bring it down.
Lastly, ensure the chlorine level is between 1.0 and 3.0 ppm. Chlorine is essential in killing bacteria and other harmful microorganisms in the water. If the chlorine level is low, simply add more. If it's too high, you'll need to lower it by adding a chlorine neutralizer.
Remember: Always add chemicals to water, not the other way around, to prevent any unwanted reactions. And always wear protective gear when handling pool chemicals.
By regularly checking and balancing your pool's chemical levels, you'll ensure a safe and enjoyable swimming experience for everyone. Stay tuned for Step 3: Inspect and Maintain Pool Equipment, where we'll discuss how to keep your pool's machinery in top shape. 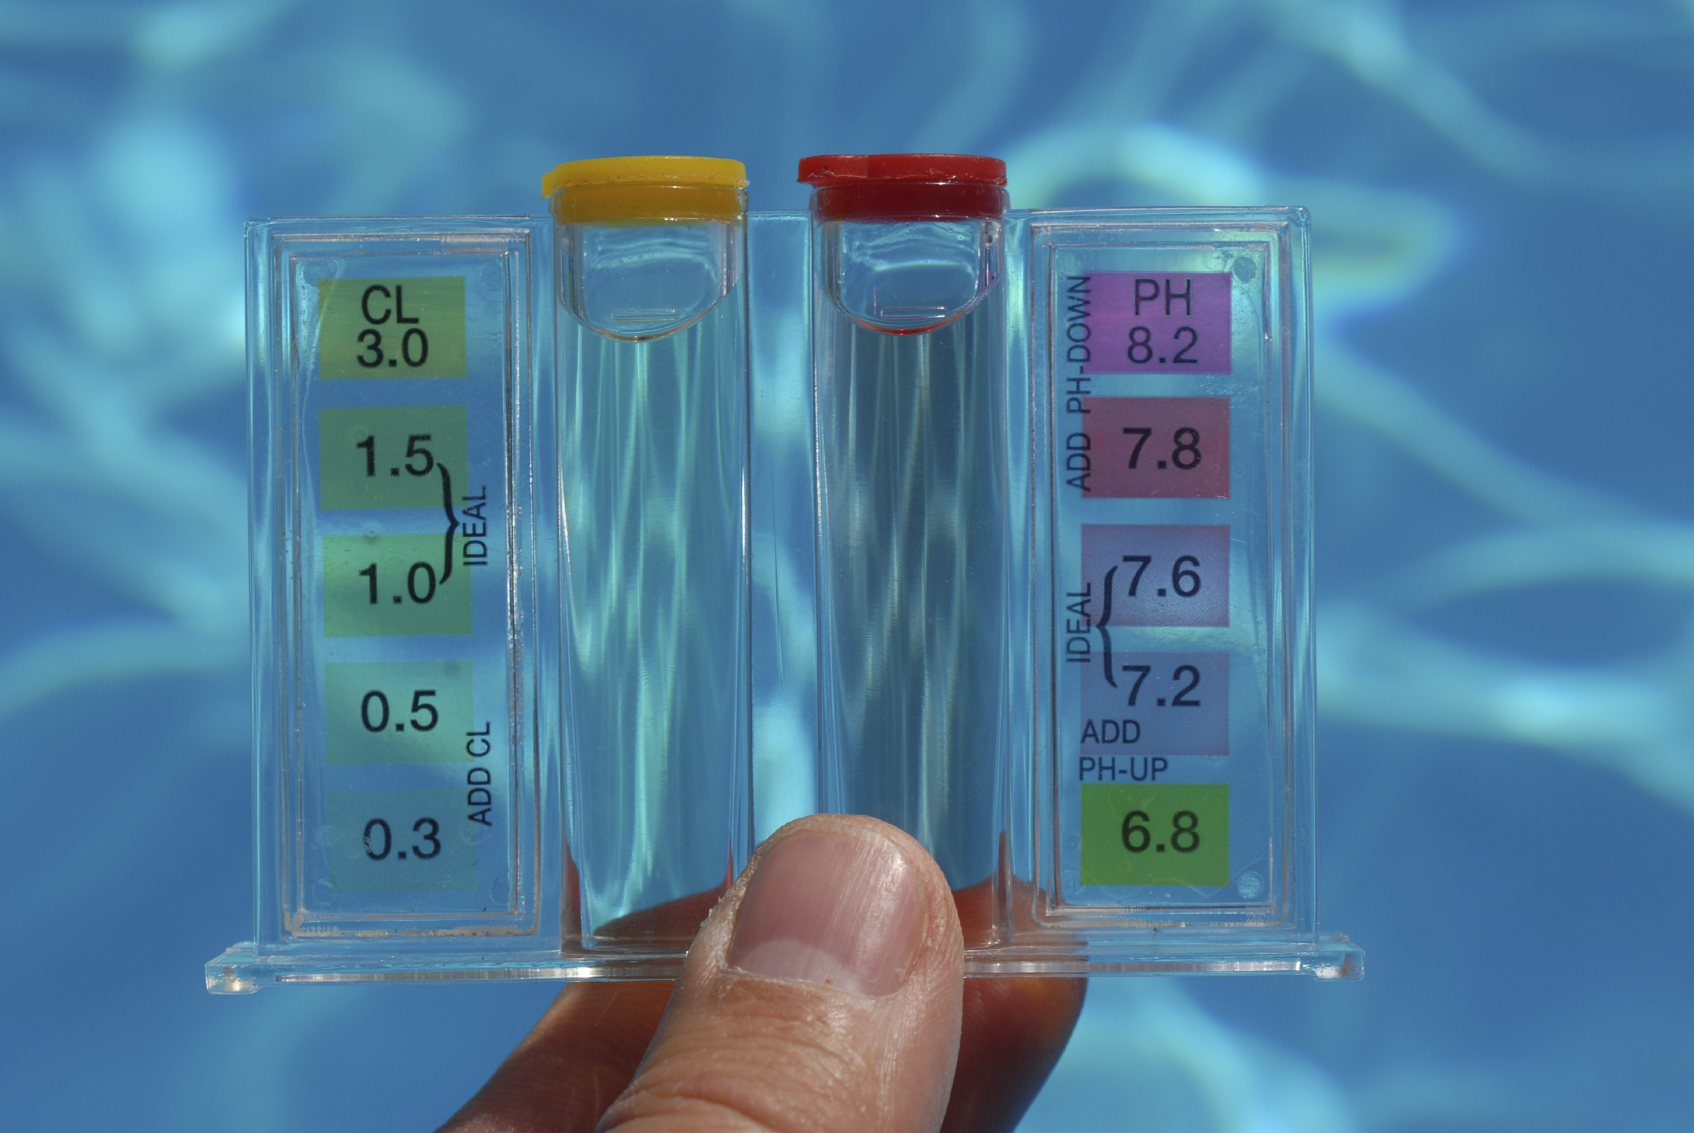
Step 3: Inspect and Maintain Pool Equipment
Now that you've mastered the art of balancing your pool's chemical levels, it's time to move on to the next crucial step in our pool opening guide: Inspecting and maintaining your pool equipment. This step is pivotal in ensuring your pool operates efficiently and provides a safe swimming environment.
Start by inspecting your pool pump. This is the heart of your pool's circulation system, pumping water from the pool, through the filter, and back into the pool. Listen for any unusual noises and check for leaks. If you notice anything out of the ordinary, it may be time for a repair or replacement. 
Next, turn your attention to the pool filter. Whether you have a sand, cartridge, or diatomaceous earth (DE) filter, it's essential to clean it regularly and replace it as needed. A clean filter will ensure your pool water stays crystal clear and free of debris. 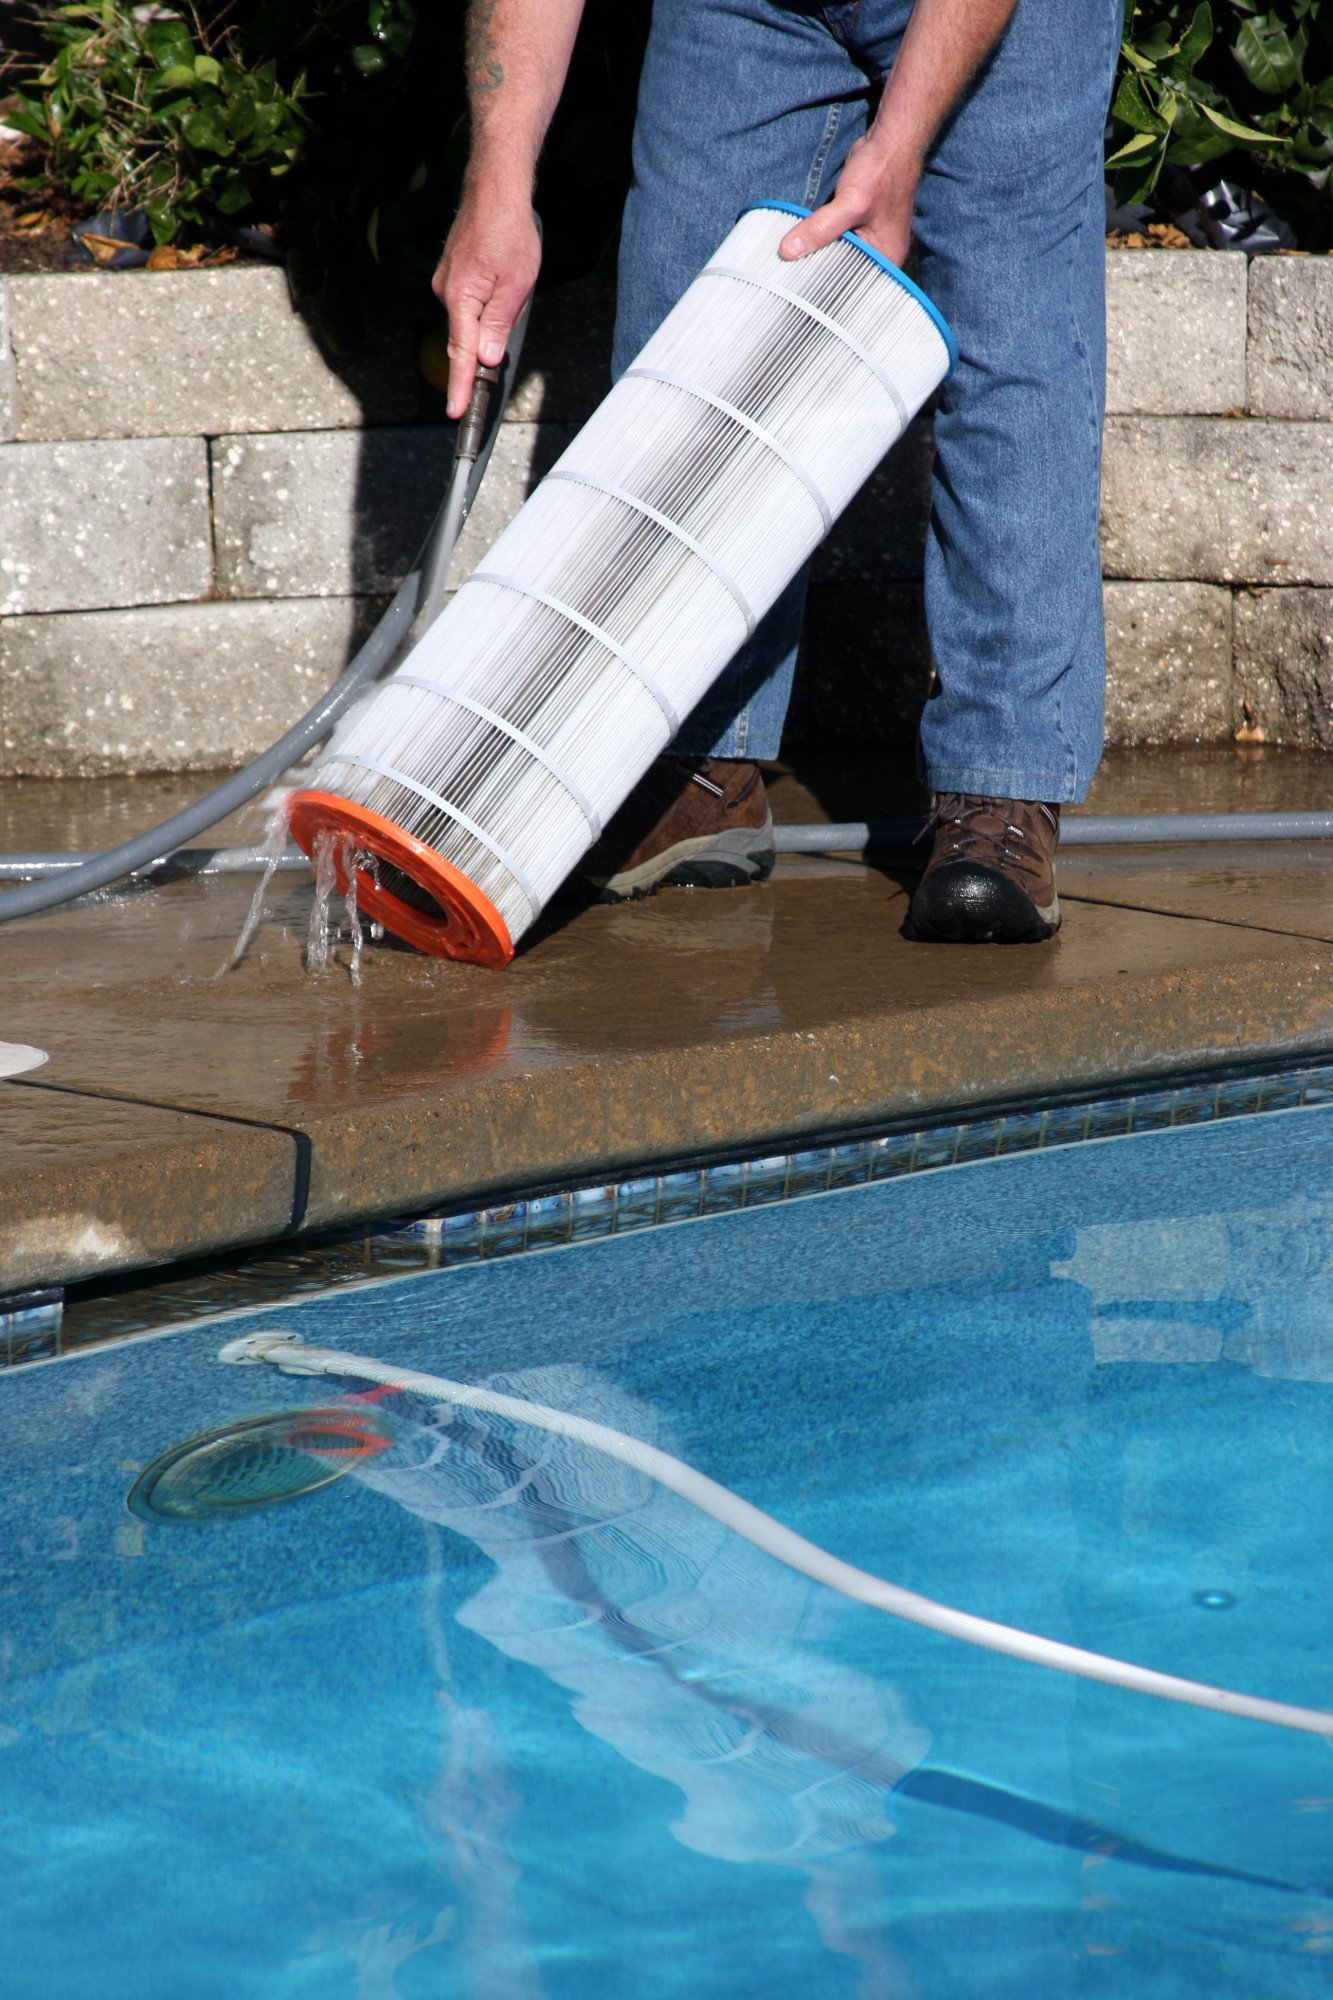
Don't forget about your pool's heater. If you have a gas heater, check the pilot light to ensure it's working correctly. For electric heaters, look for signs of corrosion or other damage. Regular maintenance can extend the lifespan of your pool heater, saving you money in the long run. 
Lastly, inspect your pool's skimmer and return jets. These should be free of debris and properly adjusted to promote optimal water circulation. 
By taking the time to inspect and maintain your pool equipment, you're not only ensuring a smooth pool opening and closing process, but you're also prolonging the life of your equipment. Remember, a well-maintained pool is a happy pool. Stay tuned for our next step: Winterizing Your Pool.
Step 4: Winterize Your Pool (Closing)
As the leaves start to change and the air turns crisp, it's time to turn our attention to the next step in our pool maintenance checklist: Winterizing Your Pool. This is a crucial part of fall pool maintenance and ensures your pool is ready to withstand the colder months ahead.
Start by lowering the water level in your pool. This prevents water from freezing and causing damage to your pool's structure and plumbing. For a standard pool, lower the water level to about 4-6 inches below the pool skimmer. If you have a salt water pool, the maintenance during winter is slightly different. You'll want to lower the water level to 1-2 inches below the tile line. 
Next, add winterizing chemicals to your pool. These chemicals, often sold as a winterizing kit, help keep your pool water balanced throughout the winter and prevent algae growth. Follow the manufacturer's instructions for the best results. 
Now, it's time to cover your pool. A sturdy, well-fitted pool cover protects your pool from debris and harsh weather conditions. Secure the cover tightly to prevent it from blowing off in strong winds. 
Lastly, don't forget to winterize your pool equipment. Drain water from your pool pump, heater, and filter to prevent freezing damage. If possible, store smaller equipment indoors for added protection. 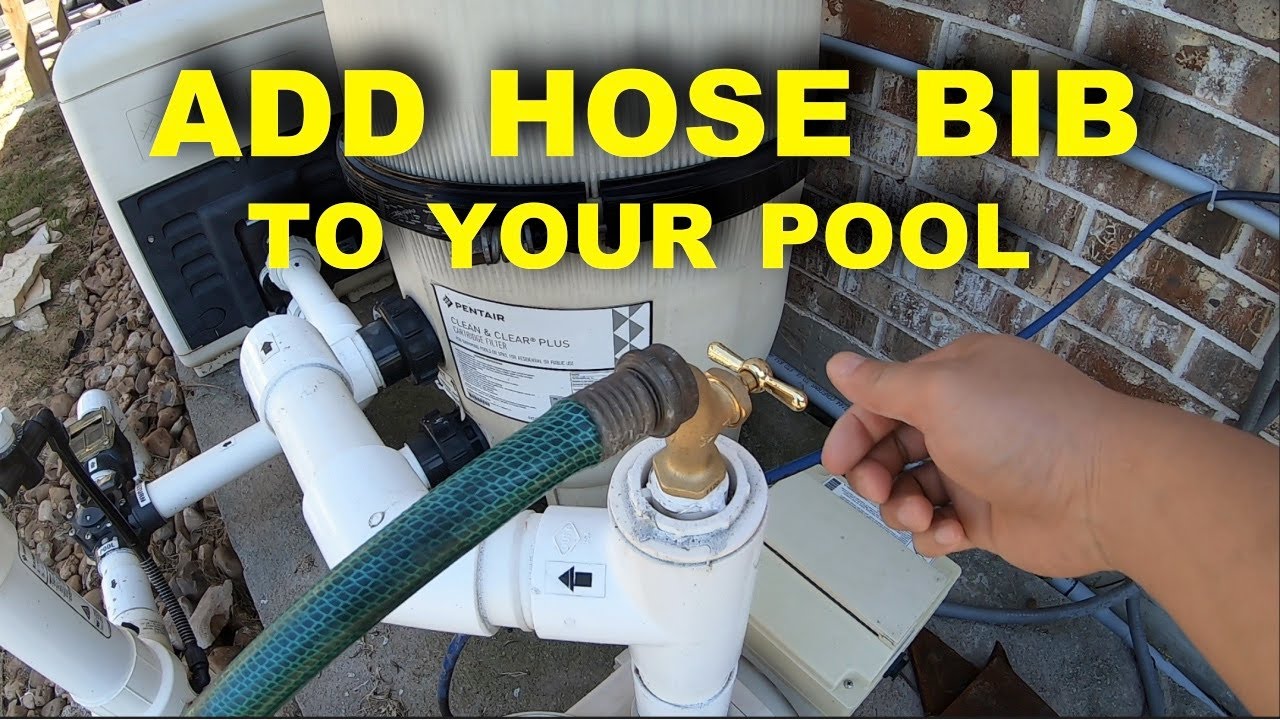
Winterizing your pool might seem like a daunting task, but with this DIY pool maintenance guide, you'll have your pool ready for winter in no time. Remember, proper pool closing steps not only protect your pool during the winter but also make the swimming pool opening in spring much easier. So, grab your winterizing kit and let's get started!
Step 5: Prepare Your Pool for Summer (Opening)
As the frosty grip of winter begins to loosen and the promise of summer sun is on the horizon, it's time to shift gears and prepare your pool for the warmer months. This is where our pool opening guide comes into play. Step 5: Prepare Your Pool for Summer (Opening) is all about getting your pool ready for those glorious days of splashing fun and sun-soaked relaxation.
Firstly, remove your pool cover. It's likely collected a fair amount of debris over the winter, so give it a good clean before storing it away. 
Next, it's time to refill your pool to its normal water level. If you have a salt water pool, remember to follow your specific salt water pool maintenance guidelines. Once filled, turn on your pool equipment and check for any leaks or malfunctions. Remember, catching issues early can save you a lot of hassle and expense down the line.
Now, let's focus on the water chemistry. Using a reliable pool testing kit, check the pH, alkalinity, and sanitizer levels. Adjust as necessary to achieve the perfect balance. This is a vital part of summer pool maintenance, ensuring your pool is safe and enjoyable for all.
Lastly, give your pool a thorough clean. Brush the walls, vacuum the floor, and skim off any floating debris. 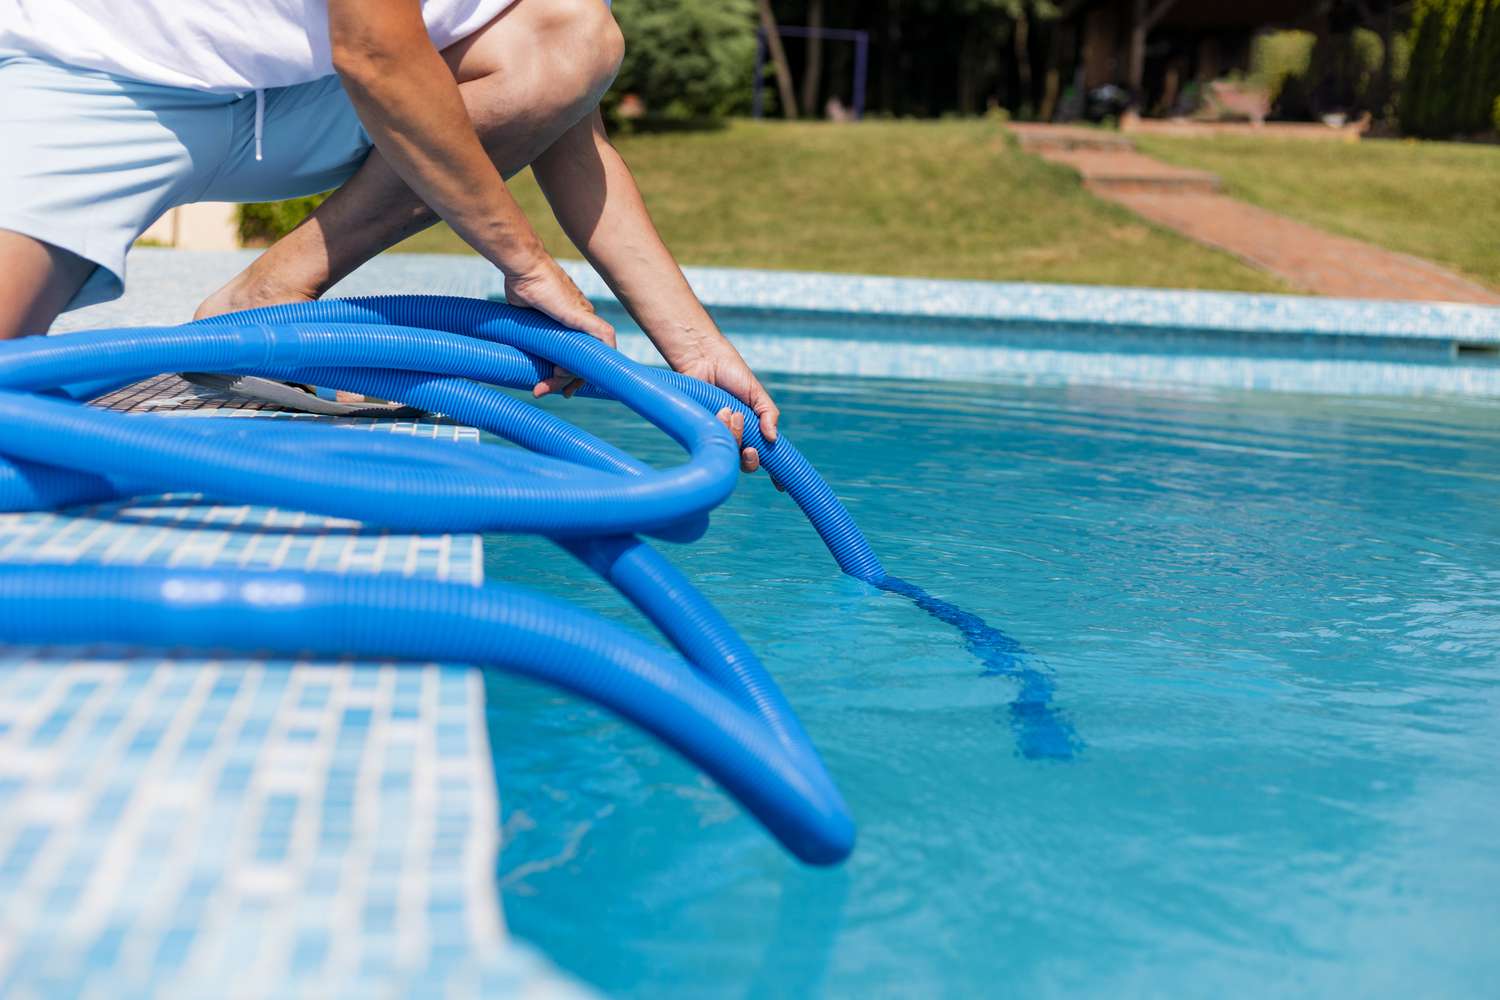
Preparing your pool for summer might seem like a lot of work, but trust me, the reward of a sparkling, ready-to-enjoy pool is well worth the effort. Plus, with this DIY pool maintenance guide, you'll be a pool opening pro in no time!
Remember, regular pool inspections are key to maintaining your pool's health. So, once you've completed your pool opening steps, consider scheduling a professional pool inspection to ensure everything is in tip-top shape.
Step 6: Schedule a Professional Pool Inspection
Step 6: Schedule a Professional Pool Inspection
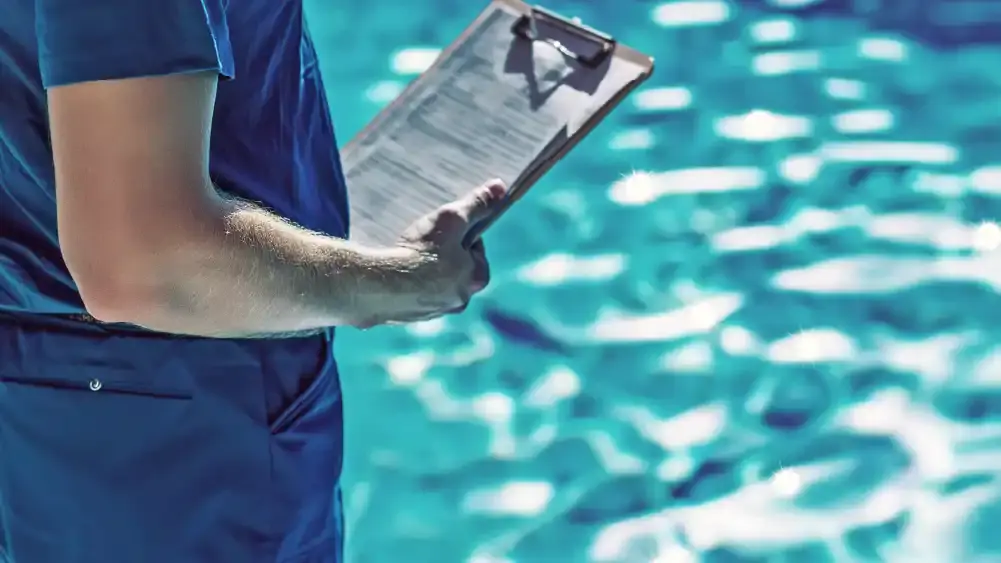
Now that you've done the hard work of preparing your pool for the summer season, it's time to bring in the experts. While DIY pool maintenance is a great way to keep your pool in good shape, there's nothing quite like a professional pool inspection to ensure your pool is not just ready, but in the best possible condition.
Why is this step so important? Well, a professional pool inspector, like myself, Samantha Pooler, has the experience and expertise to spot potential issues that may not be visible to the untrained eye. We can identify early signs of wear and tear, detect leaks or malfunctions in your pool equipment, and provide valuable advice on how to maintain your pool's health throughout the season.
Moreover, a professional pool inspection can save you money in the long run. By catching issues early, you can prevent costly repairs down the line. So, while it may seem like an extra expense now, it's an investment in your pool's future.
Whether you have a standard chlorine pool or a salt water pool, a professional inspection is a crucial part of your pool maintenance checklist. It's the best way to ensure your pool is safe, efficient, and ready for a season of fun and relaxation.
So, once you've completed your pool opening steps, don't forget to schedule a professional pool inspection. It's the final touch in your pool opening guide, and a step that guarantees peace of mind as you dive into the summer season.
Step 7: Seasonal Pool Maintenance Tips
Step 7: Seasonal Pool Maintenance Tips
After completing your pool opening and closing steps, and scheduling a professional pool inspection, it's time to focus on the ongoing task of seasonal pool maintenance. This is where your DIY pool maintenance skills truly shine. Whether it's summer pool maintenance, fall pool maintenance, or salt water pool maintenance during winter, each season brings its own unique challenges and requirements.
Summer Pool Maintenance: During the summer, your pool is likely to see the most use. This means it's crucial to maintain a regular cleaning schedule. Skim off leaves and debris daily, vacuum the pool weekly, and check the water chemistry regularly. Also, ensure the water level doesn't drop too low due to evaporation. 
Fall Pool Maintenance: As the leaves start to fall, they can quickly accumulate in your pool. Use a pool cover to keep the debris out, and consider using a leaf net for easy removal. Regularly check and adjust the chemical balance as needed. 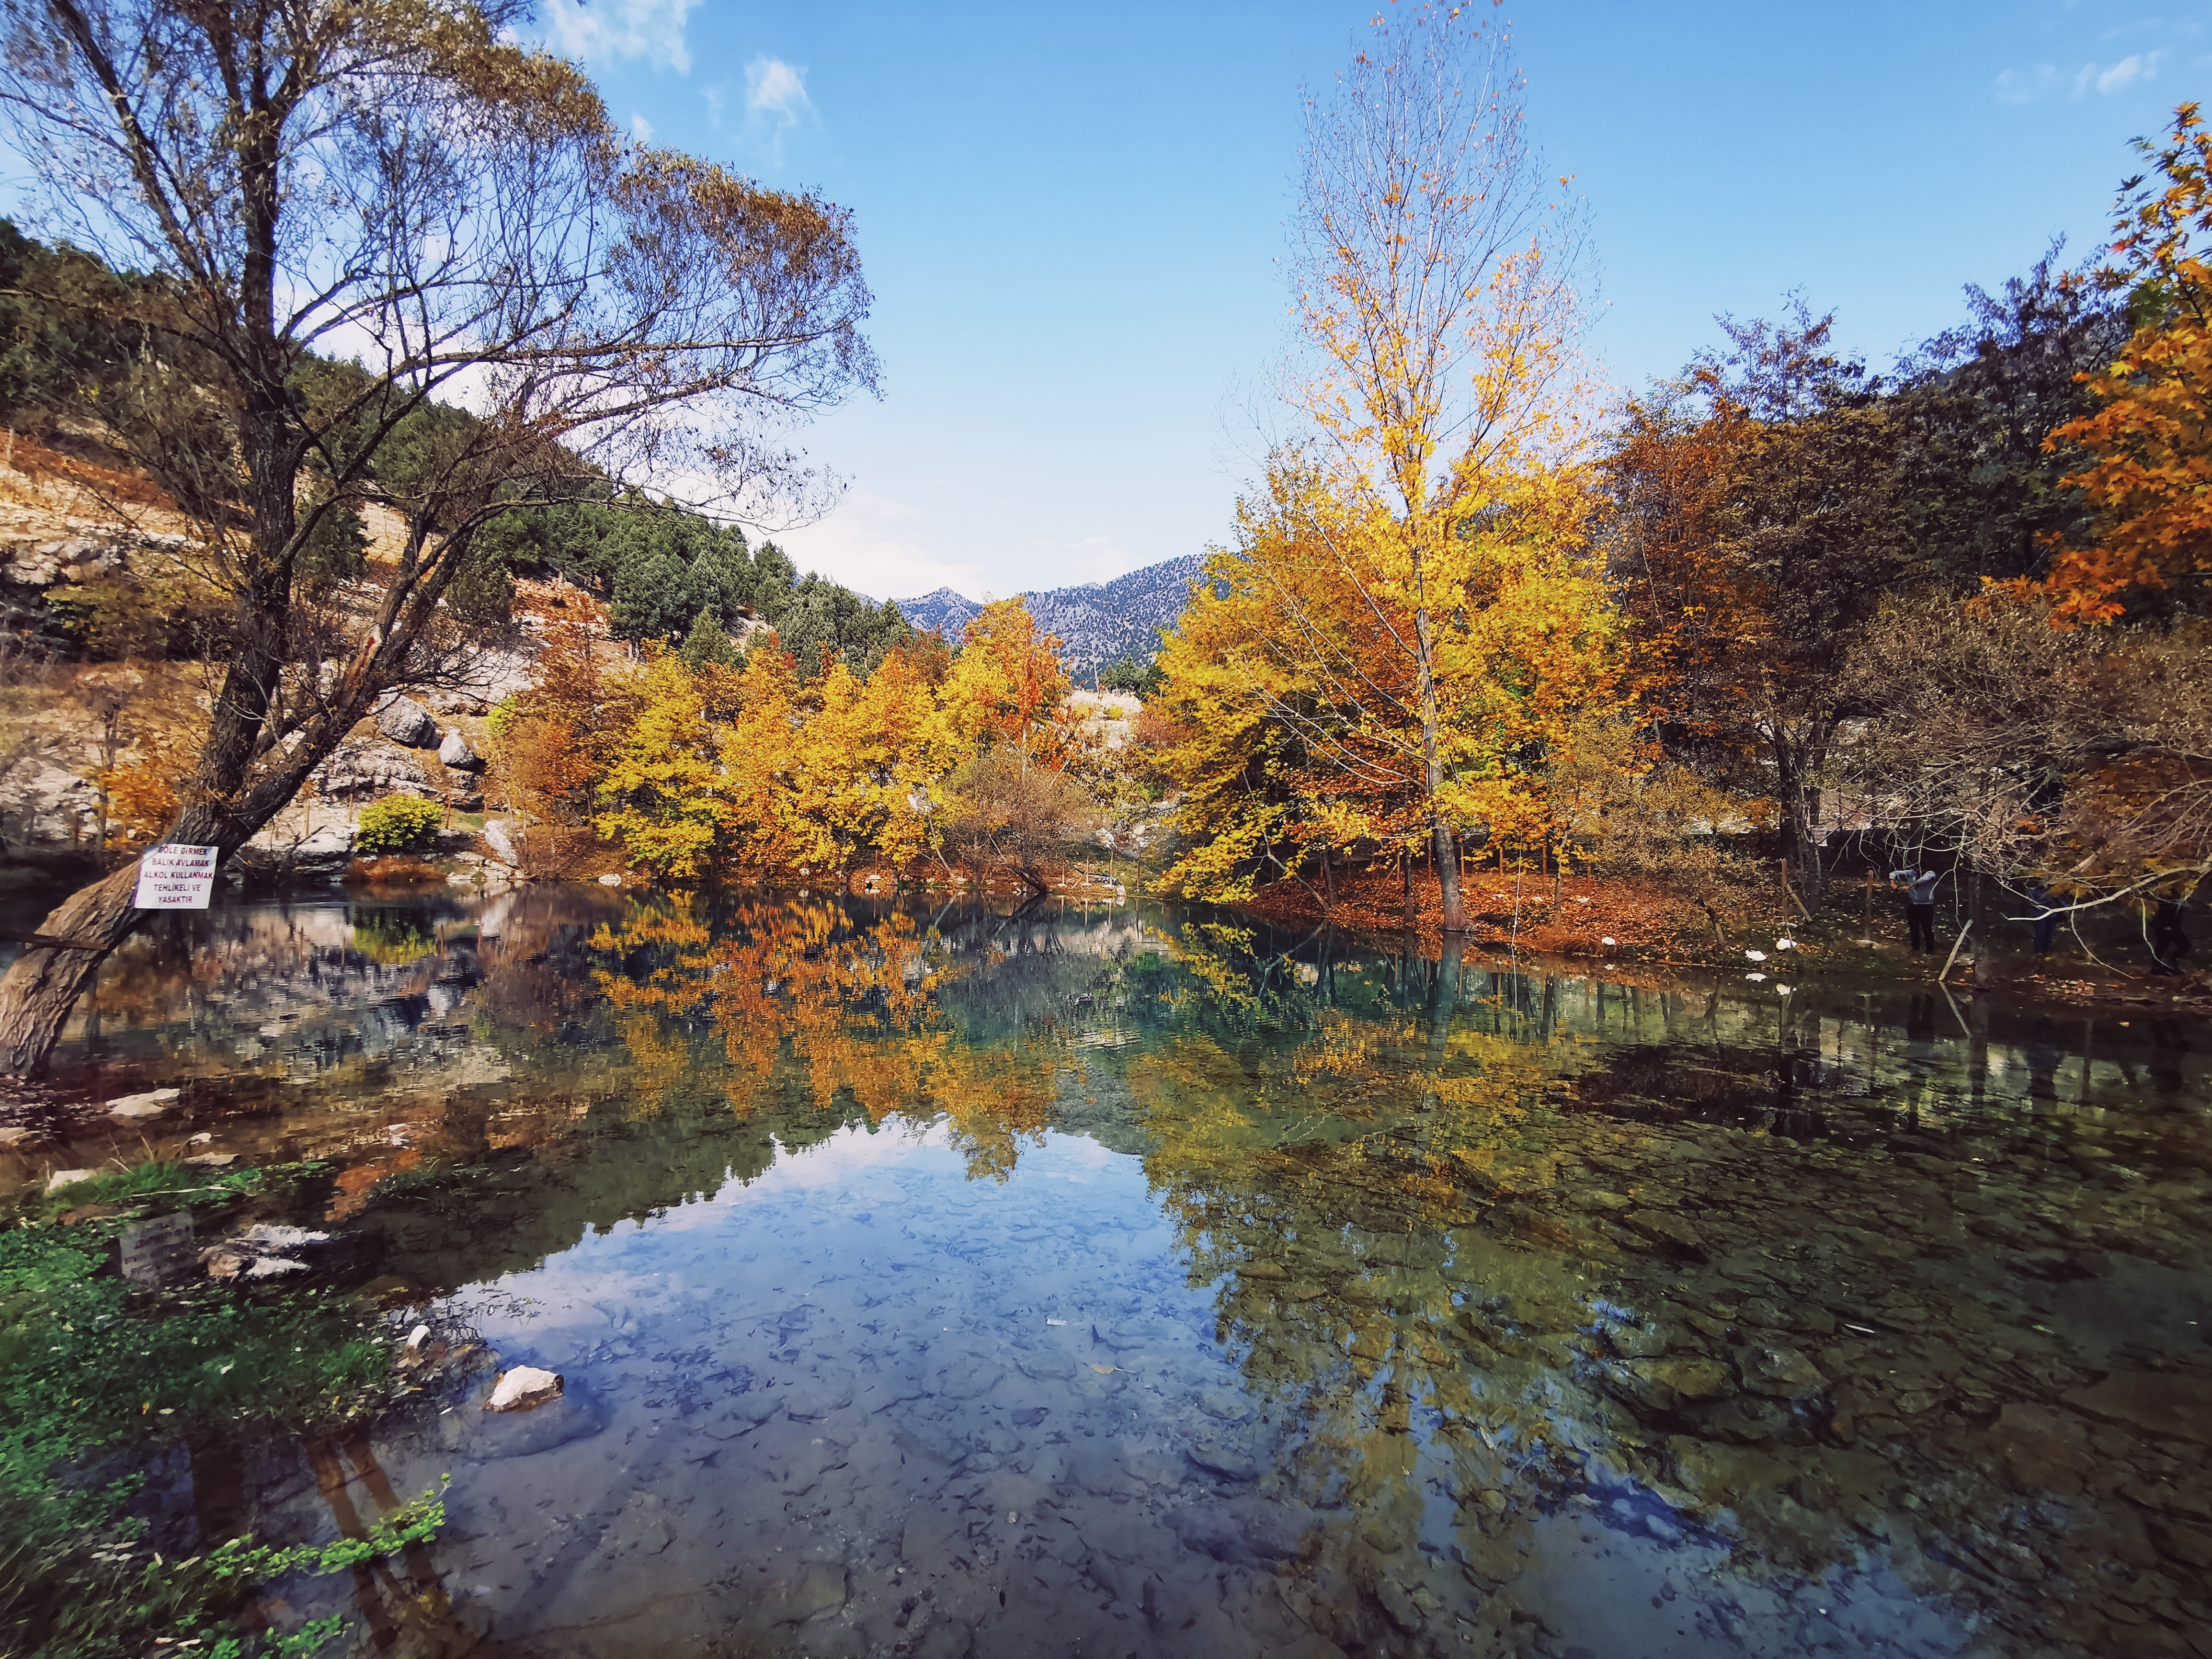
Winter Pool Maintenance: If you have a salt water pool, winter maintenance is essential to prevent freezing and potential damage. Keep the pool covered, regularly check the salt levels, and run the pump periodically to prevent freezing. 
Remember, each season requires a different approach to pool maintenance. By following these seasonal pool maintenance tips, you can ensure your pool remains in top condition all year round, ready for you to dive in whenever you please. And don't forget, if you ever have any doubts or concerns, Aquatic Inspections is always here to help.
No comments yet. Be the first to share your thoughts!